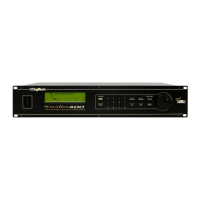
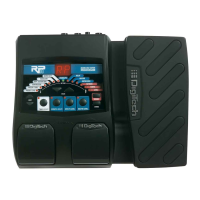
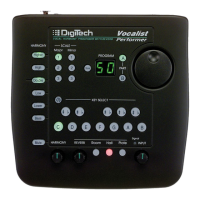
11
LFOs - When you use LFOs, Parameter values can be controlled automatically between a defined minimum and
maximum setting at a rate set by the user. The Studio Quad V2 has 2 user definable LFOs in each program that can
be assigned to any Parameter.
For example, you can create an auto panner without using an auto panner module. Simply link an effect's output pan
parameter to the LFO modifier and the LFO will move that parameter back and forth. This modifier can be a very
useful weapon in the ongoing battle of new sound creation. There are two LFOs available in each program that can
use unique speeds and waveforms.
Dynamic Modifiers - When you use Dynamic Modifiers, the Parameter values are controlled in relation to the
dynamics of the input signal. The possibilities are nearly endless, and they cannot be duplicated using any other
method.
For example, you could link the Dynamic Modifier of a Program to control a chorus level. It doesn't sound like much
on paper, but imagine the expressiveness of this type of effect on a vocal part. As the dynamics of the music
increase, the chorus becomes less apparent. Ease up on the vocal a little and the chorus increases. ALL IN REAL
TIME!
NOTE: Linking a Modifier to a Parameter causes the Parameter to change as if you were changing it using the Data
Wheel. The only difference is that the <Store> button and PROGRAM CHANGED indicators do not light.
Therefore, the Default name may display 'Custom' if a Parameter is consistently being changed by a
Modifier. Storing the Program will store these new Parameter values.
LINKING A PARAMETER TO A MODIFIER
To link a Parameter to a Modifier, do the following:
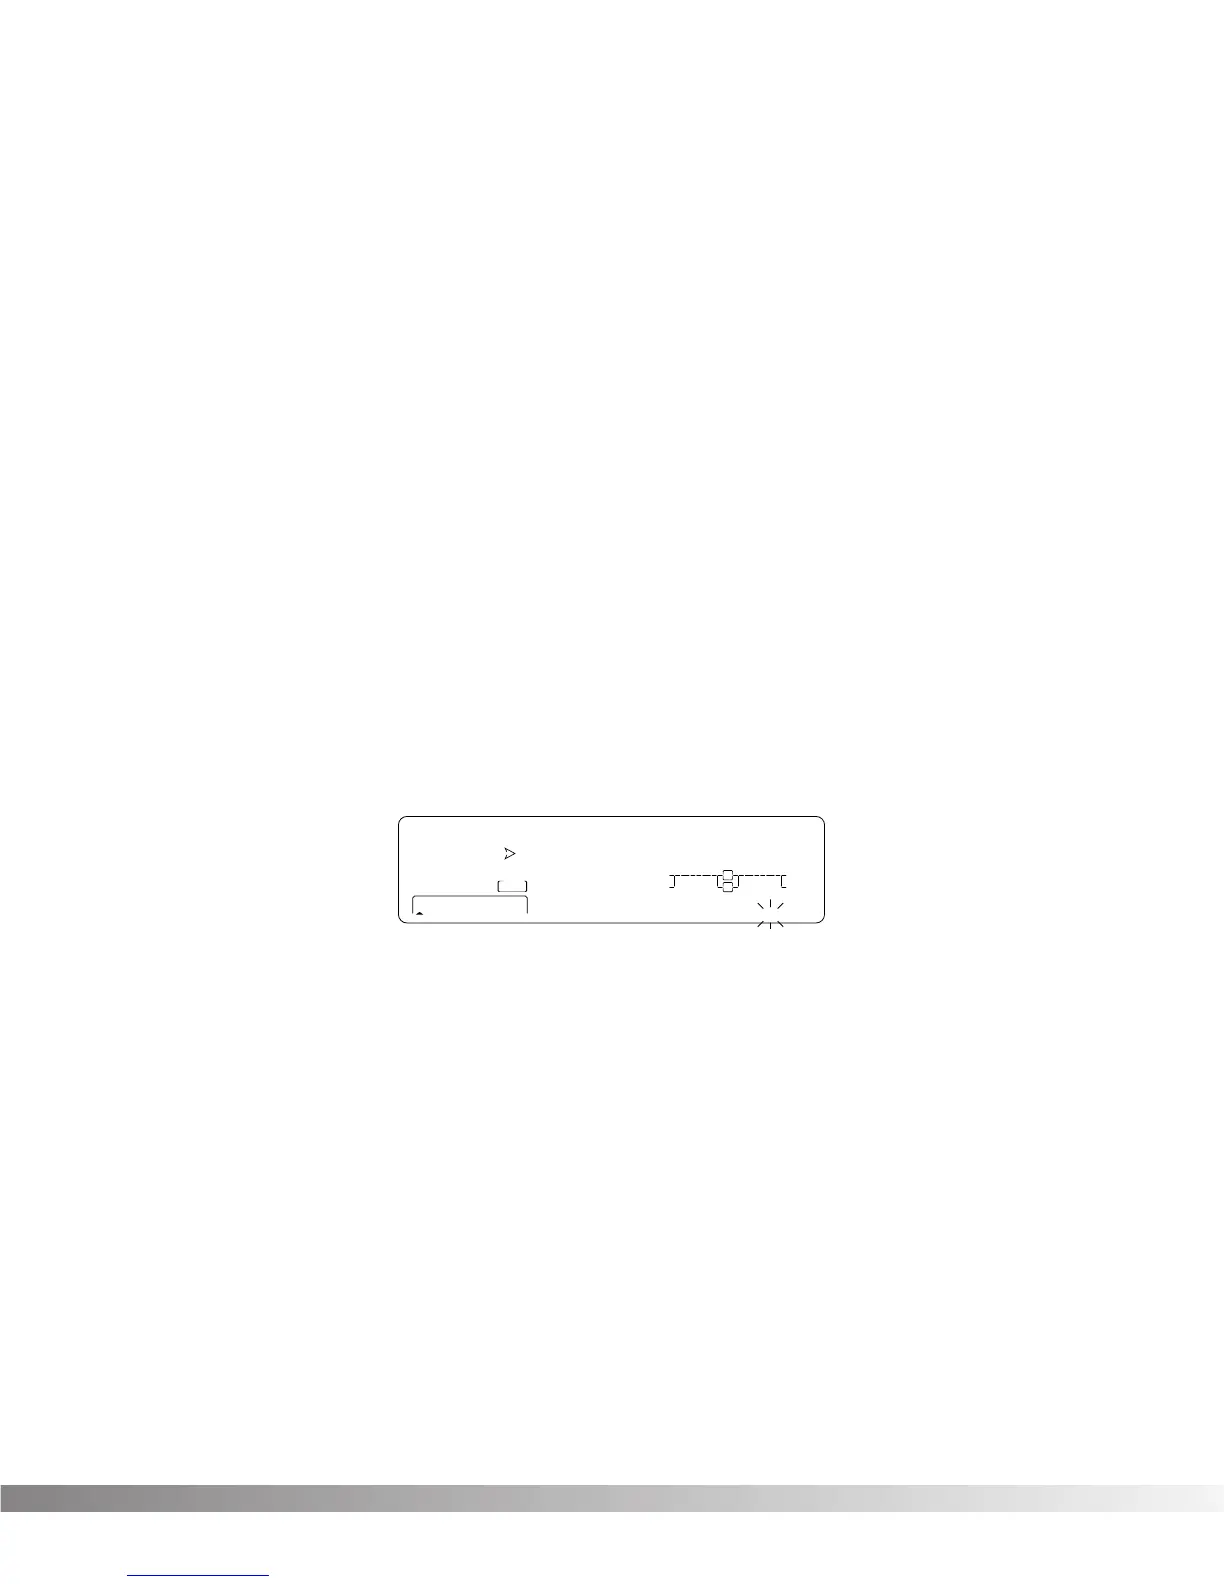
• Press <FX EDIT> until you readh the Modifiers Edit Mode. The display looks something like:
Notice that the modifiers icon in the bottom right corner of the display begins flashing.
• Pressing the <NEXTPAGE> and <PREV PAGE> keys will scroll through Pages 1-8 to select which of the 8
Modifier Links you want to use.
• Use the Data wheel to scroll to the Parameter you want assigned to Modifier link #1. As you scroll, the MIN
and MAX values for each Parameter show in the display.
NOTE: The MUTE and THRUeffect types do not have any Parameters to connect to, so they will not appear
in the parameter list.
• Press <3> to select the Minimum Value Parameter.
• Use the Data wheel to set the minimum Parameter to the value you want when the controller is in the mini-
mum position. These values vary because different Parameters have different value units, such as milliseconds
or percent.
• Press <4> to select the Maximum Value Parameter.
• Use the Data wheel to set the maximum Parameter to the value you want when the controller is in the maxi-
mum position.