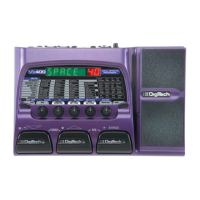
Using the Vx400’s Footswitches for Recording
The Vx400’s footswitches are capable of controlling the Pro Tracks™ recording software, creating a hands-
free recording interface. To do this, the Vx400 must be connected to the computer via the included USB
cable and the Pro Tracks application must be installed and open.
Recording a Track or Tracks
To begin recording a track using the footswitches, follow these steps:
1. Start the Pro Tracks application.
2. From the Pro Tracks menu bar, select File>New. The New Project File window will appear.
3. From the New Project File window, select Normal - Hands-Free Session.
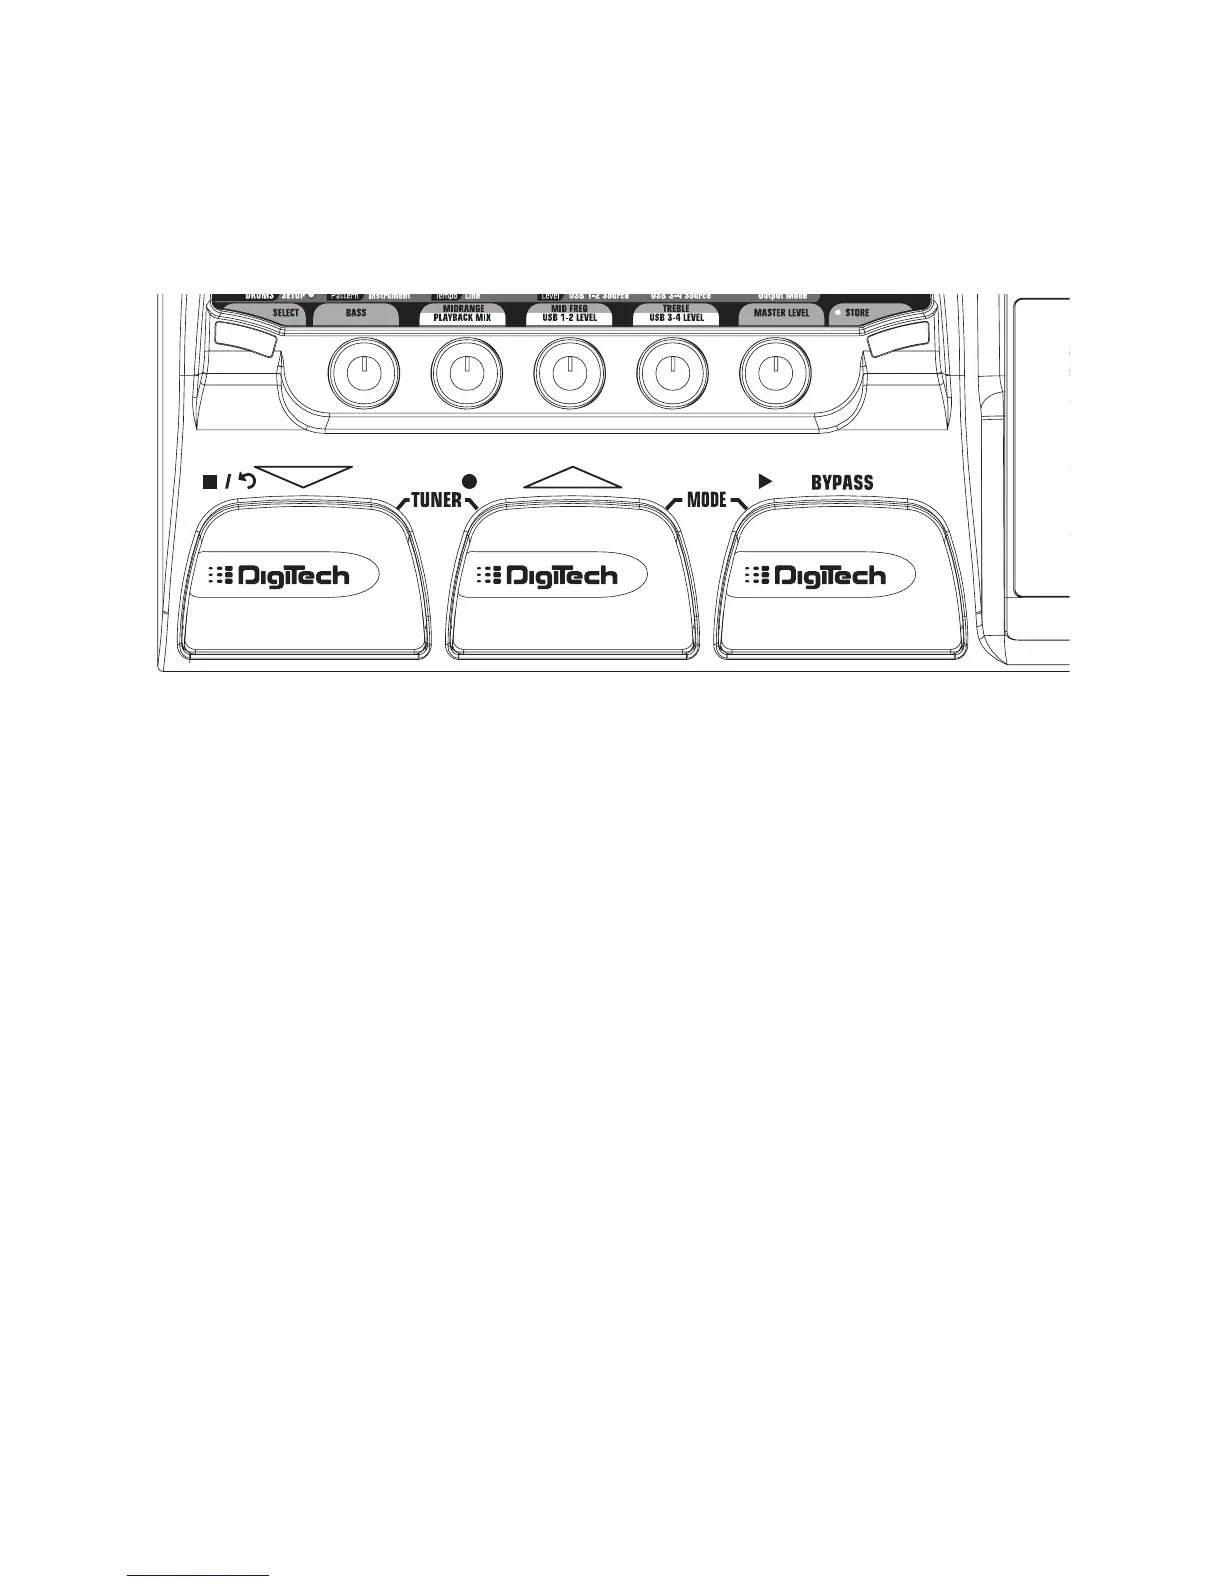
4. Put the Vx400 footswitches in Recorder mode by pressing and holding the UP and BYPASS
footswitches simultaneously until the display reads
rec fs.
5. From the preset display, press and hold the SELECT button to enter the SETUP row in the Vx400’s
matrix. Otherwise, press the SELECT button several times until the setup row is selected.
6. Select the sources to record using the USB 1-2 Source knob (additional sources can be selected
using the USB 3-4 Source knob).
7. Press the RECORD footswitch. The Vx400’s display reads
record.Atrack or tracks are
automatically inserted in the current session of the Pro Tracks software and recording on these tracks
begins.
8. To stop recording, press the STOP/UNDO footswitch. The Vx400’s display reads
stop and Pro
Tracks stops recording. The wave data for the track(s) can now be viewed on your computer monitor.
Playing Back a Recorded Track
After a track or tracks have been recorded, playing them back is easy. If you want to start playback at the
beginning of a track or song but are someplace other than the end of the song, follow these steps:
1. Press the STOP/UNDO footswitch once. The Vx400 display will read
rewind Pro Tracks will
rewind to the beginning of the current song.
2. Press the PLAY footswitch. The recorded track(s) will begin playing back.
27
The Vx400 and Recording