J
jerome84Sep 10, 2025
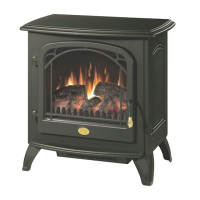
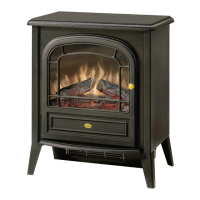
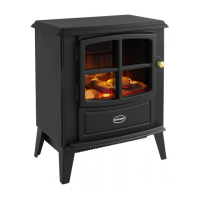
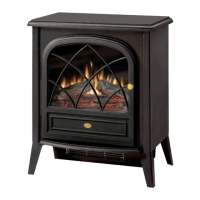
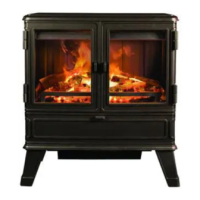
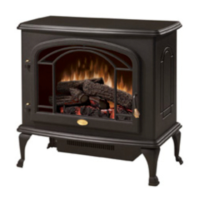
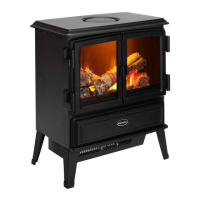
Why is my Dimplex Stove making excessive noise with the heater on?
- EealexanderSep 10, 2025
If there is excessive noise with the heater on in your Dimplex Stove, it could be due to a dirty heater assembly. Ensure that the exterior intake louvers and firebox cavity are free of dirt and dust. It could also be caused by a defective heater assembly, so replace the heater assembly.