Installation Attentions
4
The adapter of UC200 Pro accepts DC12V 2A power input, and the adapter of
UC350 series accepts DC220V 10A dual power input. Please make sure that
it is operational and safe.
Toreducetheinterferencetotelephonecalls,pleaseseparatepowersupply
cablesfrom telephonelines.
Toguaranteerunningofthegateway as usual, pleasemakesurethatthere
issufficient networkbandwidth.
Forbetterheatdissipation,pleaseplacethegatewayonalevelsurfaceand
ensure space forotherdevices.
UC200 Pro
192.168.11.XXX
FXS FXO
PSTN
PSTN
Installation Instructions
5
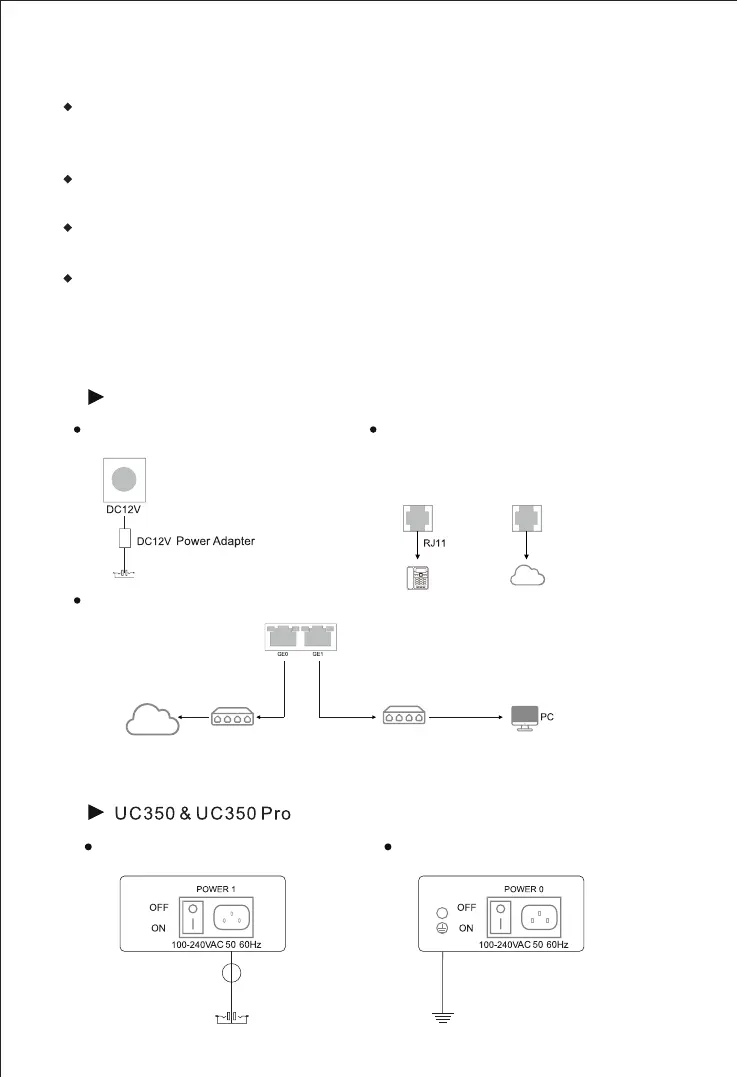
Connect with Power Input
Connect with Ethernet
Note: The UC200 Pro’s default network port for management is the GE1 port.
192.168.12.1
Network Cable
192.168.11.1
Network Cable
Router/Switch
Switch
IP
Network
Connect with Power Input
Connect with Grounding Lug
//
Grounding Cable
Grounding Lug
AC100- 240V
Analog Phone
Connect telephone line to the FXS port
and connect PSTN line to the FXO port.