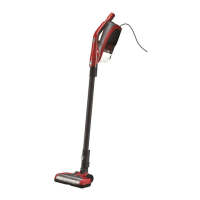
Diagram 4
Height adjust knob.
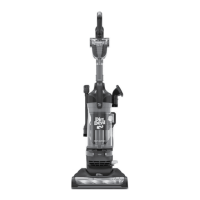
Diagram 5
Use carrying handle on back of
cleaner to move room to room.
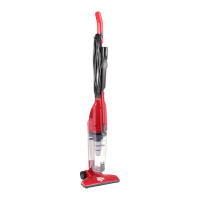
Diagram 1 Attached hose
anchor to base. Stretch hose
assembled to anchor.
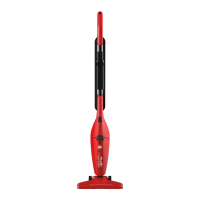
Diagram 3 Extension Wand
Remove wand from side of cleaner.
6
HOW TO OPERATE cont.
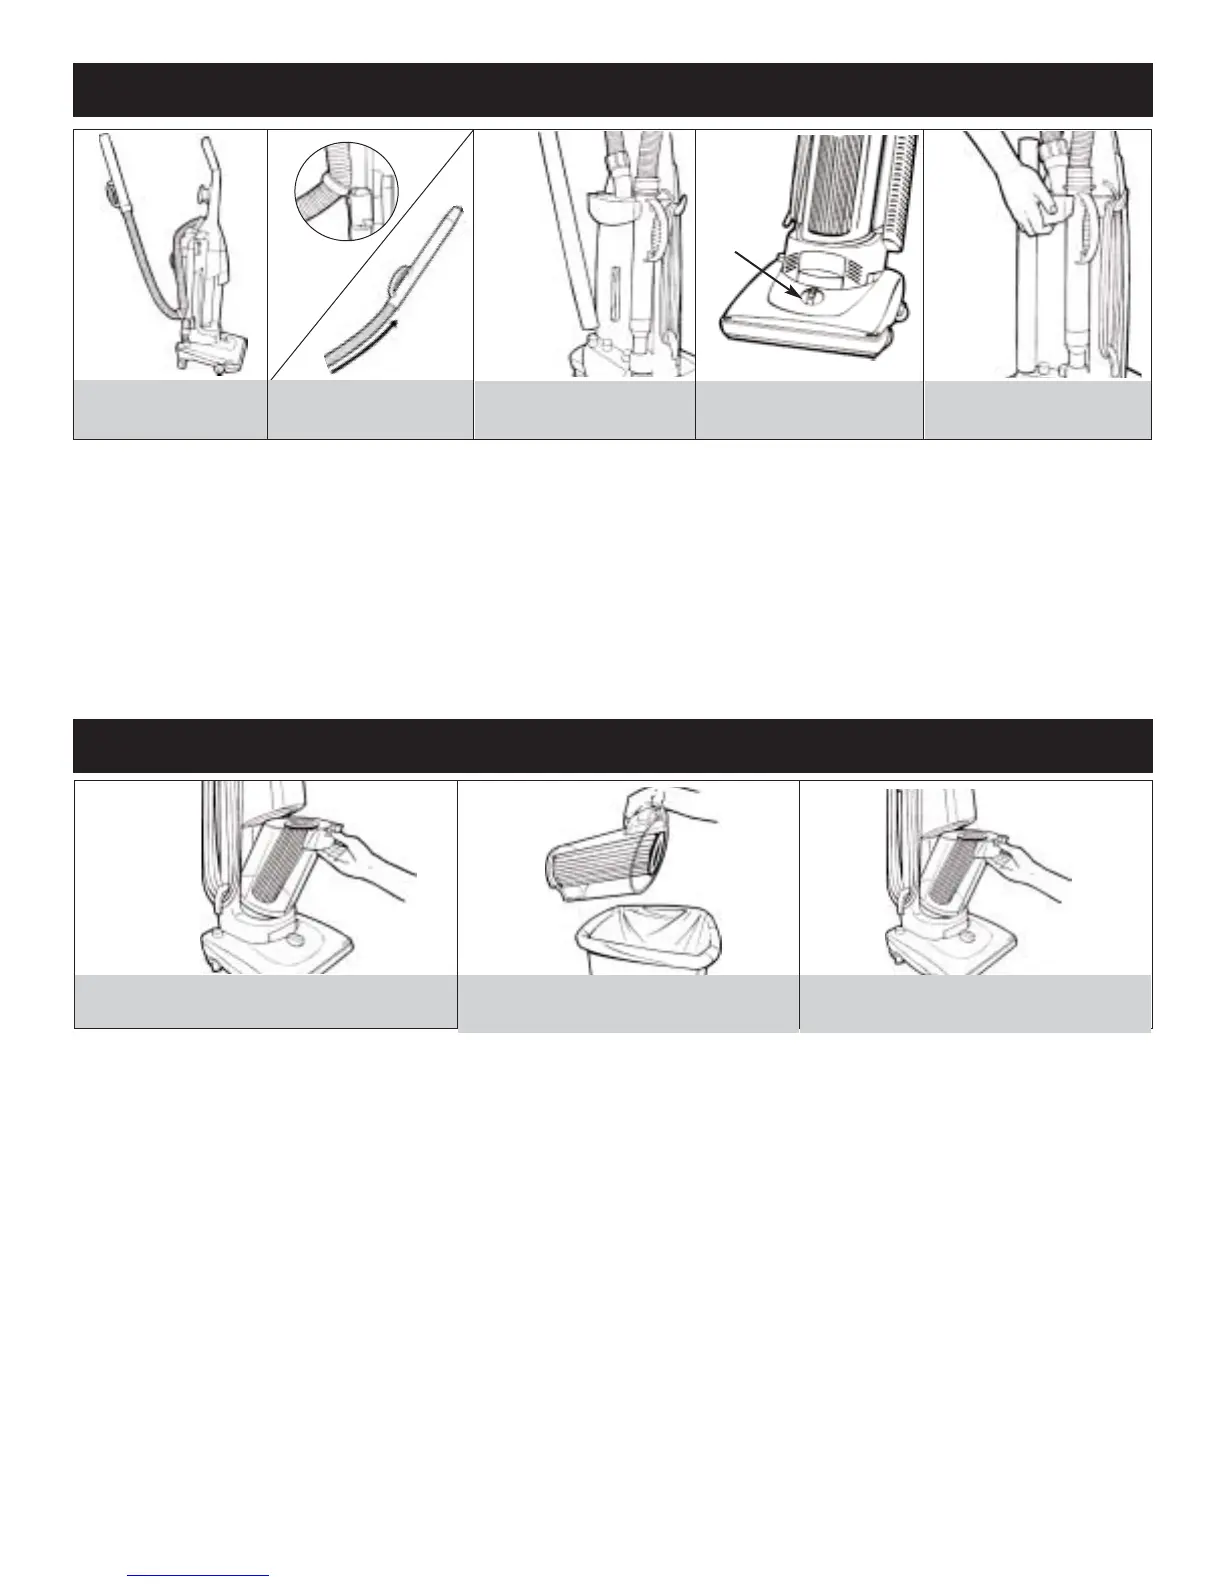
STRETCH HOSE AND HOSE ANCHOR: The Hose Anchor is used to prevent the vacuum from tipping while using the above
floor cleaning attachments. Remove the Stretch Hose from side of the cleaner using the handle. Lay hose over the back of cleaner (Diagram
1) and secure hose anchor ring, (Diagram 2a) located around hose to base. Pull hose from hose handle for additional length (Diagram 2b).
EXTENSION WAND: Remove wand from side of cleaner by pulling out at the top to unsnap and pull up (Diagram 3).
CARPET SETTINGS
IMPORTANT: PUT HANDLE IN THE UPRIGHT POSITION BEFORE ADJUSTING THE CARPET SETTING.
Turn knob to adjust height of nozzle to match the surface being cleaned (Diagram 4). If cleaner is difficult to push, adjust to a higher
carpet setting.
HOW TO TRANSPORT CLEANER
Use the carrying handle on the back of the cleaner to move cleaner from room to room (Diagram 5).
NOTE: Do not push cleaner forward while leaning on back casters. Do not pull cleaner on back casters.
1.
2.
3.
3.
4.
5.
Height adjust
knob
2b.
1.
DIRT CONTAINER & PERMA FILTER
®
WITH CLEANSTREAM
™
FILTRATION: REMOVAL & REPLACEMENT
CLEANING DIRT CONTAINER & PERMA FILTER
®
WITH CLEANSTREAM
™
FILTRATION:For addition-
al filtration, a removable filter is located inside the dirt container. The filter does not need to be replaced but should be cleaned
reglarly for maximum performance.
WARNING:
TO REDUCE THE RISK OF INJURY FROM MOVING PARTS - UNPLUG BEFORE SERVICING.
Empty & Clean DIRT CONTAINER:
1. Depress latch to remove dirt container from cleaner (Diagram 1). Pull dirt container out to empty (Diagram 2).
2. Remove and clean the PERMA FILTER
®
withCleanStream
™
Filtration (see instructions below).
3. Use a sponge and lukewarm water to wipe dirt container compartment clean.
4. Replace Dirt Container: Set aligning tab on bottom of dirt container into rectangular slot on the cleaner, and push to snap into place
(Diagram 3). If dirt container does not snap into place, check to make sure the filter is secured properly.
CLEAN THE PERMA FILTER
®
WITH CLEANSTREAM
™
FILTRATION (internal) located in dirt container:
1. Remove dirt container. Hold dirt container, grasp inside ring at top of filter and firmly pull the filter up and out (Pg. 8 - Diagram 4).
2. Regular Maintenance*: Each time the dirt container is emptied, the filter should be cleaned. Gently tap the filter firmly against the
inside of a trash can until dirt stops falling from the filter. (Filter will be discolored after use, this will not affect the filter’s performance.) Do
not brush the filter.
3. Deep Cleaning*: If the Performance Indicator Wheel on the front of the handle is spinning rapidly you should notice a decrease in the vac-
uum’s power or suction. If this happens, inspect the cleaner for clogs, empty the dirt cup and remove all dust and debris from the filter.
Once cleaned the vacuum will immediately be ready for use.
4. Replace the PERMA FILTER
®
withCleanStream
™
Filtration: Align angle of filter with angle of dirt container (gasket facing up). Push
down on filter to snap into place and prevent dirt leakage. Return dirt cup to cleaner.
* The cleaning instructions may vary depending on the dirt conditions. In some cases, more or less cleaning of the PERMA FILTER
®
with
CleanStream
™
Filtration may be required.
2a.
Diagram 2a Hose Anchor
Diagram 2b Hide-a-Hose
®
Pull hose from hose handle.
Diagram 2 Empty dirt container
Filter does not have to be removed to empty dirt
container.
Diagram 3 Replace dirt container
The filter must be in dirt container before replacing dirt
container.
Diagram 1 Release dirt container
Depress latch to remove dirt container.