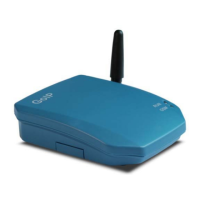
One Chunnel GSM VoIP Gateway
8
b) Connect an Ethernet cable the LAN port of the GoIP Gateway and the other end to
your existing network equipment.
c) Connect an Ethernet cable to the PC Port of the GoIP Gateway and the other end to a
PC or other network device (Optional).
d) Connect the power adapter provided to the power jack of the GoIP Gateway.
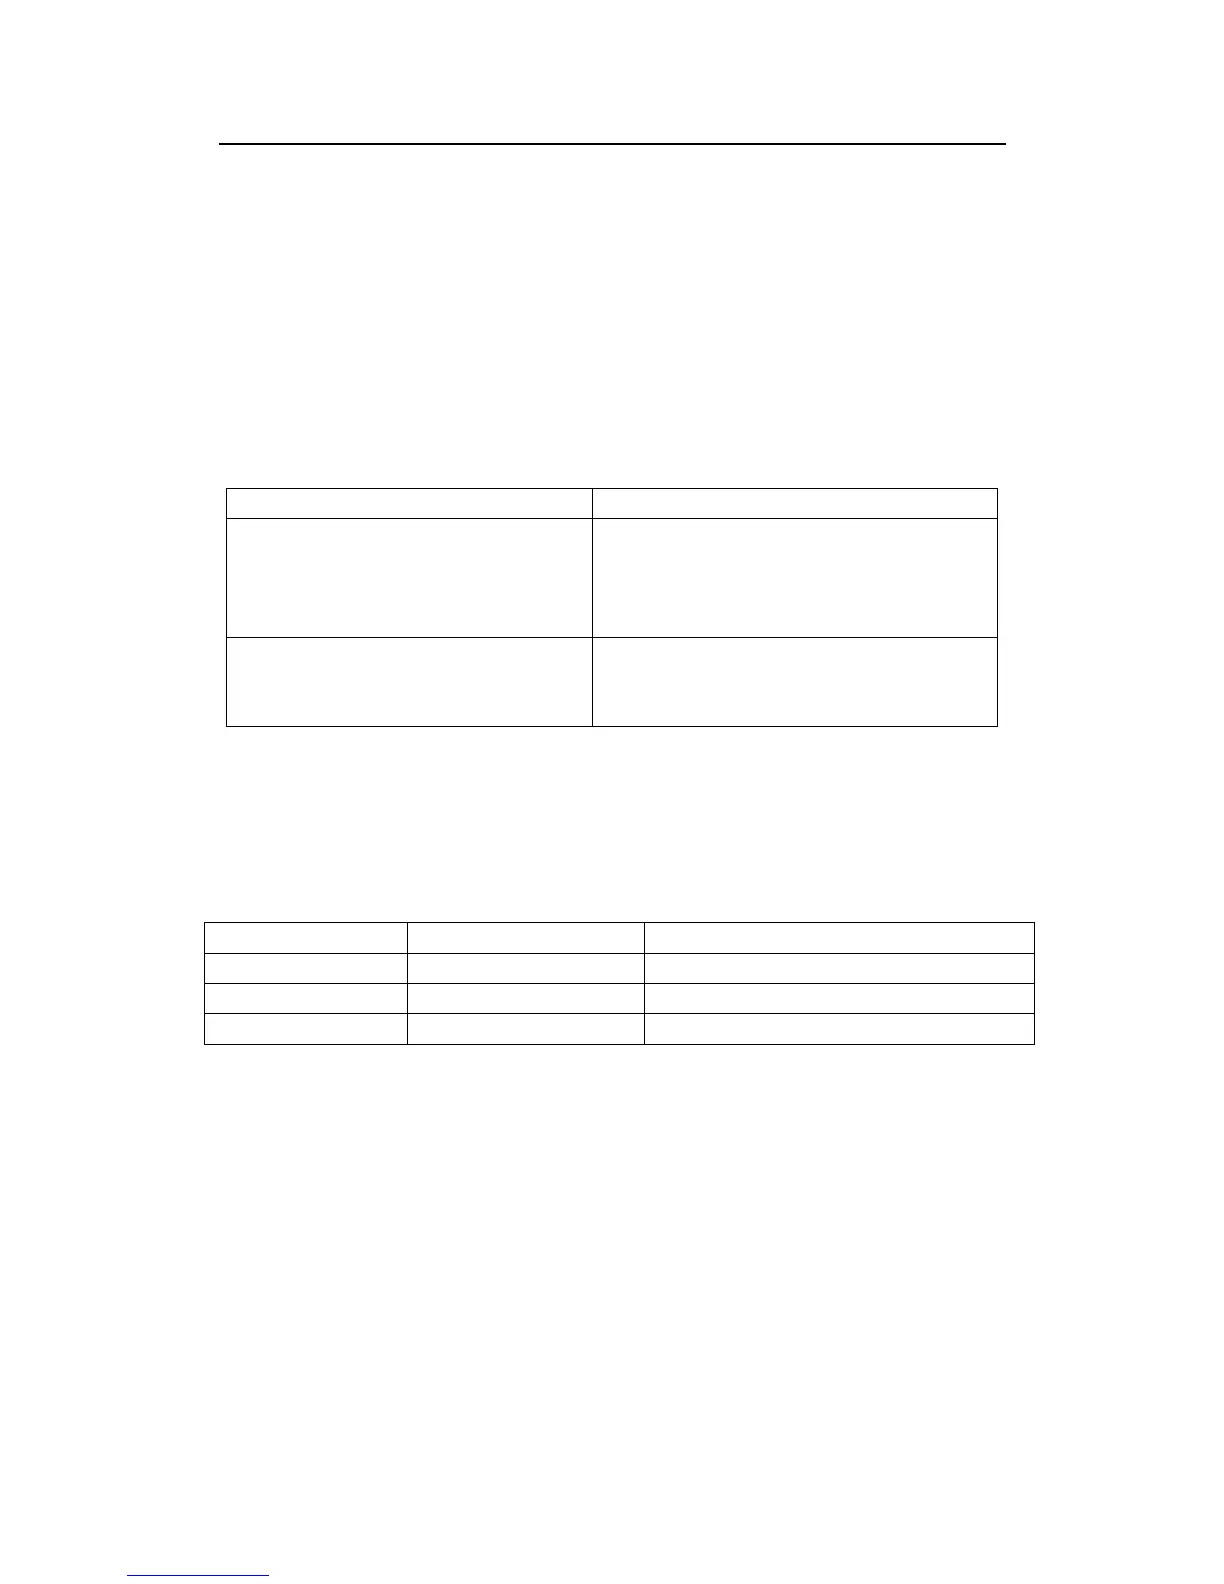
2.3 LED Indicators
The following table defines the status of the LEDS located on the top case and on the
RJ-45 connectors.
LED DESCRIPTION
RUN
1. When the GoIP is booting,this LED will
flash 100ms ON and 100ms OFF.
2. When the GoIP is login your softswitch,
this LED will flash 1s ON and 1s OFF.
GSM When the GoIP’s GSM login the ISP’s
system, this LED will flash 1s ON and 1s
OFF.
2.4 SMS Commands
GoIP supported commands come from SMS.
FUNCTION SMS CONTENT REMARK
Obtain LAN Port Info
INFO
Not distinguish majuscule and lowercase
Reset device
RESET Password
Not distinguish majuscule and lowercase
Reboot device
REBOOT Password
Not distinguish majuscule and lowercase
Note: In command Reset and Reboot, the Password is the GoIP device’s admin
password.
The command keywords can use majuscule and lowercase, but the password must
distinguish majuscule or lowercase.
3 Configuration Guide
To configure the GoIP Gateway, you must login to its Web server via the LAN or PC port.
The LAN port is factory preset to obtain an IP from the local DHCP host and the PC port is
set to the fixed IP 192.168.8.1.