1.
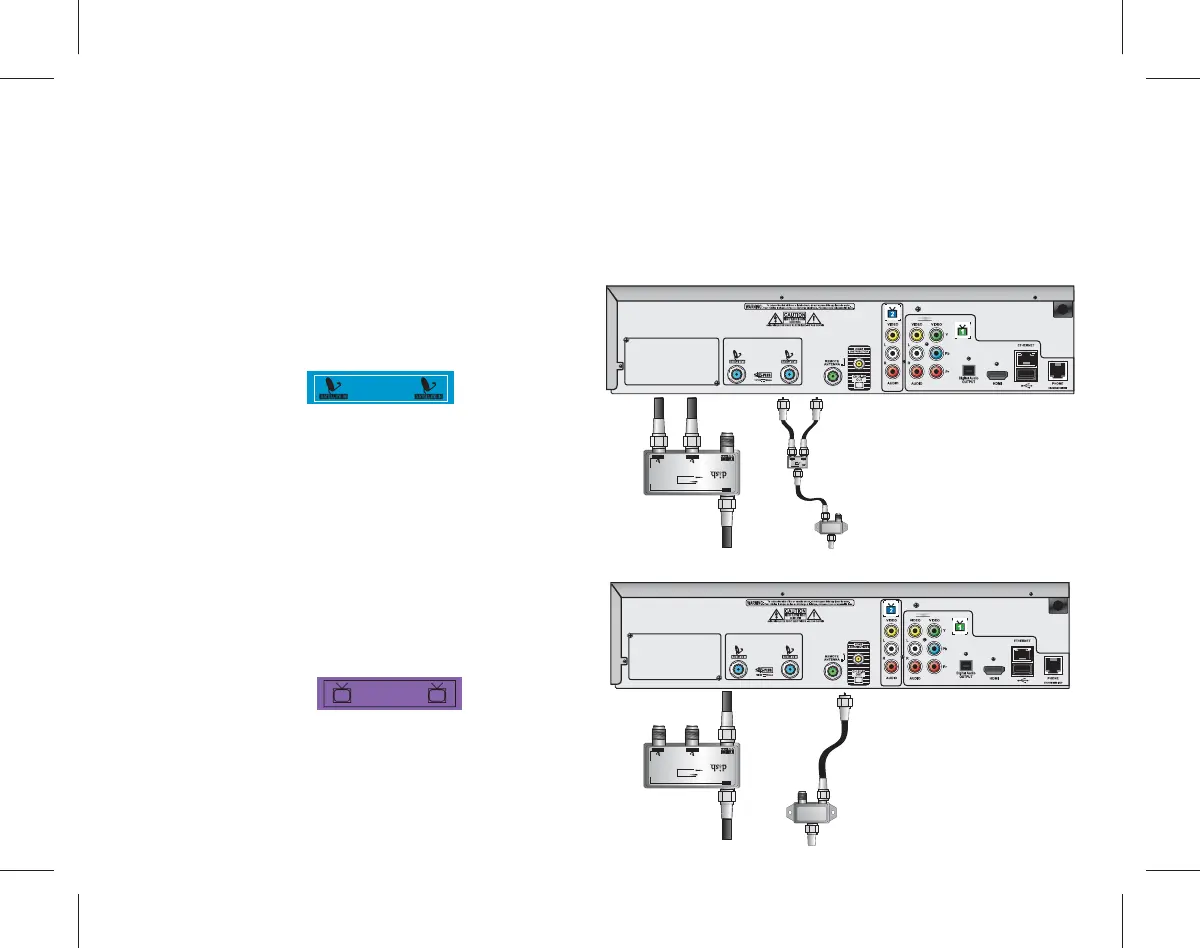
Labeling Your Cables
Use the labels provided to complete this step. Do not remove any cables from the receiver
being replaced until Step 2.
a.
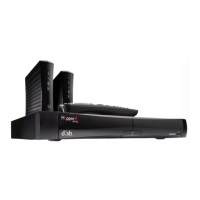
Attach the blue labels to the
cables connected to the
"Satellite In" ports .
Your Satellite In connection will look
like one of the following images.
b.
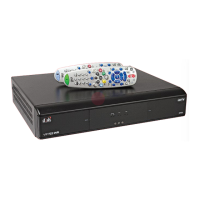
Attach the purple label to the
cable connected to the
"Home Distribution" port.
Your Home Distribution connection will
look like one of the following images.
SATELLITE INSATELLITE IN
P
P
PLUS
INPUT
TRIPLEXER
175284
DC & DiSEqC PASS
950-1450 MHz1650-2150 MHzUHF/VHF
54-2150 MHz
SATELLITE INSATELLITE IN
P
P
PLUS
INPUT
SEPARATOR
123254
DC & DiSEqC PASS
SATELLITE INSATELLITE IN
P
P
PLUS
INPUT
TRIPLEXER
175284
DC & DiSEqC PASS
950-1450 MHz1650-2150 MHzUHF/VHF
54-2150 MHz
or
or
TV2TV2