3.
Connecting the Cables to Your Replacement Receiver (Cont’d)
d.
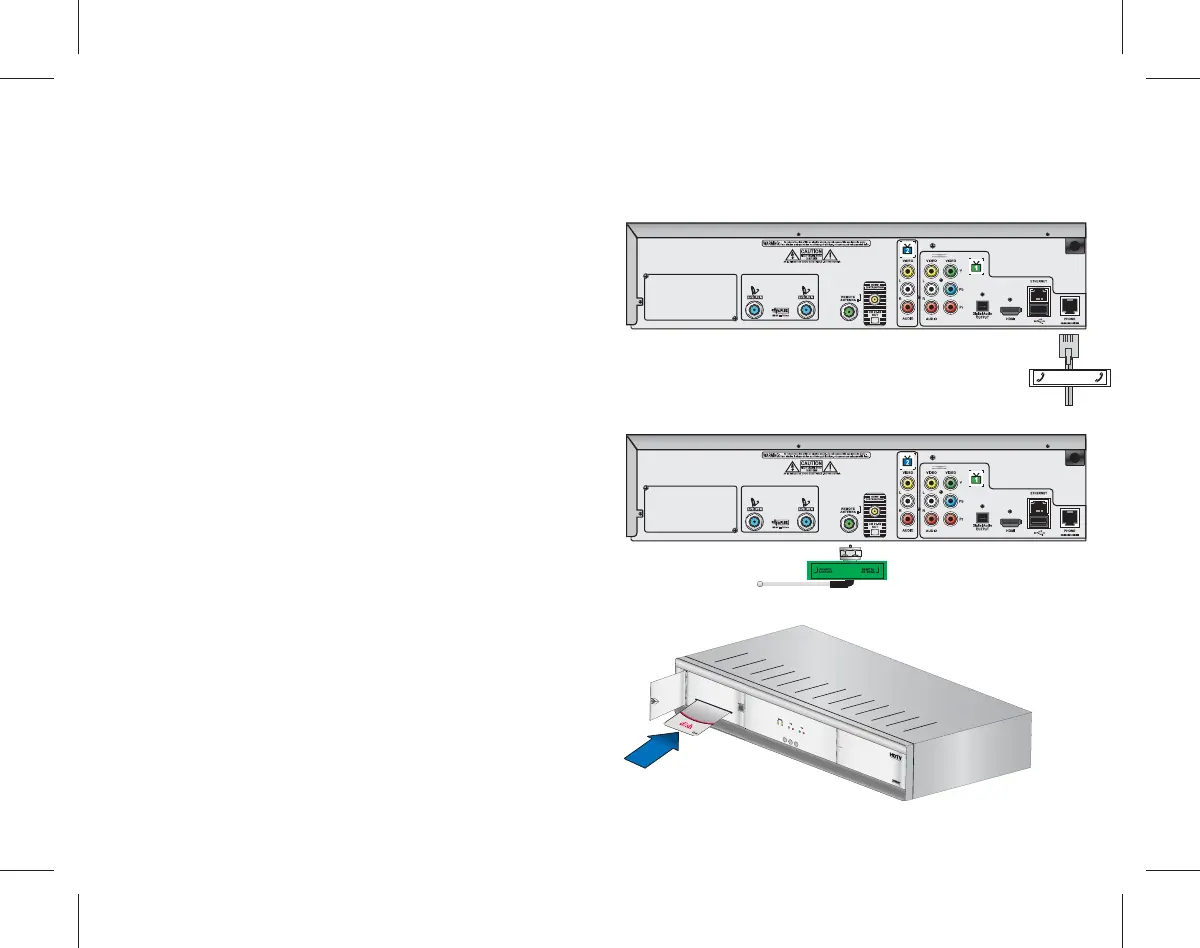
Connect the Phone cable to the
"Phone" port on the replacement
receiver.
You may not have this cable.
e.
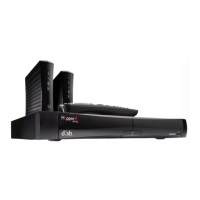
Connect the remote antenna to
the "Remote Antenna" port on
the replacement receiver.
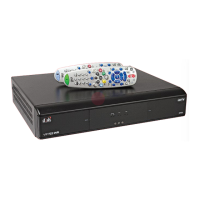
f.
Open the panel on the front of
the new receiver and make sure
the Smart Card is secured rmly
in the slot.
Not all receivers will have a Smart
Card. If your receiver does not have
a Smart Card, go to Step 4.
PHONEPHONE
PHONEPHONE
INSERT CARD FIRMLY
THIS SIDE UP
Inserte firmemente
con este lado hacia arriba