1
.
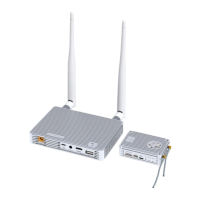
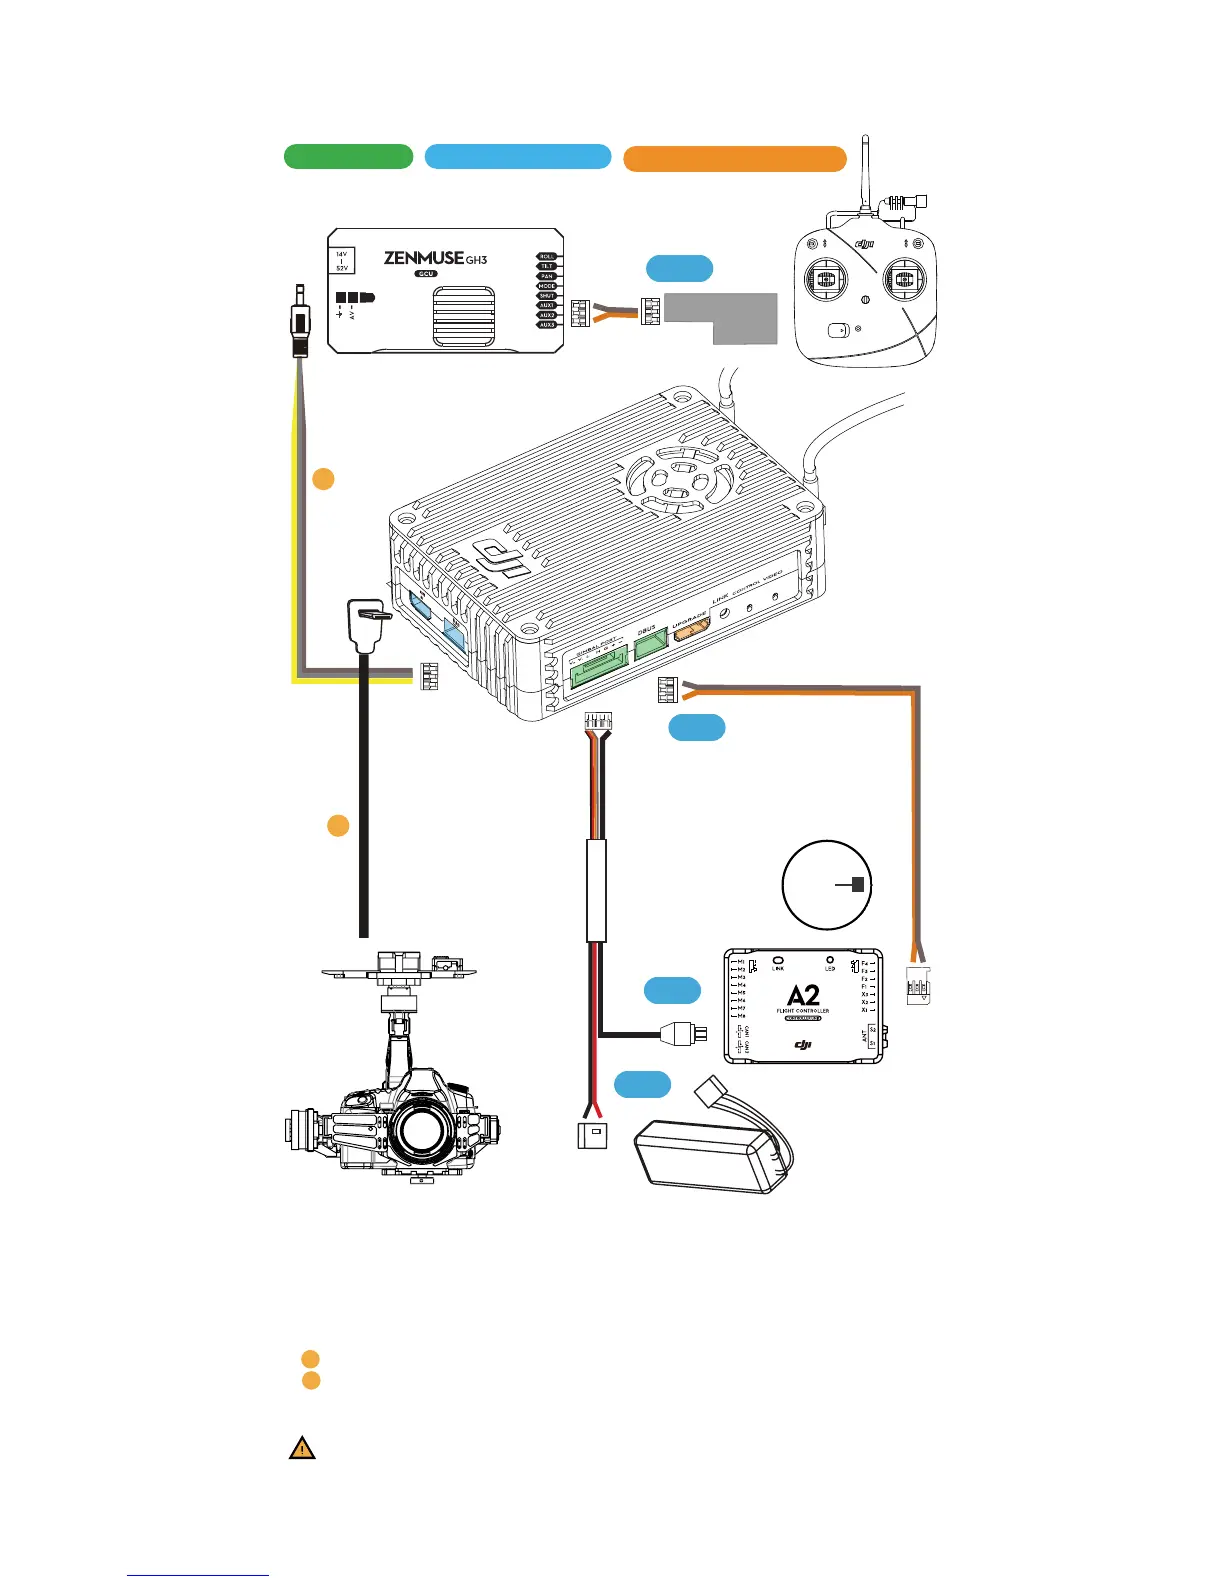
Attach the air system antenna to the unobstructed position on the aircraft via the
extension cable.
2. Connect DJI LIGHTBIRDGE DBUS port to flight controller X2 port via DBUS cable.
3. Connect GIMBAL port to the power source through DIY power cord. Attach CAN
connector to the CAN port on the flight controller (CAN1 port for A2).
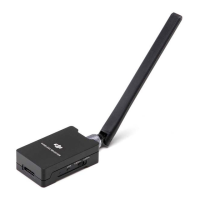
4. To link the 5.8GHz transmitter, connect GCU AUX2 port to the 5.8GHz receiver.
5. Connect DJI LIGHTBRIDGE AV port with GCU video port via AV cable.
Connect DJI LIGHTBRDIGE HDMI input port wit camera HDMI output port with
HDMI cable.
Disconnect HDMI from the gimbal before powering, allow time for the gimbal to
perform self-check procedure. Failure to do so may damage the HDMI cable.
Re-connect the HDMI to the gimbal when self-check is finished.
Power
Compulsory
Mutually Exclusive
Connect when required
 Loading...