6
©
2021 DJI All Rights Reserved.
Operation
Linking
The transmitters and the receiver are linked by default. Follow the steps below to link if the
transmitter and receiver are disconnected.
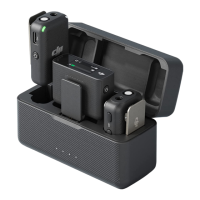
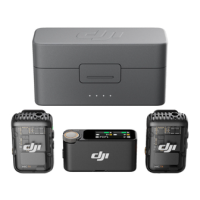
1. Place the transmitters and the receiver in the charging case and they will link automatically.
2. Power on the transmitter and the receiver, press and hold the link button of the transmitter, slide
down on the screen of the receiver, select Settings, and scroll through and tap Link Device to
start linking. The status LED glow solid green to indicate linking is successfull.
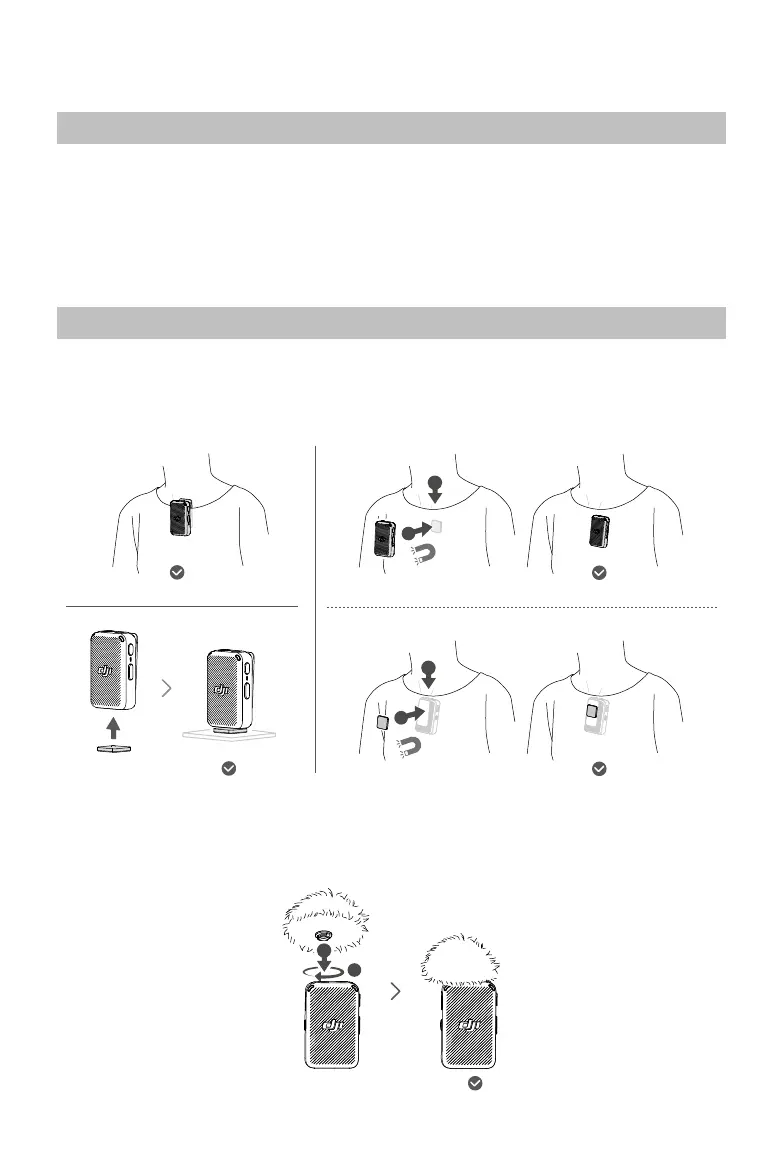
Using DJI Mic
Transmitter
The transmitter can be attached using the magnetic clip to either clothes or a stable surface. The
clamp can also be used to attach the transmitter to clothes.
It is recommended to use the windscreen when using the transmitter outdoors or in a windy
environment. Attach the windscreen to the transmitter by aligning it with the internal microphone
and rotate the windscreen to lock in place.
2
1
1
2
1
2
REC
REC