LCD Keypad Installation Guide 11
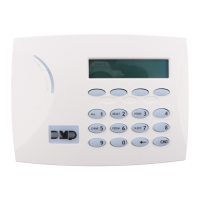
DEFAULT KEYPAD
MSG:
Default Keypad Message
Enter a custom message of up to 16 characters to
appear on the keypad display top line whenever
that line is not used for any other purpose. Press
any Select key to clear the current message and
use the data entry keys to enter a new custom
display.
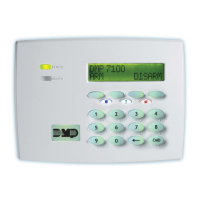
ARM PANIC KEYS:
*PN *EM *FI
Arm Panic Keys
Use this option to congure the top row Select
keys as 2-button Panic keys. To enable or disable a
Panic, press the Select key under the appropriate
display: PN (Panic), EM (Emergency), and FI (Fire).
Once the panic is enabled, an asterisk displays next
to the description. Refer to the Panic Key Options
section earlier in this document.
7/0 PANIC
ENABLE: NO YES
7/0 Panic
Use this option to congure the 7 and 0 keys as a
2-button Panic feature. To enable the 7/0 Panic,
select YES. To disable the option, select NO.
Default is NO. To operate, simply press and hold
the 7 and 0 keys for one-half (1/2) second. Refer
to the Panic Key Options section earlier in this
document.
ACTIVATE ZONE 2
SHUNT: NO YES
Zone 2 Shunt (7073/7073A, 793 only)
Select YES to enable the Soft-Shunt™ option on
zone 2 as described earlier in this document. This
zone provides the Soft-Shunt™ for door contacts.
This zone must be programmed into the panel.