Ribbon
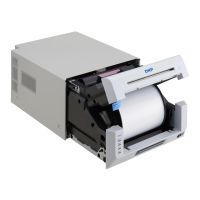
1. Once the paper has been changed & the lid
closed you will be able to access the ribbon tray.
Grasp the black ‘handle’ of the ribbon tray & pull
upwards (Figure 5).
2. Remove & discard the used ribbon from the
ribbon tray.
DO NOT DISCARD THE RIBBON
TRAY.
3. Inset the new ribbon into the tray, Purple (supply)
spool to the front & orange (take up/waste) to the
rear with the ribbon going over the top of the
spools. Not the ribbon is designed to only go into
the holder one specific way (Figure 6). There is
a diagram on the inside of the tray if you require
any guidance.
4. Ensure there is no slack in the ribbon by gently
winding the supply side of the ribbon to tighten.
Replace the ribbon tray into the printer by sliding
the entire assembly into the printer mechanism.
5. Replace the emptied off-cut drawer then close the printer drawer by pushing it in
until it clicks shut. The LED’s will flash and the printer will initialize. The printer
will produce four offcuts as part of this process. Once this has finished your printer
is ready to go!
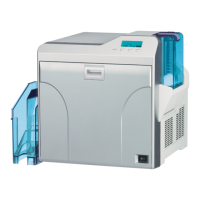
Figure 5 - Ribbon tray removal/replacement
Figure 6 - correctly seated ribbon in tray
mechanism