1. Remove the wheel bolts and tire.
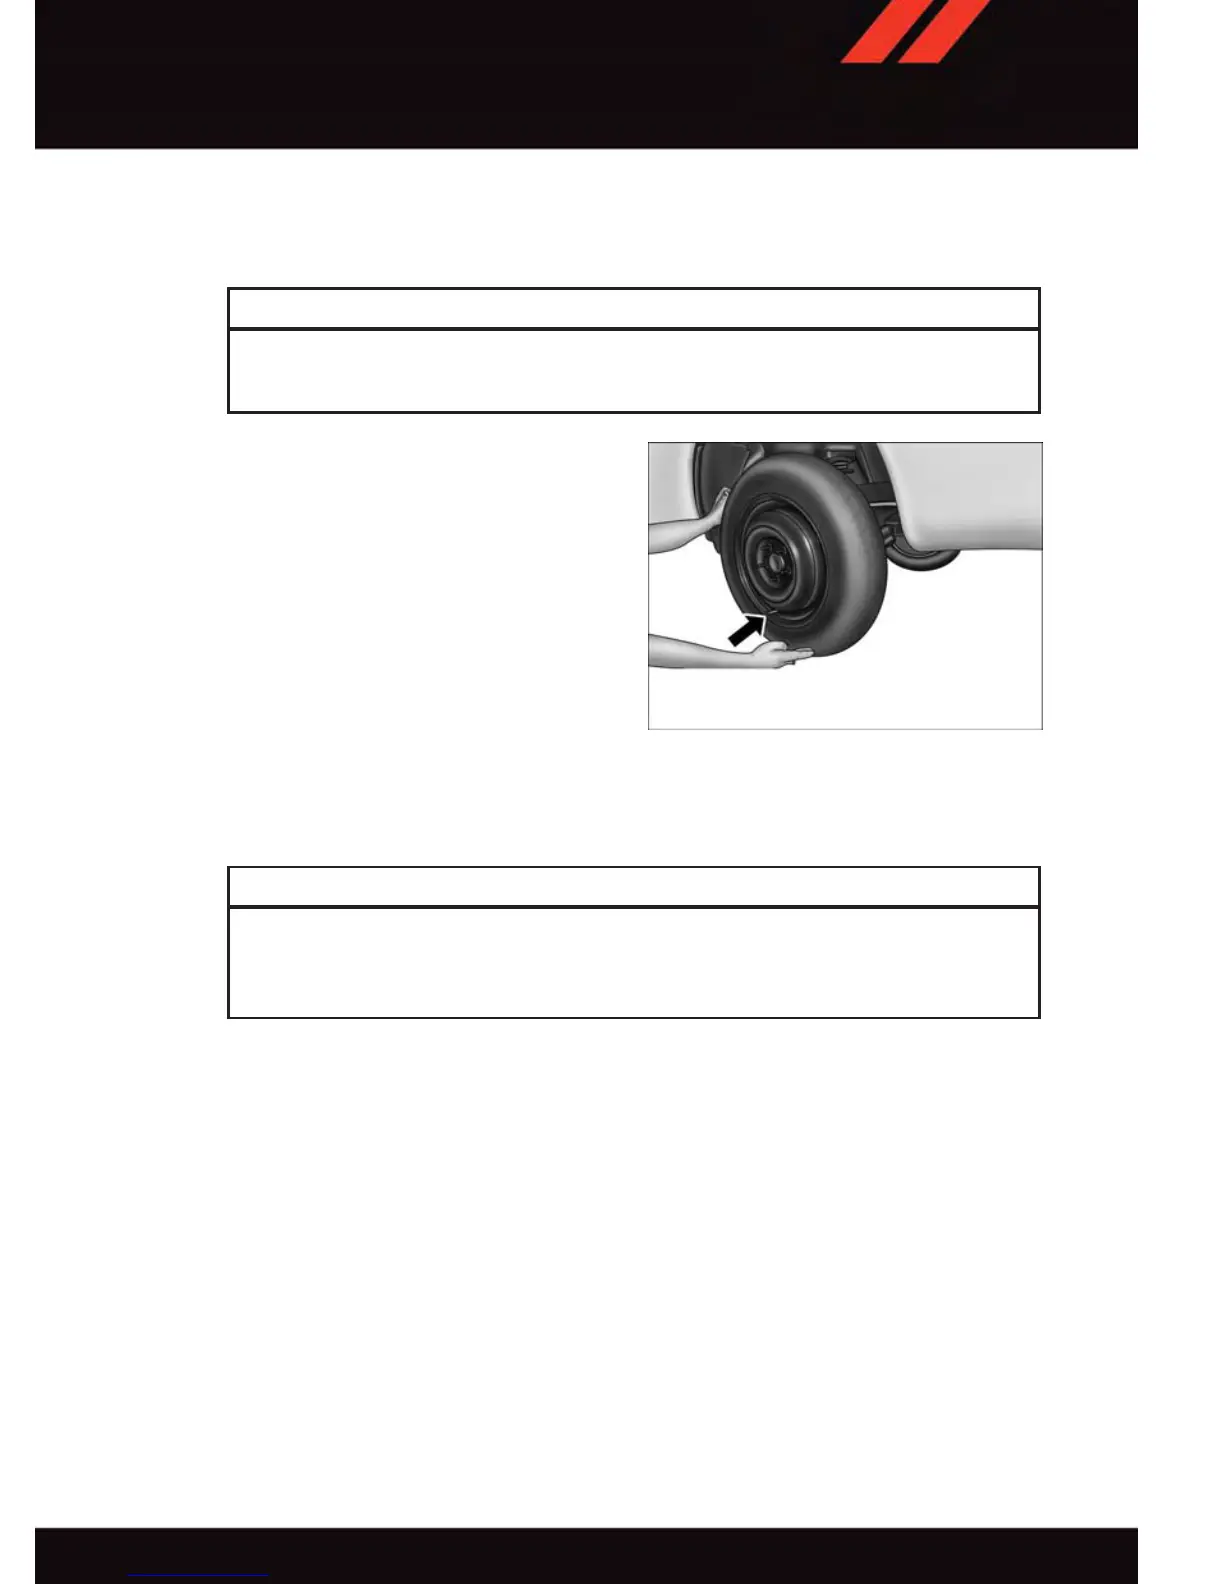
2. Mount the spare tire.
CAUTION!
Be sure to mount the spare tire with the valve stem facing outward. The vehicle could
be damaged if the spare tire is mounted incorrectly.
NOTE:
• For vehicles so equipped, do not at-
tempt to install a center cap or wheel
cover on the compact spare.
• Refer to “Compact Spare Tire” and to
“Limited-Use Spare” under “Tires —
General Information” in “Starting and
Operating” in the Owner’ s Manual on
the DVD for additional warnings, cau-
tions, and information about the spare
tire, its use, and operation.
3. Install the wheel bolts with the threaded
end of the wheel bolt toward the wheel. Lightly tighten the wheel bolts.
WARNING!
To avoid the risk of forcing the vehicle off the jack, do not fully tighten the wheel bolts
until the vehicle has been lowered. Failure to follow this warning may result in serious
injury.
4. Lower the vehicle to the ground by turning the jack handle counterclockwise.
5. Finish tightening the wheel bolts. Push down on the wrench while at the end of the
handle for increased leverage. Tighten the wheel bolts in a star pattern until each bolt
has been tightened twice. The correct tightness of each wheel bolt is 100 ft/lb. (135
N·m). If in doubt about the correct tightness, have them checked with a torque wrench
by your authorized dealer or at a service station.
6. Lower the jack until it is free. Remove the wheel blocks. Reassemble the lug wrench to
the jack assembly and stow it in the spare tire area. Secure the assembly using the
means provided. Release the parking brake before driving the vehicle.
7. Stow the jack, tools and flat tire.
Installing Spare Wheel/Tire
WHAT TO DO IN EMERGENCIES
121

 Loading...