DOLMAR GmbH
6
4
2
6
3
5
6
7
8
1
02-03 Checking the clutch drum /sprocket
of models 109 / 111
Worn sprockets or clutch drums (arrows)
must be replaced.
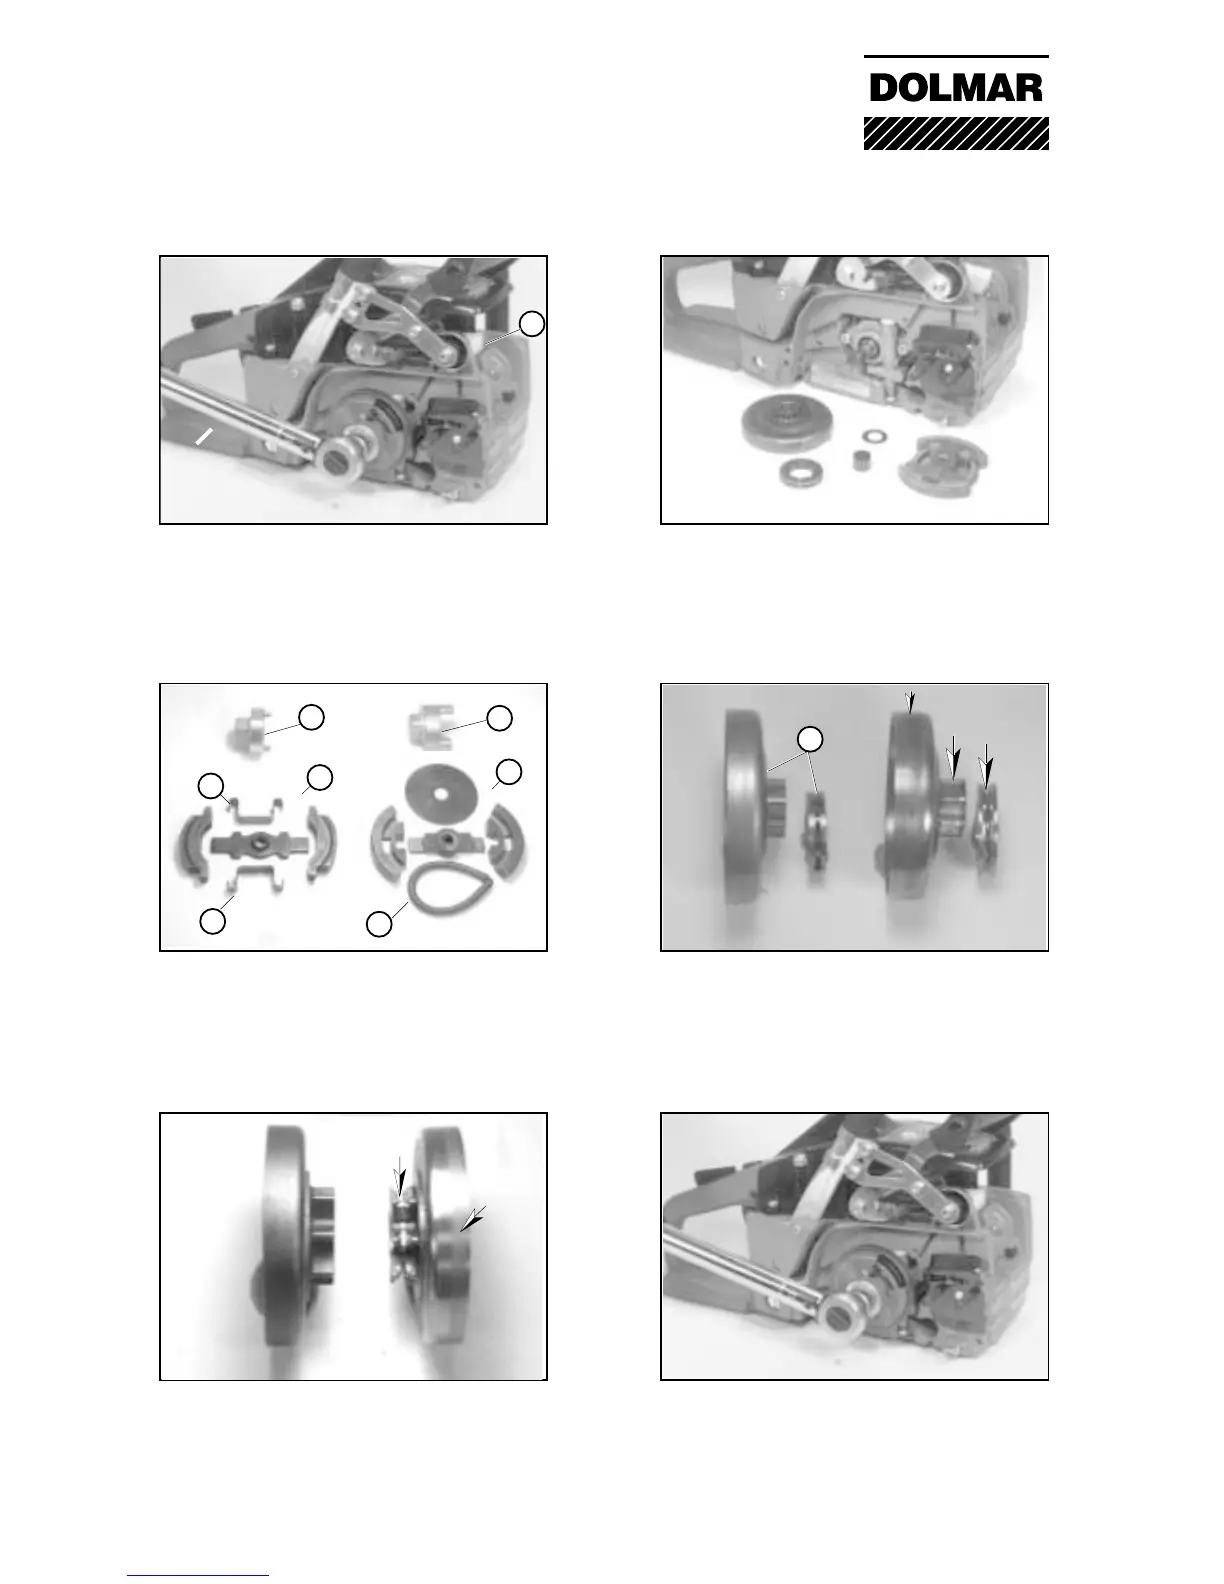
02-01 Removing the clutch drum
For the removal of the clutch/clutch drum it is
necessary to immobilize the cylinder unit.
For this purpose unscrew the silencer and
insert the piston stopper wedge (1) into the
exhaust duct of the cylinder.
02-01 Unscrewing the clutch
Use spanner (2), no. 944 500 680 for clutch
(3) and use spanner (4) no. 944 500 690
for clutch (5) .
Caution: Left-hand thread
02-01 Differing clutch designs
Clutch (5) for models 109, 110, 111.
Clutch (3) for model 115.
Clutch springs may be replaced as a
complete set (6) or individually (7).
02-03 Mounting the clutch drum and clutch
Prior to installation, lightly grease the clutch
drum bearing and tighten the clutch using a
torque of 35 Nm.
02-03 Checking the clutch drum /sprocket
Worn sprockets (arrows) or clutch drums must
be replaced.
Ring pinion system (8) is standard equipment
only for models 110/115. As replacement also
available for models 109/111.
02 Clutch drum