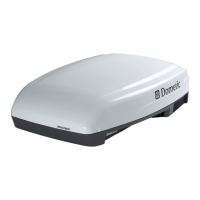
10
Front and rear vent doors are supplied
loose. Do NOT install them until all screws
are installed in step 2 & 3.
FIG. 20
ADB Alignment Holes
Ceiling Template
Alignment Holes
FIG. 21
Hole In Ceiling
Template
ADB Hole
Alignment
Hole In
ADB Cover
FIG. 18
Mounting Bolt
Mounting Bolt
H. 120 Vac Power Supply Connection
1. ELECTRICAL SHOCK HAZARD.
Make sure 120 Vac power is disconnected from
RV. Failure to obey this warning could result in
death or serious injury.
2. ELECTRICAL SHOCK HAZARD.
Provide grounding in compliance with all appli-
cable electrical codes. Failure to obey this warn-
ing could result in death or serious injury.
3. Connect white to white; black to black; using ap-
propriate size connectors. Secure bare copper
wire under grounding screw in junction box. See
(FIG. 19).
FIG. 19
Junction
Box Cover
Junction Box
Cover Screw
4. Tape the connectors to the supply wire to ensure
they don’t vibrate loose.
5. Push the wires into the junction box and install
junction box cover. See (FIG. 19).
I. Installing ADB
1. Align ADB with ceiling template. See (FIG. 20)
& (FIG. 21).
INSTALLATION INSTRUCTIONS
 Loading...