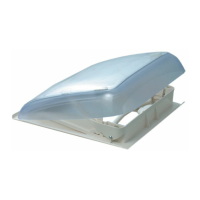
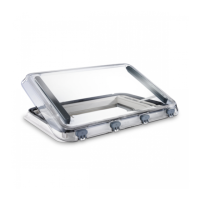
Installing the Heki3 Plus Heki3 Plus
10
See fig. e (cross side installation)/fig. b (long side installation)
➤ Insert the lamps into the holders (F).
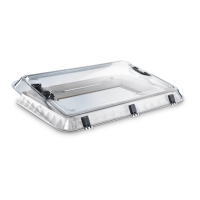
See fig. f
I
If you want to connect the lamps:
➤ Connect the cable from both lamps to the 1 and 2 terminals.
If you operate both lamps on one connection, you have to connect the two
terminals in parallel with bridges.
➤ Tighten all 12 V connections.
➤ Make sure the lamps are fitted securely.
See fig. g
When you have connected the lamps:
➤ Clip on the ventilation grille (1).
It needs to click in.
➤ Clip the lamp covers (2) on the lamps.
They need to click in.
If you have not connected the lamps, you can fit the ventilation grille supplied
instead of the lamp covers:
➤ Remove the protective film from both sides of the acrylic glass.
I
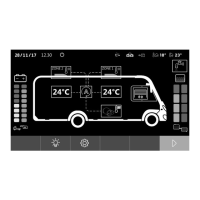
➤ After installing, check the roof light works properly.
➤ If necessary, enter the new vehicle height and weight in the vehicle documents.
NOTE
If the vehicle switch is designed for this, both lamps can be switched on
and off separately.
NOTE
If the protective film is exposed to sunlight for too long, it cannot be
taken off without leaving a residue.
Heki3-Plus--IO-16s.book Seite 10 Dienstag, 10. Januar 2017 5:47 17
 Loading...