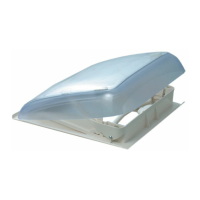
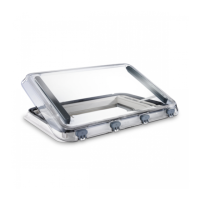
Heki3 Plus Installing the Heki3 Plus
7
7 Installing the Heki3 Plus
!
A
See fig. 4
If you would like to connect the lighting:
➤ Lay the power supply line in the middle on the long side, where the crank should
go.
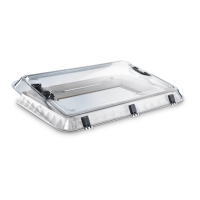
Supplementary to fig. 5
The scope of delivery includes a mounting frame, which is suitable for roof thick-
nesses of 25 – 32 mm. For roof thicknesses of 33 – 60 mm, you need to have a
suitable mounting set (see table).
➤ Measure your roof thickness W.
➤ Choose a suitable mounting set:
See fig. 6
➤ Check that the roof light has sufficient space around it (approx. 1 to 2 mm) in the
roof opening.
See fig. 7
➤ Clean the roof opening in the mounting area.
WARNING! Beware of injury
Disconnect the vehicle power supply before you begin and make sure it
cannot be restarted.
NOTICE!
Make sure that you do not damage any cables during installation.
Roof thickness
Mounting bracket
colour
Screws Ref. no.
25 – 32 mm Grey ∅ 4 x 25 mm Included in the
scope of delivery
33 – 39 mm Black ∅ 4 x 32 mm 9104100245
39 – 46 mm Yellow ∅ 4 x 40 mm 9104100246
46 – 53 mm Blue ∅ 4 x 46 mm 9104100247
53 – 60 mm Red ∅ 4 x 52 mm 9104100248
Heki3-Plus--IO-16s.book Seite 7 Dienstag, 10. Januar 2017 5:47 17