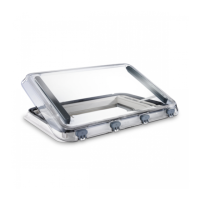
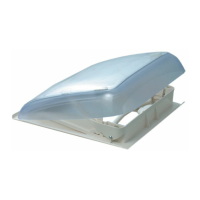
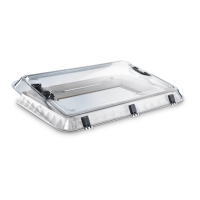
Instructions before installation Heki3 Plus
6
6 Instructions before installation
➤ Before installation, check the roof thickness of your vehicle. Consult the vehicle
manufacturer if you have any questions.
➤ Make sure that the power supply line and a switch are available for the Heki3 Plus
(12 V, 2 x 8 W) lighting in the vehicle.
➤ Make sure that the power supply line is suitably arranged and protected.
➤ When choosing the installation location, observe the following:
– Adjoining components (roof rack or attachment and reinforcing parts), cables
and cabinets in the vehicle interior must not get damaged when sawing the
hole.
– Sufficient space needs to be available for installing the inner and outer frames.
– Only fit the roof light on flat and parallel interior and exterior roof areas with a
maximum inclination of 15° to the horizontal.
– You may use an existing roof hole provided the roof light fits into it.
– You can fit the roof light sideways (hinge-side at front in direction of travel) or
lengthways (hinge-side on left or right in direction of travel).
6.1 Pressing out the hole
See fig. 2
6.2 Using the reinforcing rails
Supplementary to fig. 3
➤ Before installation, check whether the roof hole needs reinforcing.
➤ Remove the foam according to the width of your reinforcing rail (not in scope of
delivery) (A).
➤ Fit the reinforcing rails (B).
Heki3-Plus--IO-16s.book Seite 6 Dienstag, 10. Januar 2017 5:47 17