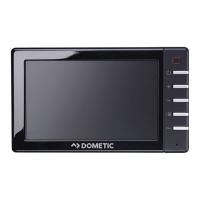
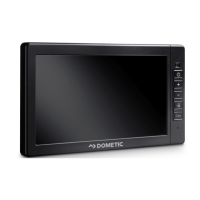
M55LX AHD, M75LX AHD Installing the LCD monitor
17
A
Observe the following instructions when laying the connection cable:
•
If possible, use original ducts for laying the cables, or other suitable options, such as ventilation
grilles. If there are no existing ducts, you must drill a hole of ∅ 22 mm. Check beforehand that
there is sufficient space on the other side for the drill head to emerge (fig. 2, page 4).
•
Cover the holes with the feed through (fig. b 1, page 7) in the base of the monitor bracket.
•
To prevent damage to the cables, when laying them ensure that there is always sufficient
distance to vehicle components which can become hot (lights, heaters, ventilators etc.).
•
When laying the cables (fig. 3, page 4), make sure:
– They are not kinked or twisted
– They do not rub on edges
– They are not laid in sharp-edged ducts without protection.
Connecting the monitor as a reversing video system (fig. d, page 8)
➤ Lay the connection cable for the monitor bracket on the dashboard.
➤ Insert the plug of the monitor cable (2) into the socket (4) of the connection cable (3).
Wait until you hear the plug snap in.
A
➤ Connect the red and black cables of the connection cable to a suitable voltage supply:
– Connect the red cable (5) to terminal 15 (ignition).
– Connect the black cable (6) to terminal 31 (earth).
➤ If the monitor is to be activated when reverse gear is selected, connect the green cable (7) to
the positive cable of the reversing light.
11 6-pin CAM3 socket (connection to video source 3)
with video signal detection
12 6-pin CAM4 socket (connection to video source 4),
with video signal detection)
13 Cable (blue): control input for video input CAM3
If the system is activated via this control line, none of the buttons have a
function (according to DIN EN 1501-1).
NOTICE!
Cables and connections that are not properly installed will cause malfunctions or
damage to components.
Correct installation of cables and connections ensures lasting and trouble-free
operation of the retrofitted components.
NOTICE! Beware of damage
Make sure the polarity is correct when connecting to a voltage source.
No. Description
M55LX-AHD-M75LX-AHD-IO-16s.book Seite 17 Montag, 17. Dezember 2018 3:56 15
 Loading...