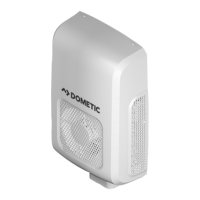
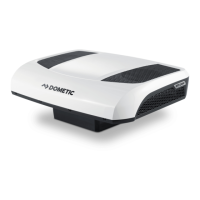
9
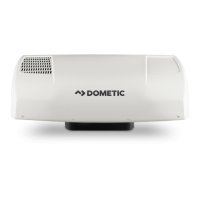
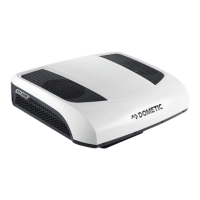
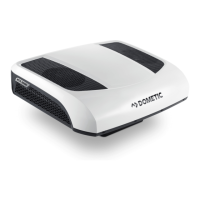
RTX1000/2000, SPX1200T Installation
• The downward slope of the roof in forward direction in the area where the
unit is installed must not be more than:
– RTX1000: 8°
– RTX2000: 20°
– SPX1200T: 20°
• The assembly parts supplied must not be modified during installation.
• The ventilation openings must not be covered over (minimum distance from
other external attachments: 100 mm).
• Follow the vehicle manufacturer's guidelines when installing the system and
establishing the electrical connections.
I
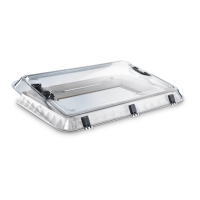
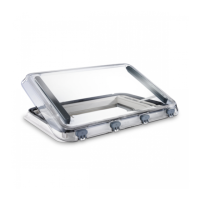
6.2 Removing the roof hatch
Proceed as follows (fig. 6):
➤ Remove all screws and fixings for the existing roof hatch.
➤ Take out the roof hatch.
➤ Remove the sealant around the opening so that the surface is clean and free
of grease.
I
6.3 Preparing the unit fixings (Iveco Stralis Hi-Way only)
➤ Drill out the 12 factory-made holes to a diameter of 8.5 mm (fig. 7).
NOTE
After installation of the system, the pre-set parameters on the system software
must be checked (chapter “Configuring the system software” on page 13).
NOTE
Dispose of all waste material, glue, silicon and seals separately. When doing
so, follow the waste disposal requirements applicable in your local area.
57;63;7,YHFR,VERRN6HLWH)UHLWDJ'H]HPEHU
 Loading...