16 DR
®
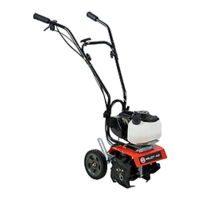
PILOT 2 Cycle Tiller/Cultivator
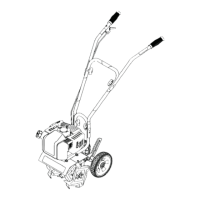
Tine Remove and Replace
NOTE: For ease of disassembly and assembly, block up the machine so that the Tines are off the ground.
Tine Removal:
1. Remove the Hitch Clip Pin from each end of Tine Shaft (Figure 12).
2. Slide the four (4) Tines off the Shaft.
Tine Installation:
1. Locate the inside Tines, they are stamped with a B and a C
(Figure 12). Slide the inside B Tine onto the Left Tine
Shaft (as viewed from Handlebars) and then slide the C
Tine onto the right Tine Shaft.
2. Locate the outside Tines, they are stamped A and D. Slide
the outside A Tine onto the Left Tine Shaft and then slide
the D Tine onto the right Tine Shaft.
NOTE: You should now have the Tines installed in the order A, B,
C, D from right to left as viewed from the Front of the
Tiller/Cultivator. Make sure that the Hub Collars on both
the right and left pair of Tines face each other to allow for
adequate spacing between the Tine Blades.
3. Replace the Hitch Clip Pins at each end of the Tine Shaft to
hold the Tines in place.
A B C D
Figure 12
Hub Collars Hub Collars
Hitch Clip Pin Hitch Clip Pin
Front