8 DR
®
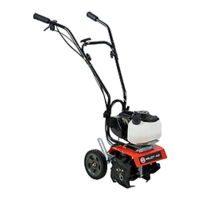
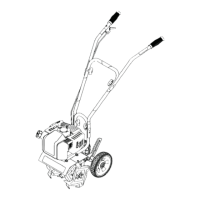
PILOT 4 Cycle Tiller/Cultivator
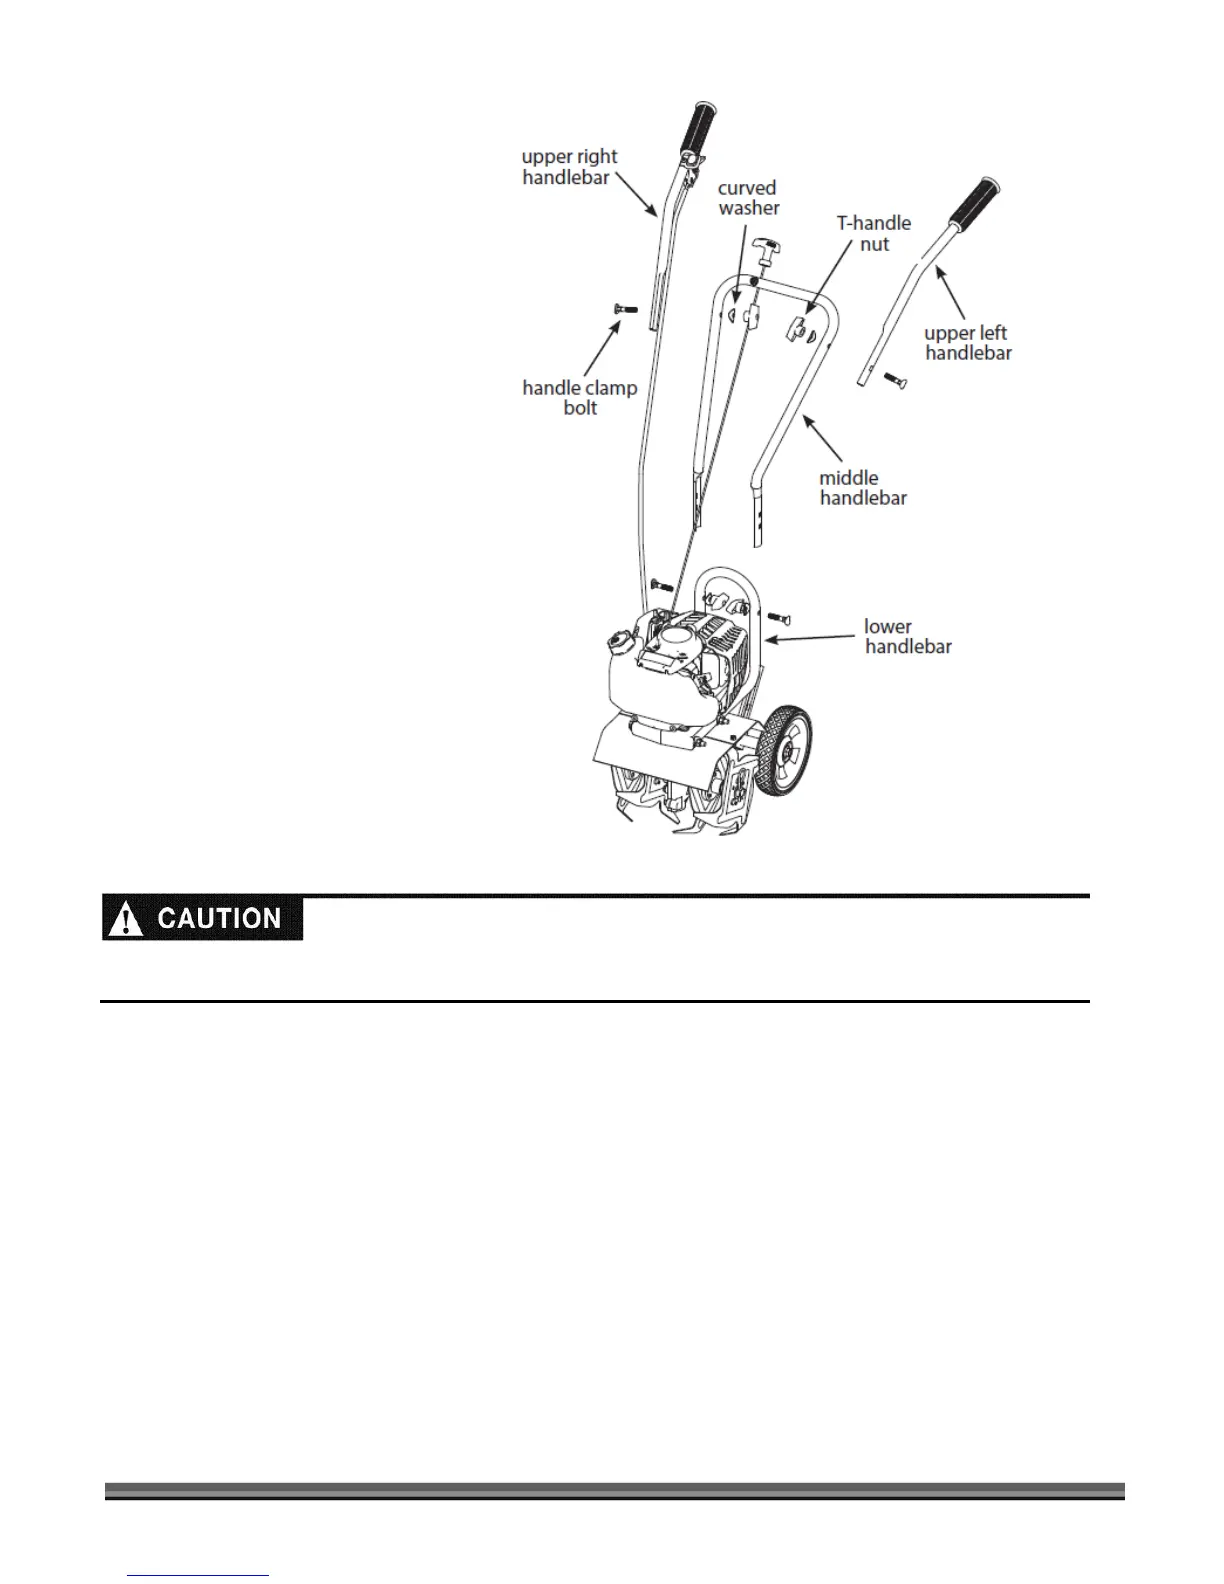
Unpacking and Assembling the Machine
Parts Supplied in Shipping Carton:
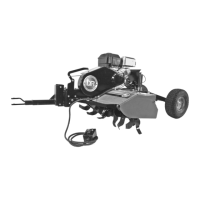
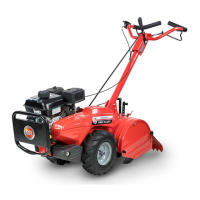
DR PILOT 4 Cycle Tiller/Cultivator
Upper Left Handlebar
Upper Right Handlebar
Middle Handlebar
Hardware Bag:
- Four T-Handle Nuts
- Four Curved Washers
- Four Handle Clamp Bolts
1. Carefully lift the DR PILOT 4 Cycle Tiller/Cultivator out of the carton and set the machine upright with the Tines and
Wheels on a level surface.
2. Remove the Hardware Bag from the Shipping Carton.
3. Remove any packing material from the machine and cut the Ties holding the Handlebar pieces to the
Tiller/Cultivator assembly.
NOTE: Use care with the Upper Right Handlebar so as not to kink the Throttle Cable or pinch the On/Off Switch Wire; they are pre-
attached to the Engine and Handlebars. Make sure the pull cord is in the center of the middle handle bar when attaching.
4. Using two T-Handle Nuts, two Handle Clamp Bolts and two Curved Washers, assemble the Middle Handlebar to the
Lower Handlebar already attached to the machine (Figure 2).
NOTE: You can install the Middle Handlebar in either of two positions, one high, and one low. DO NOT over tighten the T-Handle
Nuts.
Figure 2
Stabilize the shipping carton on a flat ground surface before attempting to unpack and assemble the machine. Do not
place the machine on a bench or table where it can fall and cause personal injury or damage the machine.