DR POWERWAGON 5.0 Safety & Operating Instructions 20
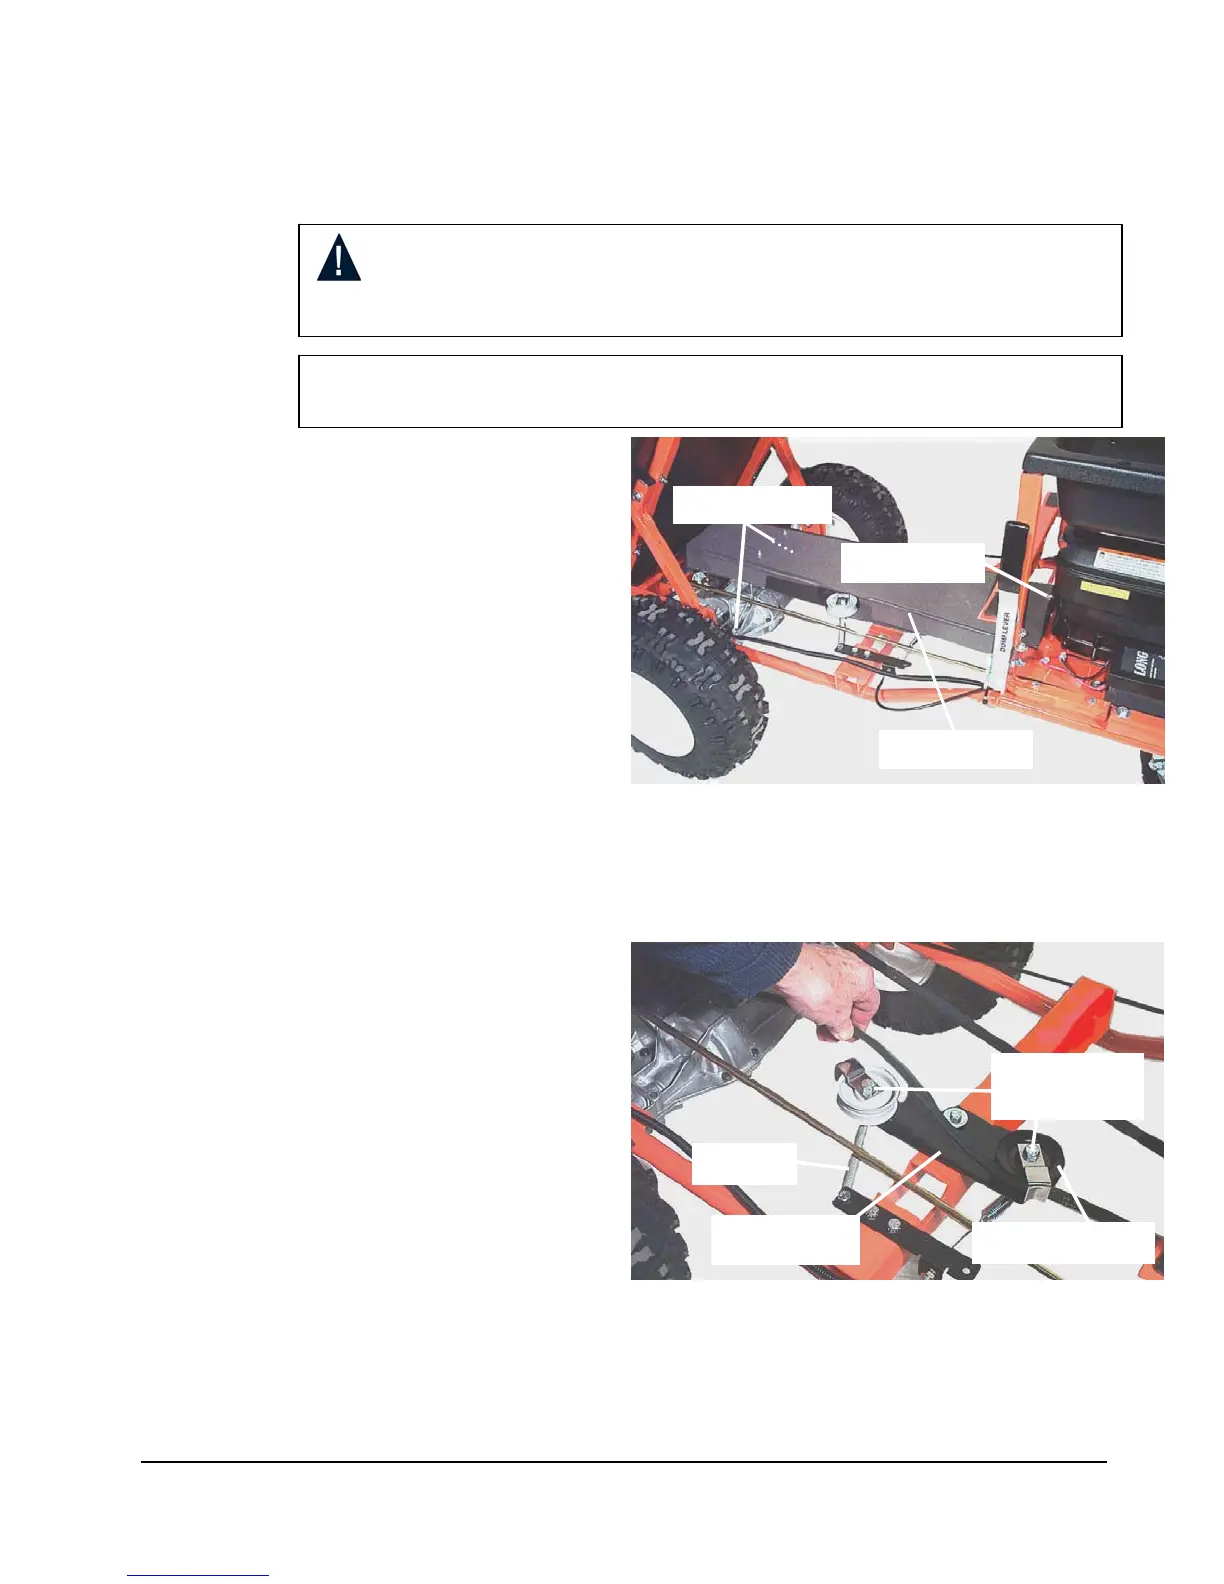
Figure 15
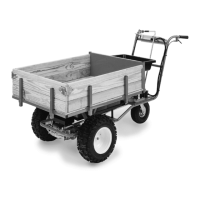
Figure 1
Removing and Replacing the Belt
Tools Needed:
7/16" socket and extension
9/16" socket
1. Position the machine on a
level surface and set the
parking brake.
2. Tip the bed forward. (Figures 9
& 10)
3. Remove the belt guard by
removing the two bolts at the
front and the single bolt at the
rear using a 7/16" socket.
(Figure 15)
4. Loosen the belt guide bolts
using a 9/16" socket.
5. Pull on the idler arm and
spring to lessen the tension on
the belt and slide the belt from
the idler arm and clutch pulley.
(Figure 16)
6. Remove the belt from the
transmission pulley at the
front of the machine. (Figure
17).
7. Remove the belt from the
drive pulley under the engine.
(Figure 14)
8. Install the new belt on the
drive pulley first, then the
transmission pulley and then
the idler and clutch pulleys.
Make sure the new belt is INSIDE the belt guide. (Figure 14)
WARNING! Before performing any maintenance procedure, stop the
engine, set the parking brake and disconnect the spark plug wire.
Important! Use only DR belts on your machine. They have been thoroughly
tested and proven for many hours of use.
Idler Arm
Sprin
Clutch Pulle
Front Bolts
Rear Bolt
Belt Guard
Belt Guide
Bolts