32 DR
®
SELF-FEEDING WOOD CHIPPER
Wear Plate Sharpening
The Wear Plate edges become rounded and chipped during use and must be
squared off to ensure efficient operation.
Tools Needed:
• Flat File
1. Secure the Wear Plate in a vise.
2. File the edge of the Wear Plate to take out any nicks and to square rounded
edges (Figure 59).
Note: If the Wear Plate is filed enough times that the proper gap between the Knife
and Wear Plate cannot be set with the Gap Gauge, you will need to replace the
Wear Plate.
Removing and Replacing the Wheels
The Wheels on the DR SELF-FEEDING WOOD CHIPPER are pneumatic. The
Yard-Tow model has pressed in bearings for easy transport. The road tow
model has tapered bearings designed for highway use. With use, tires or
bearings may need replacing. The following procedures will explain the
replacement procedures.
YARD-TOW MODEL
Tools Needed:
• 5/32" Allen wrench
• Fine Tooth File
• Jack
1. Jack up the side of the Chipper just until the Pneumatic Wheel is off the
ground.
2. Loosen the Set Screw and remove the Locking Collar (Figure 60).
3. Remove the Pneumatic Wheel from the Axle.
Note: File off the Set Screw marks in the Axle if Wheel will not slide on.
4. Install the Pneumatic Wheel onto the Axle and against the Spacer with the
Valve side out.
5. Install the Locking Collar onto the Axle against the Wheel and tighten the
Set Screw.
6. Check the Pneumatic Wheels for proper air pressure (see Chapter 3).
ROAD TOW MODEL
Tools Needed:
• Needle Nose Pliers
• Flat Tip Screwdriver
• Hammer
• Block of Wood
• Jack
1. Jack the chipper up and place it on Jack Stands so the wheel is off the
ground.
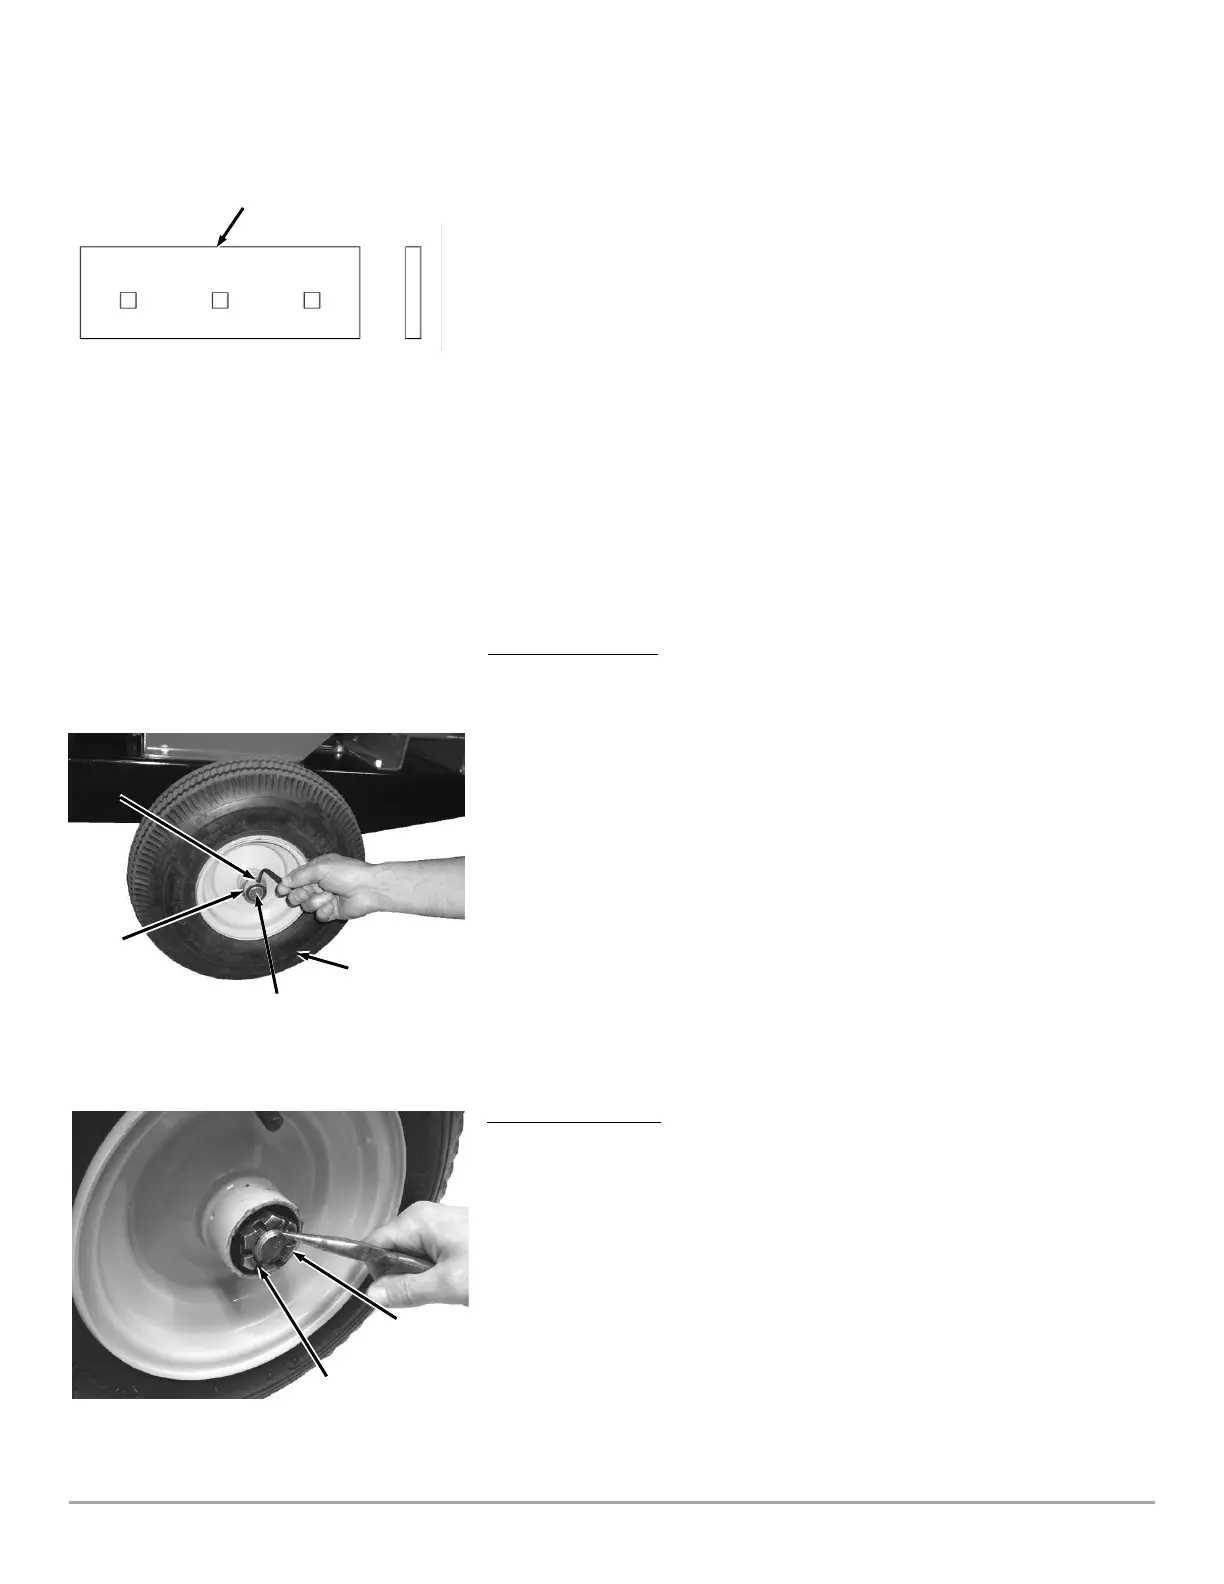
2. Using a Flat tip Screwdriver, pry the dust cap off of the hub.
3. Using pliers remove the Cotter Pin and remove the tire (Figure 61).
 Loading...


