

S
Sarah WalshSep 1, 2025
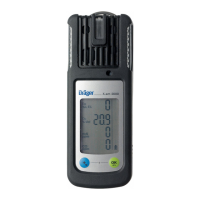
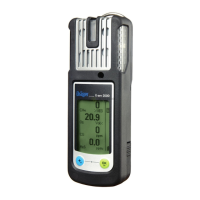
What does error 451 mean on Dräger X-AM 2500 Measuring Instruments?
- RRyan SaundersSep 1, 2025
Error 451 on Dräger Measuring Instruments indicates that DrägerSensor XXS EC2 is in the warm-up phase. Wait until warm-up time is complete.