CAUTION:
Isolate the mains electricity supply
before starting any work and observe
all relevant safety precautions.
Observe electro-static discharge
precautions: do not touch the pcb
circuit.
!
DANGER:
230 volts do not touch the electrical
components or circuits.
F
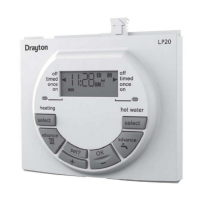
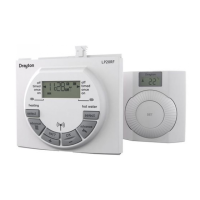
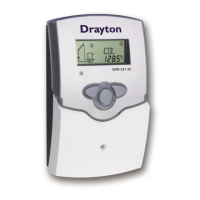
Installation Guide LP20 Programmer
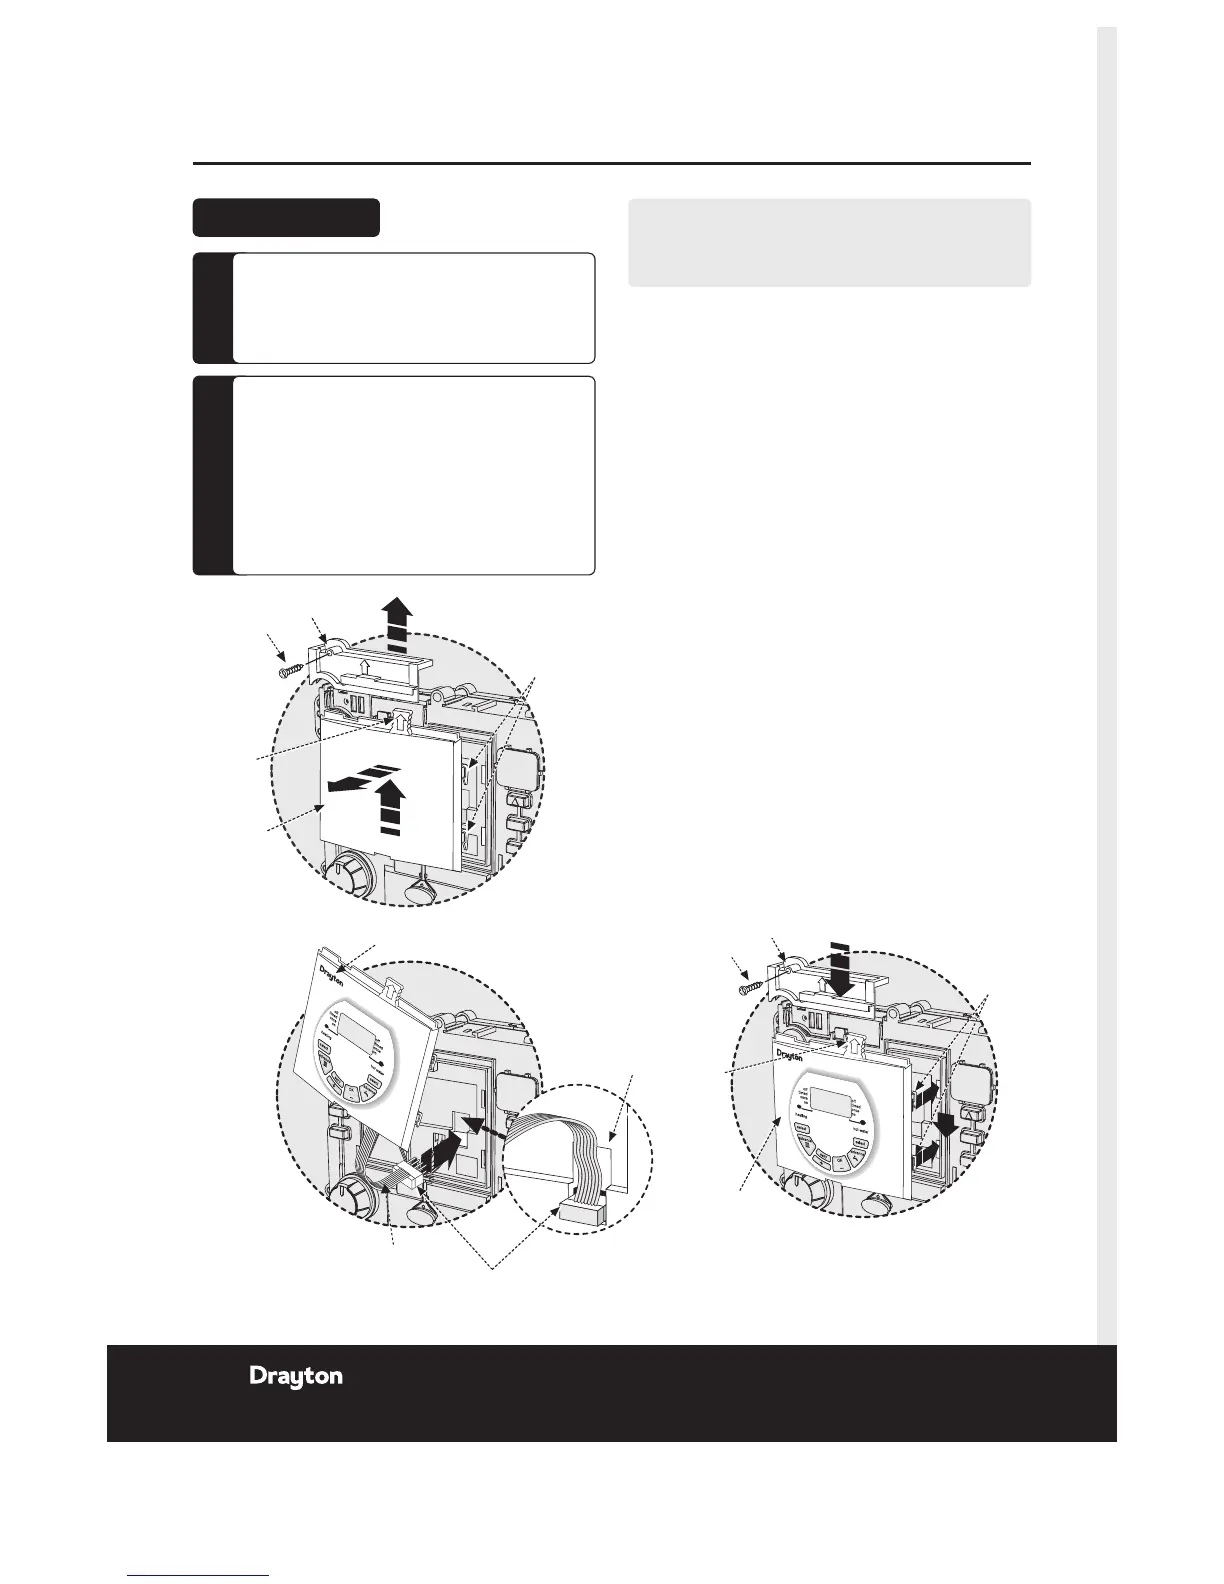
Clips
Cover panel
Tab
Blanking
plate
LP20 Installation
NOTE:
This accessory must be tted by a competent person.
Failure to comply could lead to prosecution.
1.
Remove the boiler outer casing and control panel
fascia to gain access to the boiler control panel.
2.
Release the securing screws.
3.
Pull the cover panel up to remove.
4.
Grip the tab and pull upwards to disengage clips,
pull forward to remove blanking plate or existing
programmer.
5.
Align the connector plug pins into socket on the
PCB and push fully home.
6.
Feed the ribbon cable into the recess.
7.
Align the programmer and locate the clips, push
into the slots then down to secure.
8.
Locate the cover panel in place and secure with
the screw.
9.
Replace fascia cover and outer casing before
switching on the electrical supply and boiler.
J
Switch boiler on when completed.
4 Installation & User Guide
06515084001 ISSB