9PRISM PLUS manual Ver 1 Rev 2 11/2016
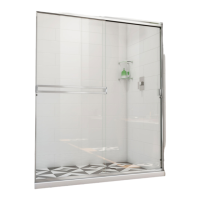
Fig 8
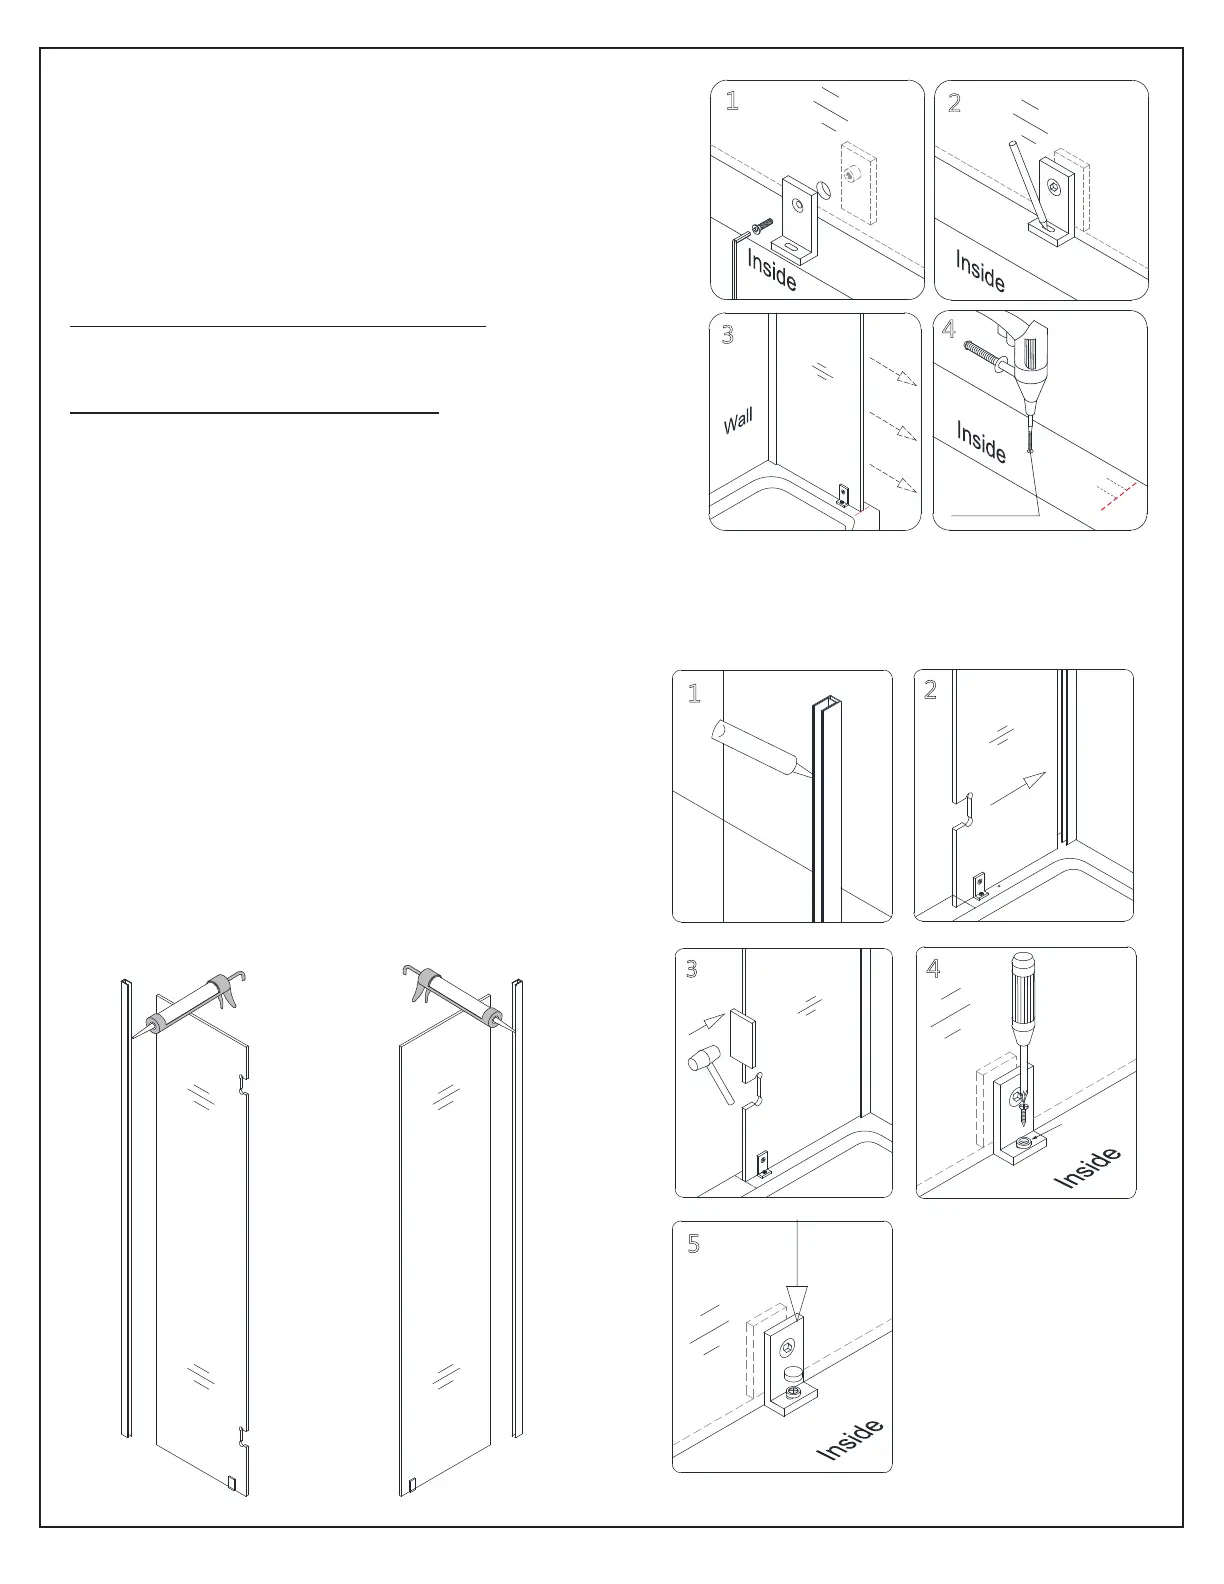
Fig 9
1
2
4
see step #8
for hole Ø
5
1
2
4
washer
inside
3
inside
3
inside
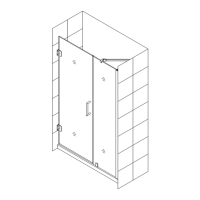
8. With both of the Bottom Brackets (#12) installed onto
the Panel glass (#01) & (#03), mark the holes for drilling
onto the threshold. (Be sure that the end of the panel glass
aligns with the marks on the threshold from step #6 to
maintain proper spacing for the door at 23-15/16”).
Remove the panel glass and drill the holes* into the
threshold for the bottom brackets.
•For installation into an acrylic threshold: *drill Ø1/8”
holes
•For installation into a tile threshold: *drill Ø5/16” holes
and insert anchors
See Fig 8 for details
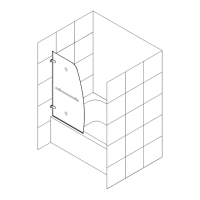
9. Add silicone into the installed Stainless Steel
U-channels (#11).
Slide the panel glass into the U-channel. Tap with a
rubber mallet and a block of wood if necessary.
Install the Bottom Brackets (#12) onto the
threshold using the ST4.2 x 25 Round Head
screws (#08) with washers and decorative covers
(#10).
See Fig 9 for details