Do you have a question about the Dremel 212 and is the answer not in the manual?
Assemble the cord holder into the column top and base grommets into mounting holes.
Fasten the base using screws and washers, ensuring grommets are slightly compressed.
Read all instructions carefully; failure to comply may result in serious personal injury.
Includes keeping area clean, proper apparel, securing work, and staying alert.
Covers unplugging, removing keys, keeping hands clear, and inspecting cords.
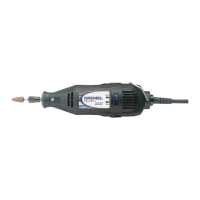
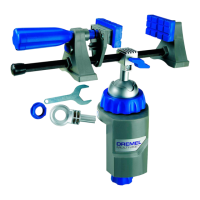
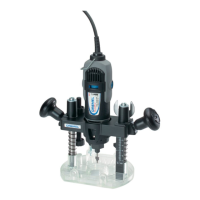
Insert Moto-Tool into holder, secure with clamp nuts, and route power cord.
Place drill bit in chuck or collet, securing it properly for drilling.
Guide for selecting drill speed based on material and drill size.
Eliminate side play by adjusting depth shaft and use depth stop collar for measured depths.
Adjust set screws for desired sliding feel of the gear rack.
Secure workpiece using hold downs or a vise to prevent climbing or spinning.
Lower head housing until bit tip is near workpiece (max 1/4 inch gap).
Tips for round pieces, avoiding force-feeding, and achieving accurate drilling.
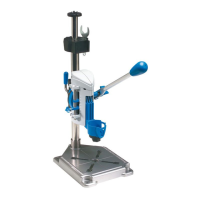
Diagram illustrating all components of the Dremel Drill Press Stand Model 212.
Detailed list of part codes, part numbers, and their descriptions.
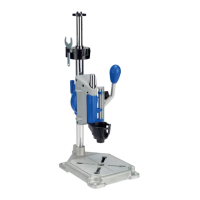
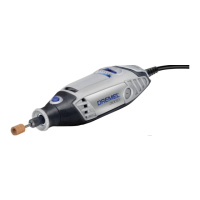
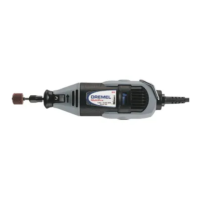
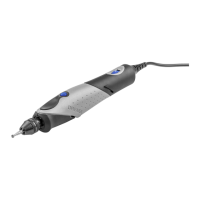
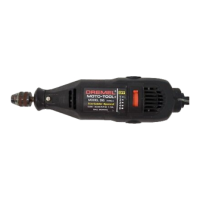
The Dremel Model 212 Drill Press Stand is an accessory designed to convert Dremel Moto-Tools (models 275, 285, and 395) into a stationary drill press for enhanced drilling accuracy. This stand provides a stable platform and a controlled mechanism for precise drilling operations, making it suitable for hobbyists and professionals requiring consistent and accurate holes.
The core function of the Dremel Drill Press Stand is to transform a handheld Dremel Moto-Tool into a fixed, vertical drilling machine. This conversion allows for greater control over the drilling process, ensuring straight and perpendicular holes, which can be challenging to achieve with a handheld tool alone. The stand features a base that can be secured to a workbench, a column, a head housing that holds the Moto-Tool, and a lever-operated feed mechanism. The Moto-Tool is mounted into a tool holder bracket, which then slides vertically along a gear rack on the column. A handle and pinion system allows the user to precisely lower and raise the Moto-Tool, controlling the drilling depth. The stand is particularly useful for delicate work, repetitive drilling, and when working with small or intricate pieces where accuracy is paramount.
| Brand | Dremel |
|---|---|
| Model | 212 |
| Category | Power Tool |
| Language | English |