iii. Press “test” twice to check the orientation after adjust-
ment in vertical position. If not satisfied with the orienta-
tion of the arm, repeat step i. and ii. until desired
o
rientation is achieved in vertical position.
iv. Press “test” once to move the arm in the stow position.
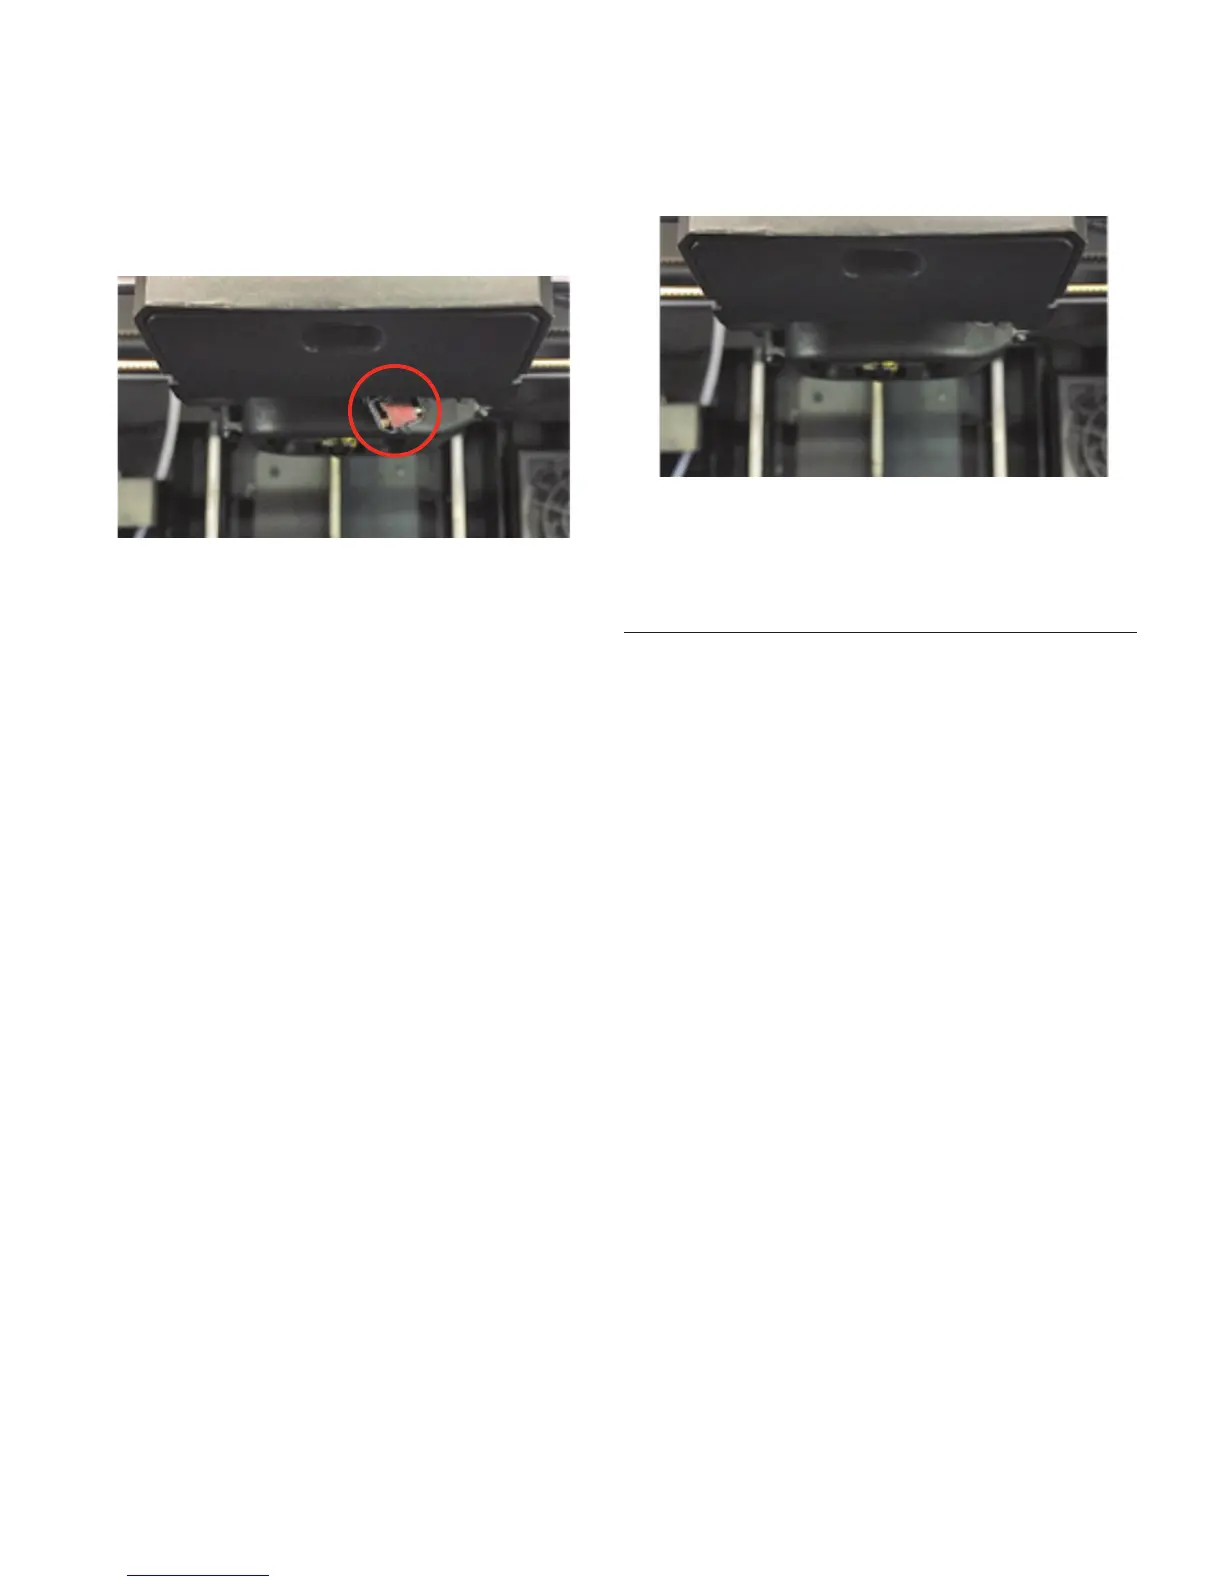
v. Ensure the leveling arm is NOT exposed like it is shown
in Figure 13 below.
Figure 13. Exposed leveling arm in stowed position.
vi.If yes, press - to decrease angle in front of “up”. Refer
to Figure 12b.
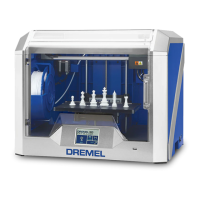
vii. If the arm makes a hitting sound or rebounds back while
stowing, then it is stowing too high. In that case, press
+ to increase angle of stowing in front of “up”. The arm
s
hould be stowed as shown in the Figure 14 below, such
that it doesn’t expose or rebound.
Figure 14. Leveling arm in stowed position.
viii. Once the angles are adjusted for both vertical and stow-
ing positions, press “next”.
Step 8: Nozzle Gap Calibration
a. Follow Nozzle Calibration instructions.
Congratulations!
You are now ready to build. Build On.
2610038113 07/2018