1211
ACTION button
STOP button
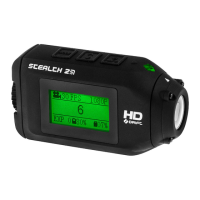
POWER ON AND OFF
1. Hold the ACTION
button to power on
2. The colour of the remote
control’s LED indicator
will show the current
camera mode
3. The remote will
automatically power
o if it does not find a
camera after 15s
4. To charge, connect the
remote control via the
mini USB cable provided
to a powered USB port
USING THE REMOTE
While the camera and remote
are on and paired, pressing
ACTION will begin recording
video, capture a photo, start
timelapse or photoburst,
depending on the camera
mode. Pressing STOP will end
video or timelapse recording.
Pressing ACTION while
recording video will capture a
photo, or start Video Tagging
(if activated, see p10). Pressing
STOP will end recording.
The LED will blink blue to
confirm a signal between
camera and remote.
Pressing STOP while the
camera is in Live Preview
will toggle between camera
modes, indicated by LED
colour (see p 7-8).
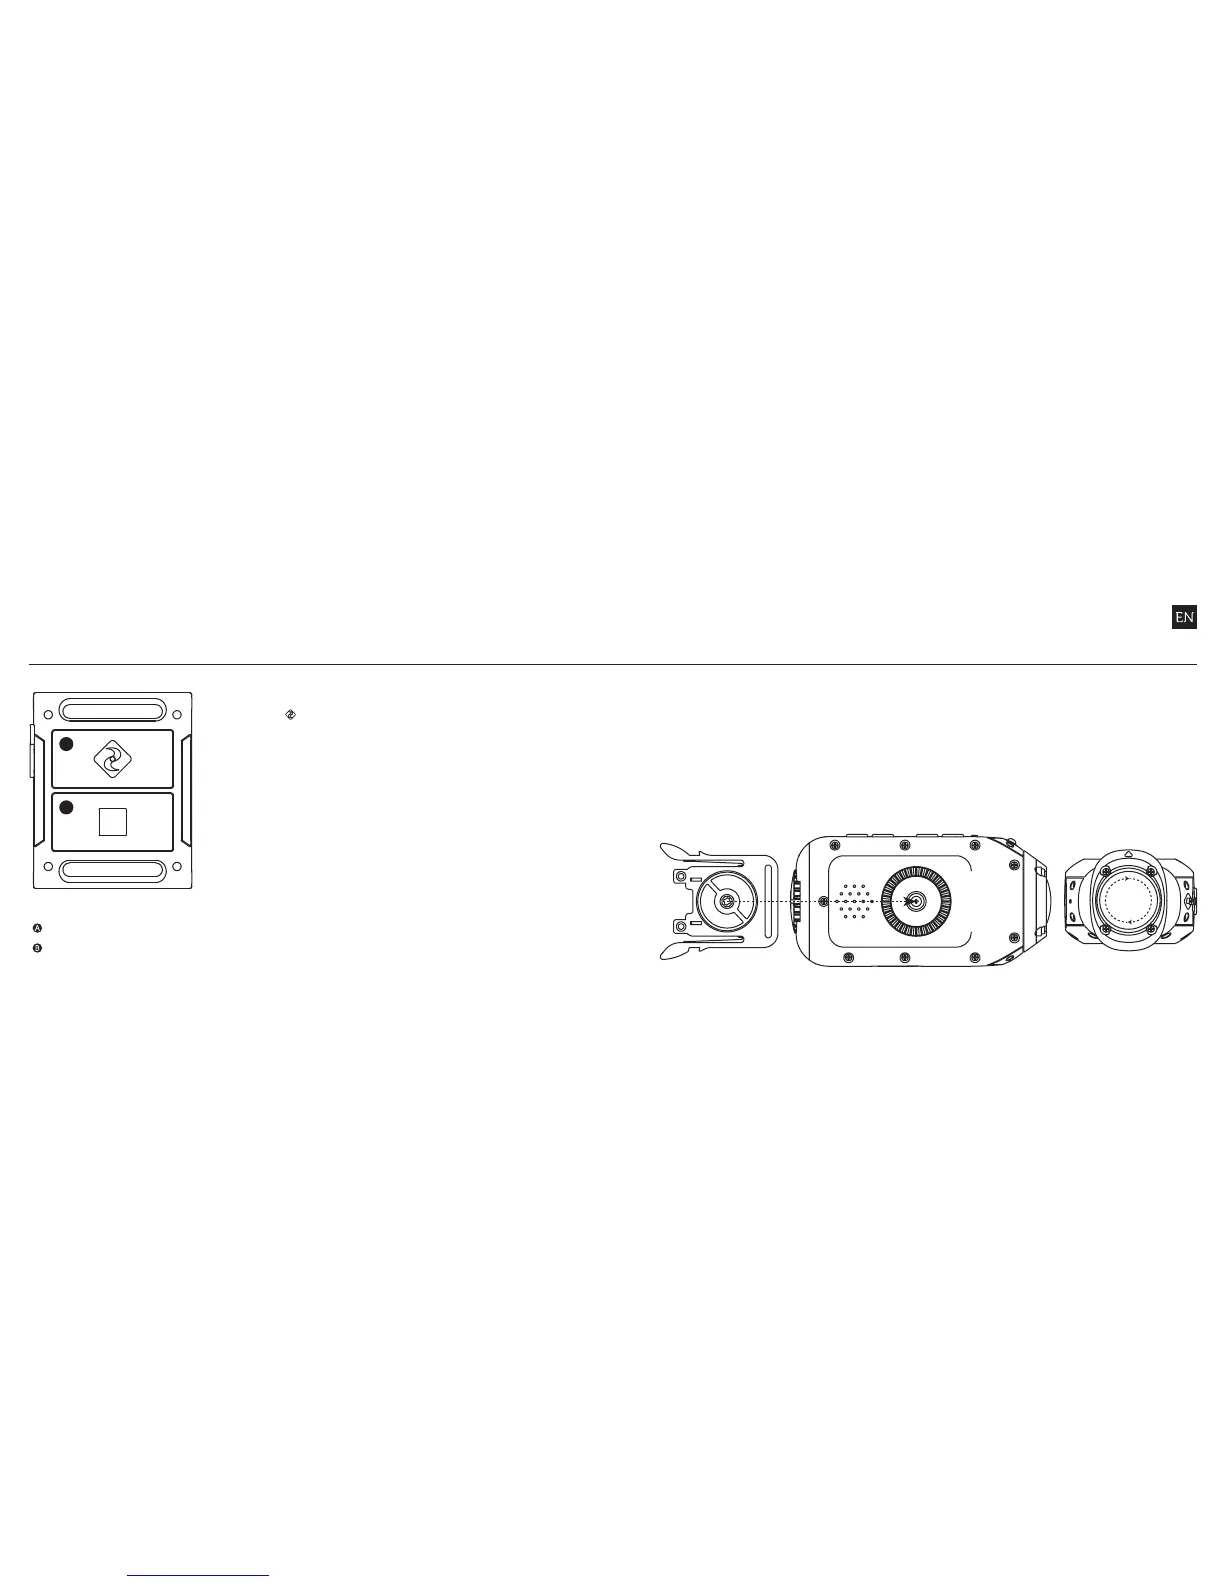
using the two-way remote mounting the camera
1. Attach the Universal Clip
to the camera in any 360°
orientation as needed—
first position the clip in
the desired orientation,
then secure by rotating
the screw base by hand
2. Slide the Universal Clip
into your chosen mount,
ensuring that it ‘clicks’
into place
3. Check screen alignment,
rotating the lens by hand
as necessary to realign
your shot, using the
lens marker as an ‘up’
reference
A
B
The Remote is NOT waterproof.