11
www.DrillDoctor.com
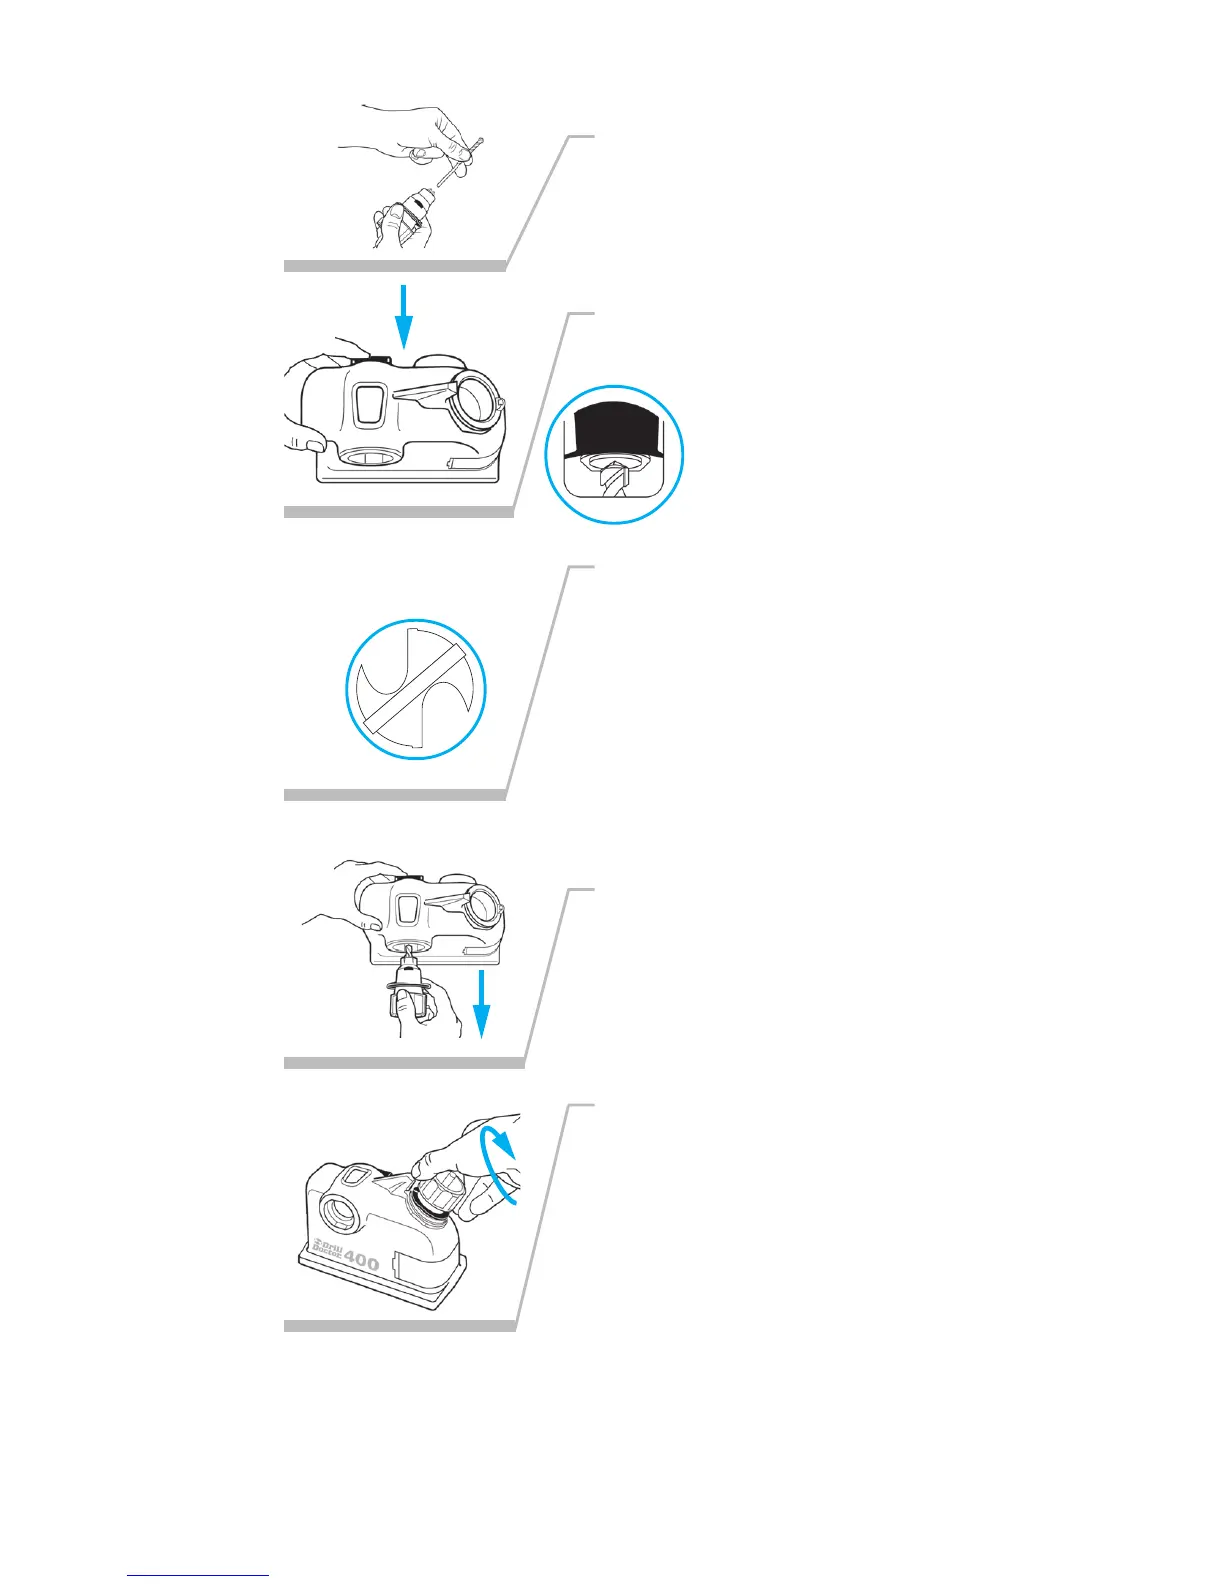
Aligning and Sharpening Masonry Drill Bits
1.
3.
5.
Note: The Drill Doctor will place a curved grind on the carbide
insert, altering the appearance of the factory point.
4.
Now, sharpen the bit in the
Sharpening Port. Always use an
even number of half-turns when
sharpening. Start with four half-
turns and then add as many
even number of half-turns as
needed. Remember, you are only
sharpening the carbide insert.
While looking through the
window, start with the carbide tip
of the bit straight up and down
(12:00 and 6:00), and then turn
it 1/8 turn to the right (the
carbide tip should point to
between the 1:00 and 2:00
o’clock position when looking at
a clock face).
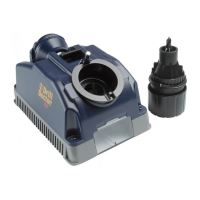
Push the Alignment Button back
to the housing and hold it in
through Step 4. Insert the
chucked drill bit to the
stop.
Bit Clamps are not
used when aligning
masonry bits.
Insert your masonry bit in the
Chuck in the same manner as
other bits (See page 5).
Tighten the Chuck Knob and
remove the chuck from the Align-
ment Port. Release the Alignment
Button and tighten the Chuck
Knob firmly.
12:00
1:00
2:00
3:00
6:00
9:00
2.
<MODIFY ART>
<MODIFY ART>
<MODIFY ART>
<MODIFY ART>