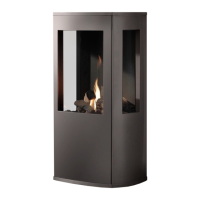
Romano
English
OPERATIONS INSTRUCTIONS CONVERSION INSTRUCTIONS
21
OPERATING INSTRUCTIONS
Lighting
Press button A and turn to the left to the small flame .
The flame will ignite at . Check that the pilot is alight. If
that is the case, hold button A firmly pressed for another 5
seconds.Then release button A and check that the pilot
light is still burning. Now turn button A to the large
flame , which will open the main valve of the control
block. Depending on the setting of the control button B,
high or low flames will be visible.
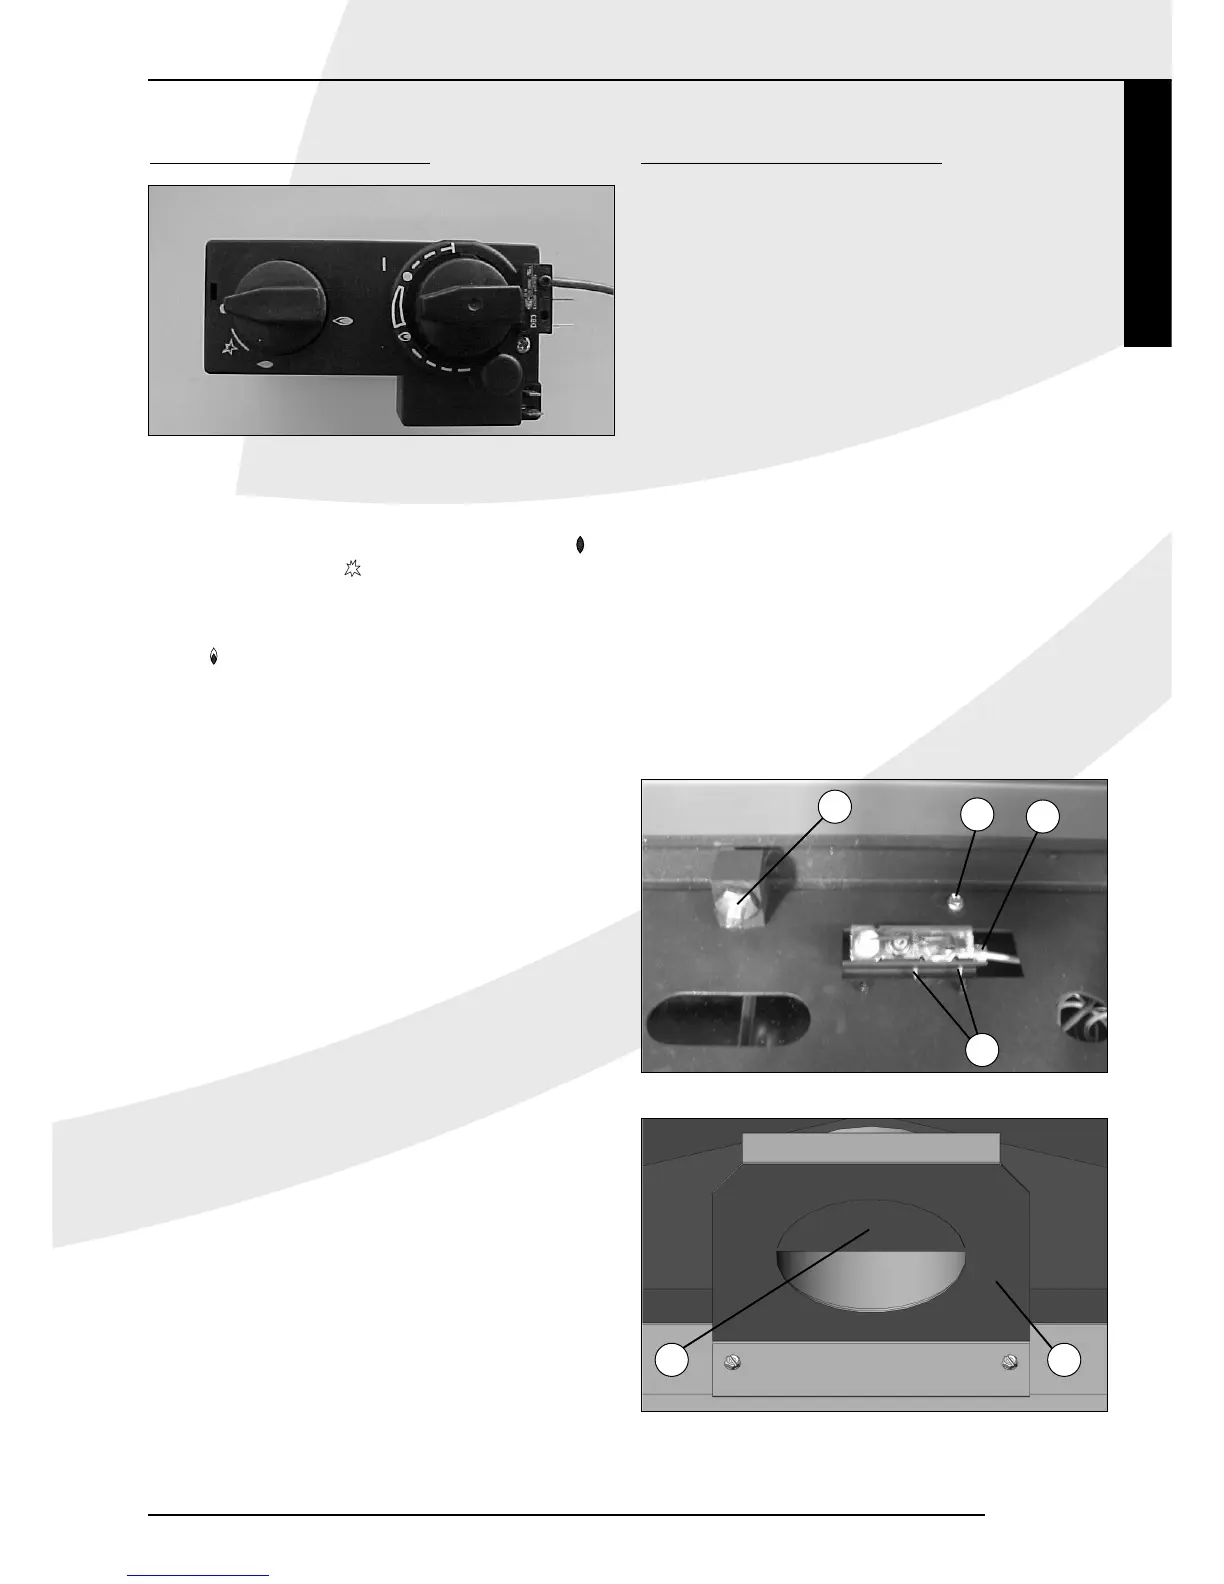
Remote Control
The height of the flames can be regulated by remote
control, which will turn button B (fig. 17b) on the gas
control block. Press the bottom button on the remote
control for a smaller flame; press the upper button for a
higher flame. Manually adjusting button B will have the
same effect.
A certain force is required when rotating button B,
a clicking sound is quite normal.
Pilot light setting
If the heater is not in use but you would like the pilot light
to remain alight, set button A to the small flame.The gas
supply to the main burner will then be switched off.
Switching off
Turn button A to the "0" setting.The gas supply to the
burners will then be switched off.
Important
A built-in safety lock is activated when the appliance is
switched to "OFF" (closed down setting).Therefore, wait 5
minutes before relighting the heater.Within this period, do
not try to push the lighting button, as this has been
blocked by the safety lock. Do not force the button, as this
may result in damage to the mechanism.
CONVERSION INSTRUCTIONS
The appliance will have to be converted for it to be able to
run on propane (G31).
This conversion may only be carried out by a qualified
installer, who will also be able to order the required
conversion set.
Disconnect the gas supply before converting.
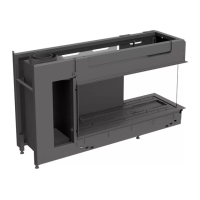
Remove the burner unit and the interior
To be able to change the required elements, the complete
burner unit will have to removed and the interior slid out
of the casing.To do this:
• Remove the glass pane.
• Disconnect the gas supply pipe.
• Remove the vermiculite tray.
• Remove the burner tray.
• Remove the airflow regulator! This does not have to be
replaced.
• Remove the burner mounting plate by unscrewing the self-
tapping screws (15), (fig.18a).
• Slide the interior out of the casing.
fig. 17b
AB
Fig. 18a
Fig. 18b
16
15
17
18
23 4