Page 4 For technical questions, please call 1-888-866-5797. Item 63317
Installation Instructions
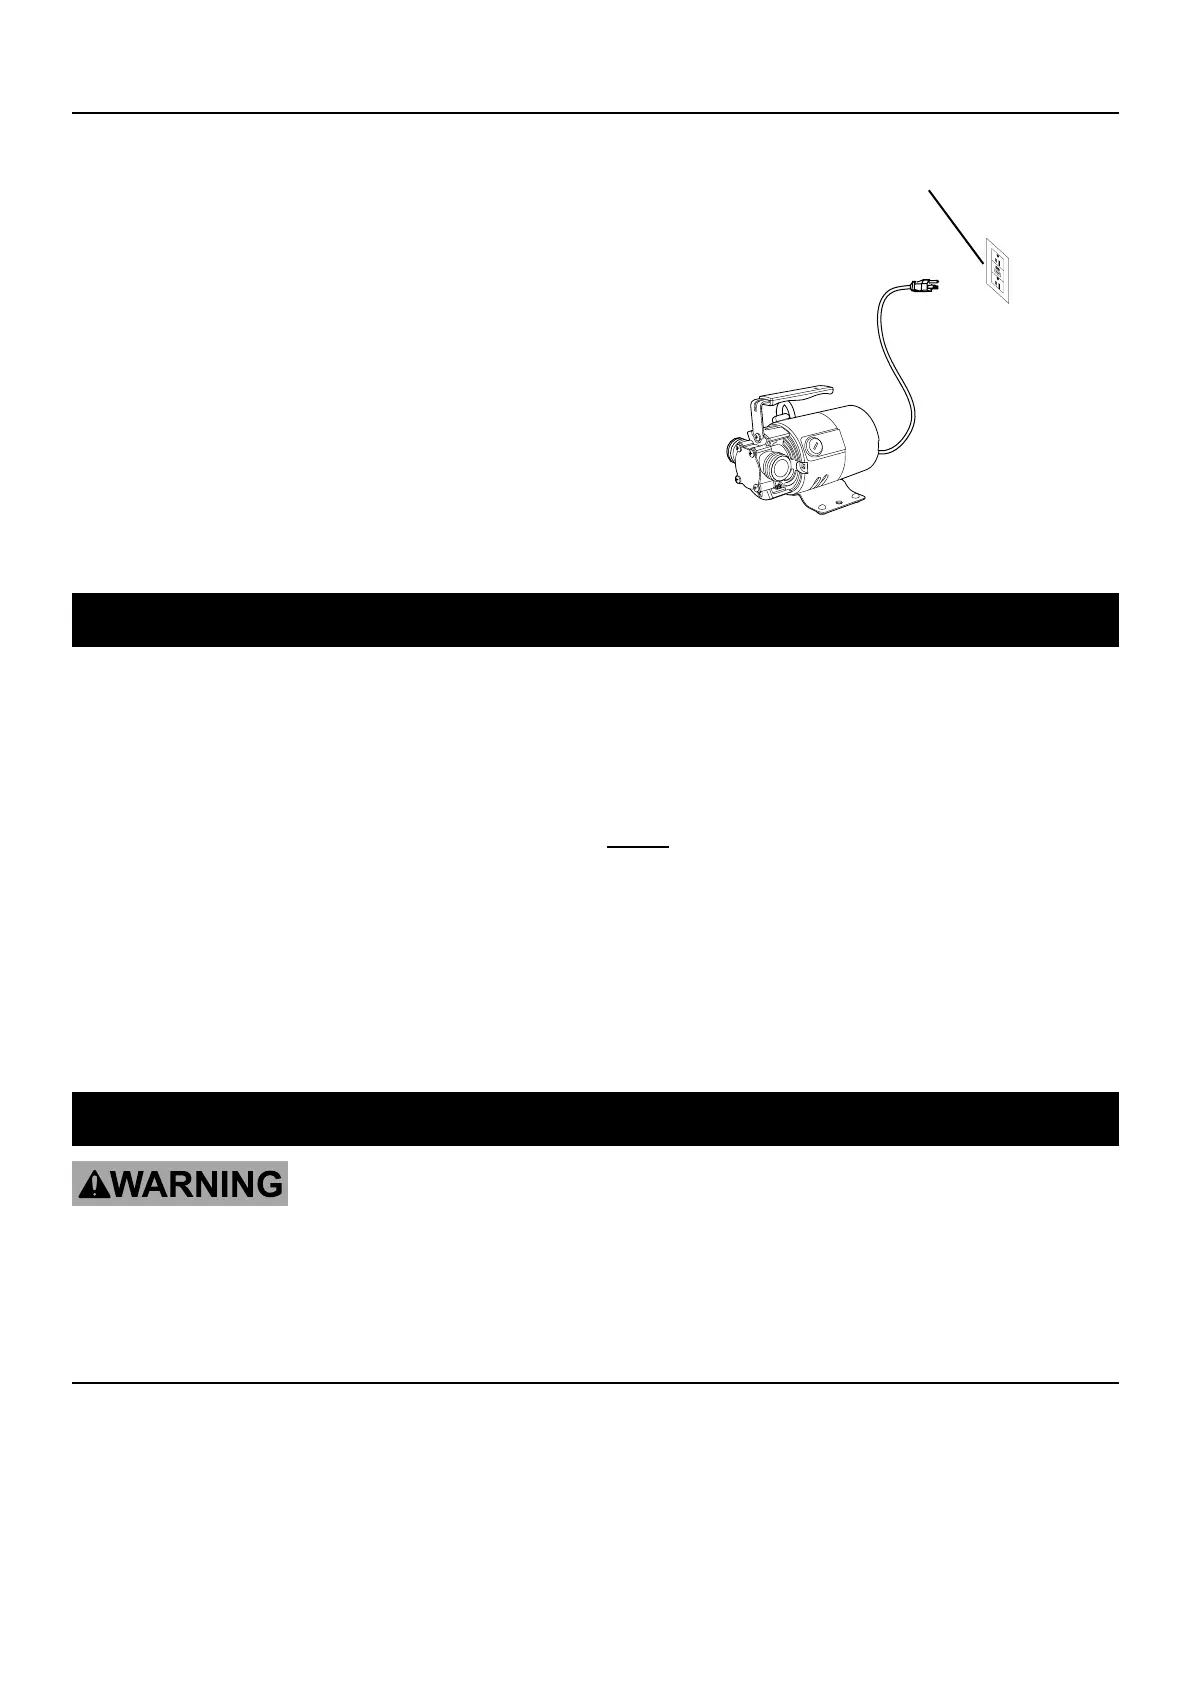
1. Attach hose to Pump intake port. Attach
second hose to Pump discharge port.
2. Position Pump on solid surface so that
both hoses are free from kinks. Plug Power
Cord into GFCI protected outlet.
3. Place unused end of intake hose in water to
be transferred. Place unused end of discharge
hose as needed to direct the water discharge
at least 3 feet away from the source.
GFCI-
Protected
Receptacle
Figure A: GFCI Outlet
Operation
After reading these instructions, consider the following points before starting the pump:
1. Verify that the discharge pipe is properly connected.
2. Verify that the electrical connection
is 120 VAC, 60 Hz.
3. Verify that the electrical socket is
GFCI protected and in good condition.
Test GFCI protected outlet before use.
4. Verify that water and moisture cannot
get near the power supply socket.
5. Verify that the pump is installed so
as to prevent running dry.
NOTE: Using the included attachment, the
Pump will remove water down to 1/8″. Unplug
the Pump once 1/4″ water level is reached.
Maintenance
TO PREVENT SERIOUS INJURY FROM ACCIDENTAL OPERATION:
Unplug the Pump from its electrical outlet before performing any
inspection, maintenance, or cleaning procedures.
If the pump is moved during operation, flush it out with clean water after every use.
Quarterly Maintenance
The below maintenance must be performed at least once every 3 months under optimal conditions.
For frequent use, or dirty areas, more frequent maintenance is required.
1. Clean sludge and debris from the bottom of the basin.
2. Clean sludge/debris from inlet screen.
3. Make sure discharge pipe is free from leaks.
4. Make sure check valve is functioning properly.
5. Manually operate any flow switch (not included)
to determine that pump turns on/off as intended.