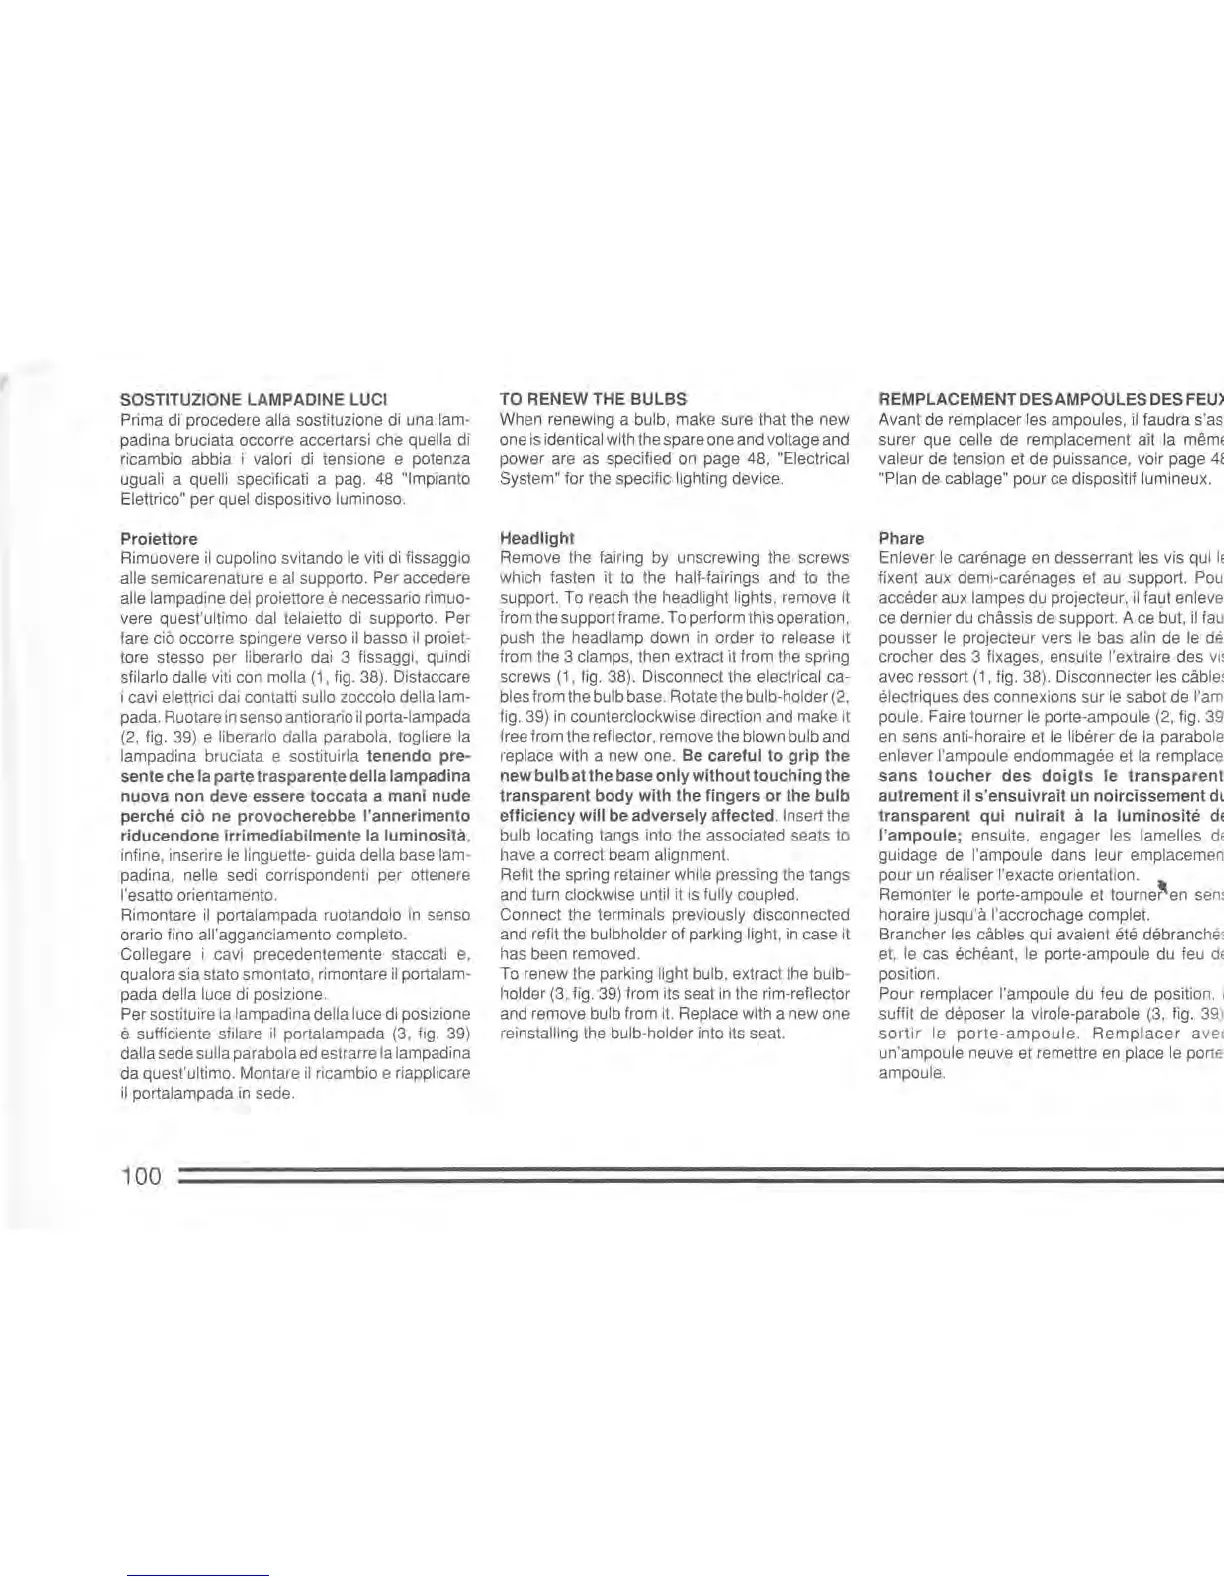
SOSTITUZIONE LAMPADINE LUCI
Prima di procedere alia sostituzione di una lam-
padina bruciata occorre accertarsi che
quella di
ricambio abbia i valori di tensione e potenza
uguali a quelli specificati a pag. 48
"Impianto
Eletlrico" per quel dispositivo luminoso.
Proiettore
Rimuovere
il
cupolino svitando
le
viti
di
fissaggio
alle semicarenature e
al
supporto. Per accede
re
alle lampadine del proiettore e necessario rimuo-
vere quest'ultimo dal telaietlo
di
supporto. Per
fare
cio occorre spingere verso
il
basso
il
proiet-
tore stesso per liberarlo dai 3 fissaggi , quindi
sfilarlo dalle viti con
molla
(1
, fig. 38). Distaccare
i cavi eletlrici dai contatti sullo zoccolo della
lam-
pada. Ruotare
in
senso antiorario
il
porta-Iampada
(2,
fig. 39) e liberarlo dalla parabola, togliere la
lampadina bruciata e sostituirla
tenendo
pre-
sente
che
la
parte
trasparente
dell
a
lampadina
nuova
non
deve
esse
re
toccata
a
mani
nude
perche
cia
ne
provocherebbe
I'annerimento
riducendone
irrimediabilmente
la
luminosita
,
infine, inserire
le
linguetle- guida della base lam-
padina, nelle sedi corrispondenti per otlenere
I'esatlo orientamento.
Rimontare
il
portalampada ruotandolo
in
senso
orario fino
all
'agganciamento completo.
Collegare i cavi precedentemente staccati e,
qualora sia stato smontato, rimontare
il
portalam-
pada della luce di posizione.
Per sostituire la lampadina
della luce di posizione
e sufficiente sfilare
il
portalampada
(3
, fig. 39)
dalla sede sulla parabola
ed
estrarre la lampadina
da quest'ultimo. Montare
il
ricambio e riapplicare
il
portalampada
in
sede.
100
TO RENEW THE
BULBS
When renewing a bulb, make sure that the new
one
is
identical with the spare one and voltage and
power are
as
specified
on
page 48, "Electrical
System" for the specific lighting device.
Headlight
Remove the fairing by unscrewing the screws
which fasten it to the half-fairings and to the
support. To reach the headlight lights, remove it
from the support frame. To perform this operation,
push the headlamp down
in
order to release it
from the 3 clamps, then extract it from the spring
screws
(1
, fig. 38). Disconnect the electrical ca-
bles from the bulb base. Rotate the bulb-holder
(2
,
fig. 39)
in
counterclockwise direction and make it
free from the reflector, remove the blown bulb and
replace with a new one. Be careful
to
grip
the
new
bulb
at
the
base
only
without
touching
the
transparent
body
with
the
fingers
or
the
bulb
efficiency
will
be
adversely
affected. Insert the
bulb locating tangs into the associated seats to
have a correct beam alignment.
Refit the spring retainer while pressing the tangs
and turn clockwise until
it
is
fully coupled.
Connect the terminals previously disconnected
and refit the bulbholder of parking light,
in
case it
has been removed.
To renew the parking light bulb, extract the
bulb-
holder
(3,
fig. 39) from its seat
in
the rim-reflector
and remove bulb from
it.
Replace with a new one
reinstalling the bulb-holder into its seat.
REMPLACEMENT
DES AMPOULES DES FEU)
Avant de remplacer les ampoules,
il
faudra s'as
surer que celle de remplacement ait la
me
mE
valeur de tension et de puissance, voir page
410
"Plan de cablage" pour
ce
dispositif lumineux.
Phare
Enlever
le
carenage
en
desserrant les vis qui
lE
fixent aux demi-carenages et
au
support.
Po
ur
acceder aux lampes
du
projecteur,
il
faut enlever
ce dernier du chassis de support. A
ce
but,
il
faul
pousser
le
projecteur vers
le
bas afin de le
de-
crocher des 3 fixages, ensuite I'extraire des
vis
avec ressort
(1,
fig. 38). Disconnecter les cables
electriques des connexions sur
le
sabot de I'a
m-
poule. Faire tourner
le
porte-ampoule
(2
, fig. 39)
en
sens anti-horaire et
le
liberer de la parabole,
enlever
I'ampou
le
endommagee et la remplacer
sans
toucher
des
doigts
le
transparent
,
autrement
il
s'ensuivrait
un
noircissement
du
transparent
qui
nuirait
a la
luminosite
de
I'ampoule;
ensuite, engager les lamelles
de
guidage de I'ampoule dans leur emplaceme
nt
pour
un
realiser I'exacte orientation.
Remonter le porte-ampoule et
tourne~en
sens
horaire jusqu'a I'accrochage comple!.
Brancher les
cables qui avaient ete de branches
et,
le
cas echeant,
le
porte-ampoule du
fe
u
de
position.
Pour remplacer
I'ampoule du feu de position, i
suffit de deposer la virole-parabole
(3
, fig.
39
)_
sortir
le
porte-ampoule.
Remplacer
avec
un'ampoule neuve et remettre
en
place
le
porte-
ampoule.
 Loading...