Contents Page:
Part 2: Installation Instructions Cl. 745-22; -23; -24
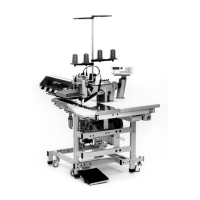
1. Scope of Delivery
. . . . . . . . . . . . . . . . . . . . . . . . . . . . . . . . . . . . . . . . . . . 3
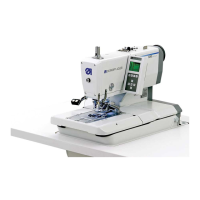
2. Installing the Sewing Unit
2.1 Removing the Transport Fastening . . . . . . . . . . . . . . . . . . . . . . . . . . . . . . . . . . 3
2.2 Transport . . . . . . . . . . . . . . . . . . . . . . . . . . . . . . . . . . . . . . . . . . . . . . . . 4
2.3 Setting the Work Height . . . . . . . . . . . . . . . . . . . . . . . . . . . . . . . . . . . . . . . . 4
2.4 Checking the V-belt Tension . . . . . . . . . . . . . . . . . . . . . . . . . . . . . . . . . . . . . 5
2.5 Filling Oil . . . . . . . . . . . . . . . . . . . . . . . . . . . . . . . . . . . . . . . . . . . . . . . . 5
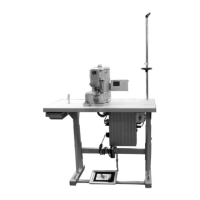
3. Attaching the Machine Parts Removed for Shipment
3.1 Pedal . . . . . . . . . . . . . . . . . . . . . . . . . . . . . . . . . . . . . . . . . . . . . . . . . . 6
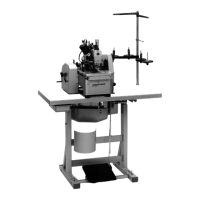
3.2 Yarn Stand . . . . . . . . . . . . . . . . . . . . . . . . . . . . . . . . . . . . . . . . . . . . . . . 7
3.3 Folder . . . . . . . . . . . . . . . . . . . . . . . . . . . . . . . . . . . . . . . . . . . . . . . . . . 7
3.4 Table Extensions (Optional Equipment) . . . . . . . . . . . . . . . . . . . . . . . . . . . . . . . 8
3.5 Throw-over Stacker (Optional Equipment) . . . . . . . . . . . . . . . . . . . . . . . . . . . . . . 9
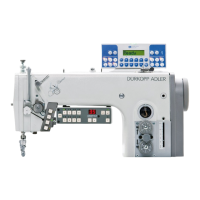
4. Electrical Connection
4.1 Connecting the Microcontrol Control Unit . . . . . . . . . . . . . . . . . . . . . . . . . . . . . . 10
4.2 Checking the Nominal Voltage . . . . . . . . . . . . . . . . . . . . . . . . . . . . . . . . . . . . 11
4.3 Setting the Motor Protection Switch . . . . . . . . . . . . . . . . . . . . . . . . . . . . . . . . . 11
4.4 Checking the Direction of Turn of the Motor . . . . . . . . . . . . . . . . . . . . . . . . . . . . . 12
4.5 Checking the Positioning . . . . . . . . . . . . . . . . . . . . . . . . . . . . . . . . . . . . . . . 13
5. Pneumatic Connection
. . . . . . . . . . . . . . . . . . . . . . . . . . . . . . . . . . . . . . . . 14