EasyManua.ls Logo

Dunster House Vantage 250 - User Manual

Dunster House Vantage 250
15 pages
Print Icon
To Next Page IconTo Next Page
Loading...
INSTALLATION MANUAL
Vantage 250 Hexagonal Summerhouse
2.5m x 2.1m
Unique Product Reference Number
_______________
Please pre-drill all holes to avoid splitting the timber!
www.dunsterhouse.co.uk
Question and Answer IconNeed help?

Do you have a question about the Dunster House Vantage 250 and is the answer not in the manual?

Summary

Important Information and Preparation

Customer Service and Product Care

Contact details, documentation retention, storage, and location selection advice.

Understanding Wood Properties

Details on natural wood characteristics and guarantees regarding imperfections.

Assembly Preparation and Tools

Lists required tools and personnel for assembly, emphasizes manual familiarity.

Component Identification

Assembly Instructions

Install Floor Panels

Position and secure the floor panels according to the diagram for a stable base.

Attach First Wall Panel (Bottom Half)

Fix the bottom half of the first wall panel to the floor and posts using screws.

Attach First Wall Panel (Top Half)

Attach the top half of the wall panel, ensuring it is flush with the post and wall.

Install Remaining Wall Panels

Repeat the process to fix the remaining wall panels, ensuring correct alignment.

Install Window and Door Panels

Fit window panels and the door panel into the frame, securing them with screws.

Add Georgian Bars (Optional)

Install Georgian bars to the window and door panels for decorative effect.

Assemble Roof Frame

Position and fix the roof frame structure centrally on top of the assembled walls.

Install Purlins and Temporary Roof Post

Attach purlins to the roof frame and use a temporary post for support during roof assembly.

Fit Roof Panels

Slide and secure the top and bottom roof panel halves to the purlins and frame.

Install Roof Trims

Attach roof trim boards to cover gaps between roof panels and the top frame.

Apply Roof Felt (Optional)

Lay and secure felt layers onto the roof panels, overlapping for weather protection.

Apply Shingles (Optional)

Install shingles in layers on the roof panels, ensuring correct orientation and overlap.

Install Roof Decoration

Attach the metal roof cover and decorative ball to the apex of the roof.

Post Installation and Maintenance

Finishing and Preservation

Guidance on treating or painting the garden building with a preservative.

Weather Resistance and Adjustments

Tips for sealing joints and adjusting door/window hinges for better weatherproofing.

Overview

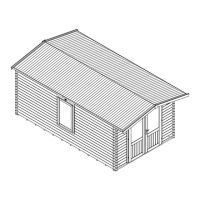
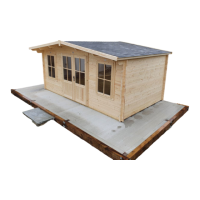
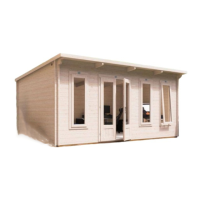
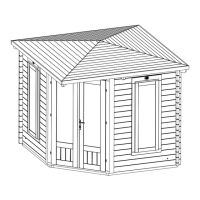
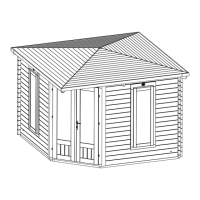
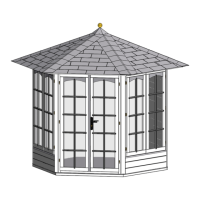
This document is an installation manual for the Dunster House Vantage 250 Hexagonal Summerhouse, a garden building designed for summer use. The summerhouse has dimensions of 2.5m x 2.1m.

Function Description:

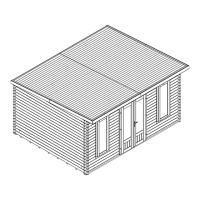
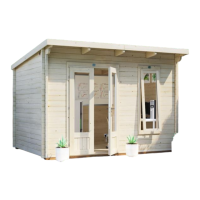
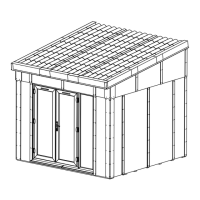
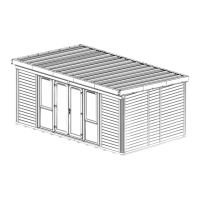
The Vantage 250 Hexagonal Summerhouse is a prefabricated garden building intended for outdoor leisure and relaxation. It provides a sheltered space in a garden setting, offering protection from the elements while allowing enjoyment of the outdoors. The hexagonal design with multiple window and door panels creates an open and airy feel, suitable for various recreational activities or as a decorative garden feature.

Important Technical Specifications:

The summerhouse's overall dimensions are 2.5m x 2.1m. It features a hexagonal footprint and a pitched roof structure. Key components and their dimensions are detailed in the component list:

  • Floor Panels (FP-25SH(MFP)): 2 units, Multi-Functional Panel, 2470mm x 1070mm (overall footprint).
  • Wall Panels - Top Half (WP-1145SH-AT): 3 units, 1145mm wide x 892mm high.
  • Wall Panels - Bottom Half (WP-1145SH-AB): 3 units, 1145mm wide x 966mm high.
  • Window Panels (WP-DW): 2 units, 1145mm wide x 1870mm high.
  • Door Panel (WP-DD): 1 unit, 1145mm wide x 1870mm high.
  • Roof Panels - Top Half (RP-25SH-T(MFP)): 6 units, 932mm wide x 876mm high.
  • Roof Panels - Bottom Half (RP-25SH-B(MFP)): 6 units, 1586mm wide x 658mm high.
  • Roof Trims (98x15x1225.A): 6 units, 98mm x 15mm x 1225mm.
  • Wall Posts (86x65x1870.A): 6 units, 86mm x 65mm x 1870mm.
  • Roof Frame Boards (86x43x1250.A): 6 units, 86mm x 43mm x 1250mm.
  • Purlins (70x35x1600.P): 6 units, 70mm x 35mm x 1600mm.
  • Temporary Roof Post (35x35x2335): 1 unit, 35mm x 35mm x 2335mm.
  • Georgian Bars:
    • Long Georgian Bar for Door (27x27x1625.GB): 2 units.
    • Long Georgian Bar for Window (27x27x1350.GB): 4 units.
    • Short Georgian Bar for Door (27x27x435.GB): 8 units.
    • Short Georgian Bar for Window (27x27x425.GB): 12 units.
  • Accessories:
    • Spider Bracket (SMB001): 1 unit.
    • Metal Roof Cover: 1 unit.
    • Roof Cover Decorative Ball: 1 unit.
    • Screws: Various sizes (20mm, 35mm, 50mm, 60mm, 90mm, 120mm) with specified quantities.
    • Door Handle set & Accessories: 1 unit.

The wood provided is soft, kiln-dried, and untreated. It is important to note that wood is a natural product and may exhibit knots, knotholes, imperfections, cracks, and warping. The manufacturer does not guarantee against these natural characteristics unless they affect structural stability.

Usage Features:

  • Hexagonal Design: Offers a distinctive aesthetic and panoramic views through multiple window and door panels.
  • Window and Door Panels: The design incorporates two window panels and one door panel, allowing for ample natural light and ventilation. Georgian bars are an optional feature for these panels, adding a traditional touch.
  • Optional Roof Coverings: The summerhouse can be finished with either felt or shingles for the roof, providing flexibility in appearance and weather protection.
  • Adjustable Hinges: The doors and windows are equipped with adjustable hinges, allowing for fine-tuning to ensure proper alignment and operation.
  • DIY Assembly: The product is designed for self-assembly, with detailed instructions provided. A minimum of two people is recommended for assembly.
  • Foundation Requirement: A completely leveled, load-bearing foundation is crucial for stable installation and proper alignment of doors and windows.
  • Weather Resistance: While designed for summer use, the manual suggests sealing joints with silicone (not supplied) to enhance weather resistance. Ground anchors are recommended for installations in areas prone to strong winds.

Maintenance Features:

  • Initial Treatment: The garden building must be treated or painted with a preservative immediately after erection to protect the untreated wood.
  • Periodic Re-application: Preservative treatment needs to be re-applied periodically to maintain the wood's protection and appearance.
  • Seal Checks: If silicone seals are applied for enhanced weather resistance, they should be checked frequently to ensure they remain intact and effective.
  • Hinge Adjustment: The adjustable hinges on doors and windows allow for easy maintenance and correction of alignment issues over time, which can be done by removing sashes and adjusting screw depth.
  • Pre-drilling: All holes must be pre-drilled before fixing screws to prevent timber splitting, which is a crucial maintenance practice during assembly to ensure the longevity of the structure.
  • Proper Storage: Prior to assembly, all components should be stored in a cool, dry place, away from direct contact with the ground, sunlight, or moisture to prevent damage and deformation of the timber.
  • Customer Support: Dunster House provides customer support for queries and defective parts, emphasizing the importance of retaining all purchase documentation.

Dunster House Vantage 250 Specifications

General IconGeneral
BrandDunster House
ModelVantage 250
CategoryGarden Houses
LanguageEnglish

Related product manuals