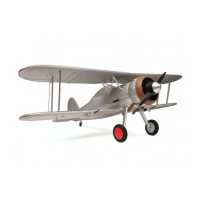
GLOSTER GLADIATOR MK1
DURAFLY 1100MM PLUG AND FLY
8. Use the supplied 2.3mm x 10mm hex
screws with the molded on washer to secure
the landing gear retaining straps in place.
9. Also use 2.3mm x 10mm hex self-tapping
screws to retain the landing gear fairings to the
sides of the fuselage.
10. Use a good contact adhesive to glue the
dummy exhausts into place. These slide in
from the side slightly so that the box section at
the front of the exhausts locate into the slots
into the fuselage.
11. Once again using a contact adhesive, glue
the air-scoop into place in the cross grooves
between the exhausts.
12. Replace the cowl and dummy engine and
secure in place using 2 of the supplied 2.3mm
x10mm self-tapping screws. Note: If the flange
on the inside of the cowl slightly fouls the front
of the dummy exhausts, then please trim a
piece of the flange off with cutters to allow for
the cowl to obtain a more snug fit.
13. The horizontal stabilizer and elevator come
pushed together in the box, pull these apart
and slide them through the rear of the fuselage
as shown. They are a good tight fit, so ensure
they are fully pushed home and the screw
holes line up.
5