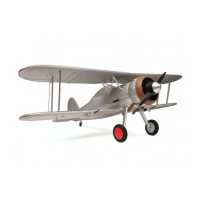
14. Connect the elevator halves using the
supplied 2.3mm x 6mm self-tapping screw.
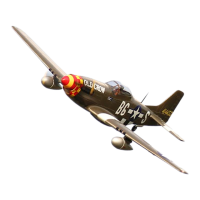
15. Secure the horizontal stabilizer halves to
the fuselage using the supplied 2 off 2.3mm x
6mm self-tapping screws.
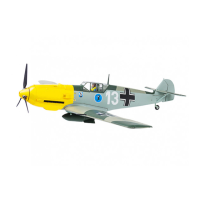
16. Connect the pushrod ball-link to the
elevator control horn. You may need to
clean some silver paint off of the ball
first.
17. Center the elevator servo with either your
radio or a servo tester. Hold the elevator in the
neutral position and then tighten the
grub-screw on the servo connector.
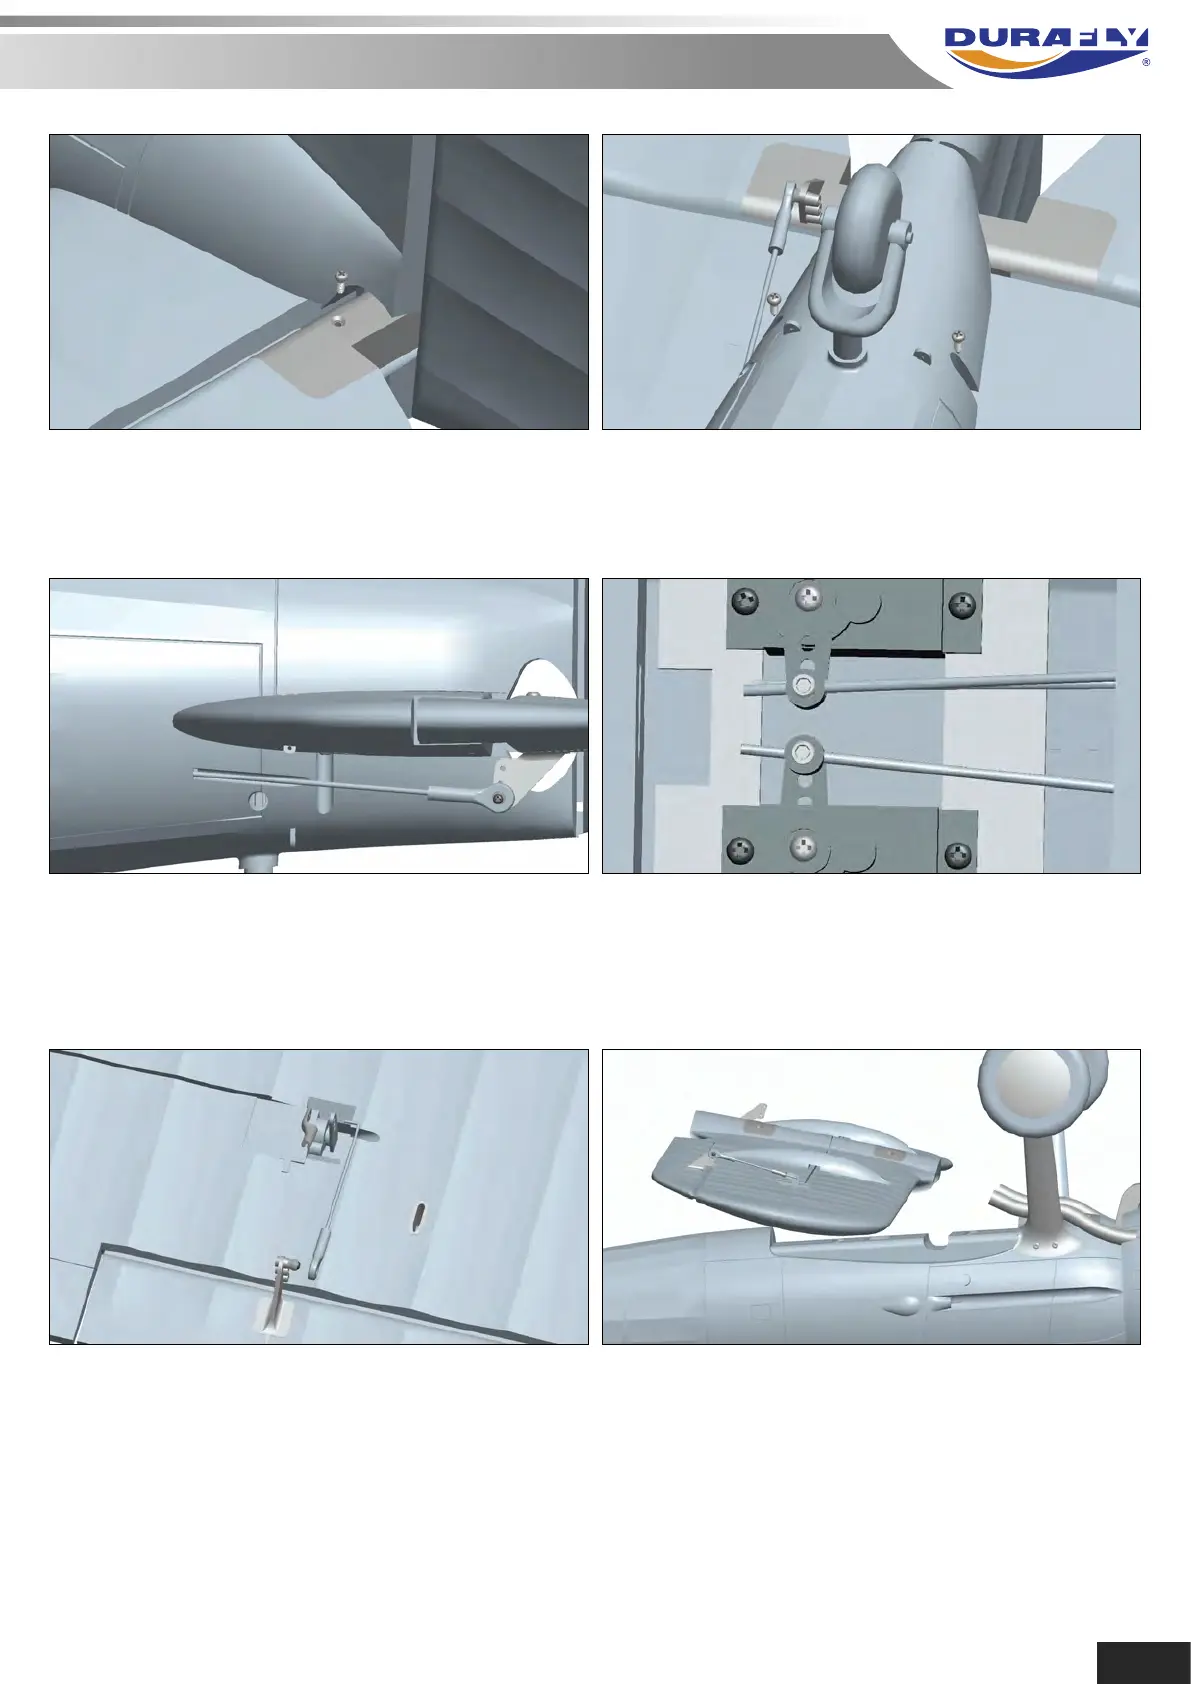
18. Select the 2 short aileron pushrods and feed
the end with the 90° bend through the outer
holes in the servo arms, secure with the
supplied quick-keepers. Center the servos once
more, set the aileron at neutral and adjust the
ball-link as necessary. If this is a tight fit then
there may be some silver paint on the ball.
19. Slot the bottom wing onto the fuselage wing
seat, ensure the aileron leads feed through the
hole into the radio compartment and are not
trapped beneath the wing. If you are using the
supplied "Y" lead, then it is best to connect this
now. If you are going to use separate aileron
channels then it is also best to fit your
extension leads at this point.
6