3 | Getting Started
GraphicProducts.com | 800-788-5572
GETTING STARTED
3. Press the Power button to turn on your Bronco Max.
Initial Setup
1. Place the Bronco Max printer on a secure, flat surface.
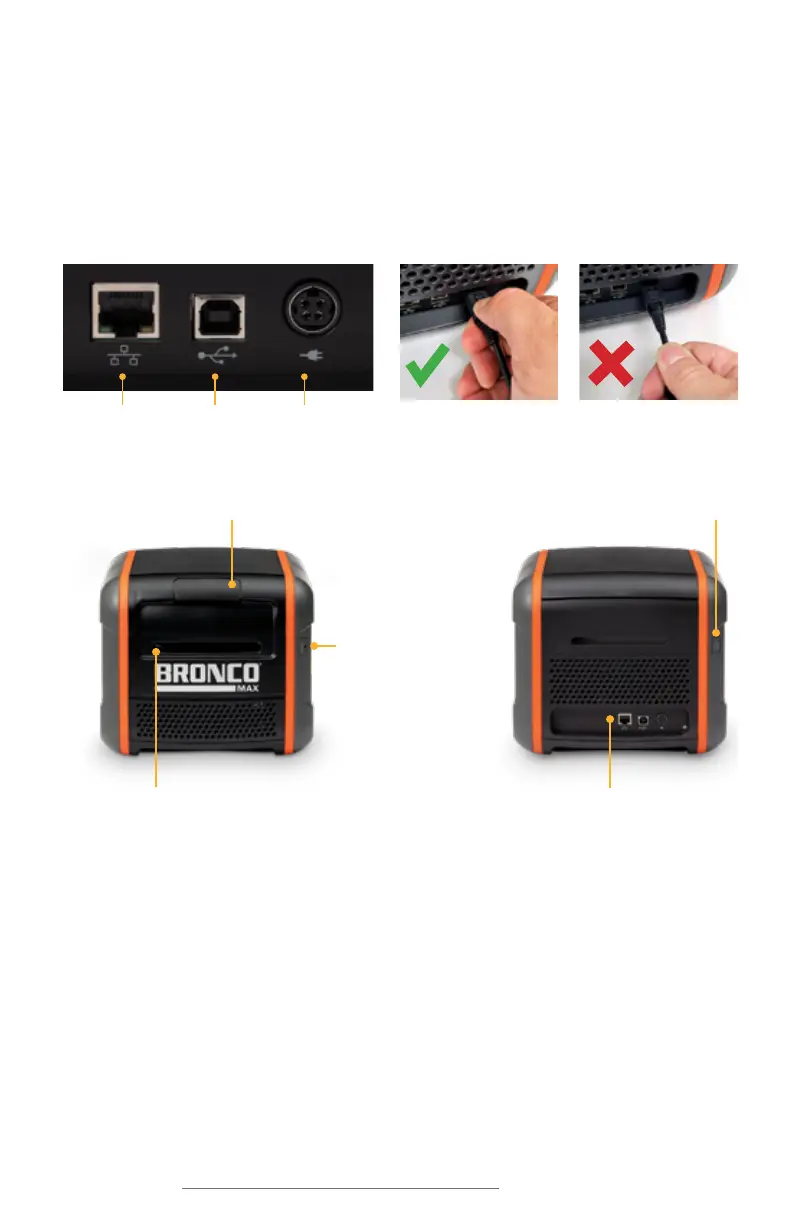
2. Plug the AC Adapter (“brick”) into a standard, grounded three-prong wall outlet. Then,
plug the other end of the power cord into your Bronco Max. (This connector uses a
slider to latch into place, preventing accidental disconnects; to unplug the connector
from your Bronco Max, grasp the plug slider and pull it away from the printer.)
CORRECT
WRONG
Power Socket
USB-BEthernet
Connecting the Printer
When connecting your Bronco Max to a PC for the first time, follow these steps:
1. Make sure Bronco Max is powered on.
2. Next, connect a USB cable from the Bronco Max’s USB-B port to a USB-A port on
your PC.
3. Run the Bronco Max driver installation program, included on the USB flash drive that
came with your printer. You will need IT administrator privileges to continue, and you
will need to restart your computer to complete installation.
4. Run the LabelForge PRO installation program, also included on the USB flash drive.
You may need IT administrator privileges to continue.
If you need help, please contact your DuraLabel representative for support.
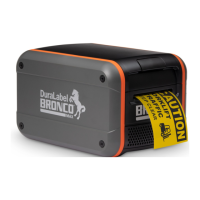
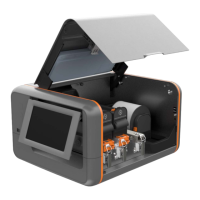
Cover Release Latch Power Button
Cutter Opening Input/Output (I/O) Panel
Feed Button
 Loading...