Programming of the ESC involves LED fl ashes and matching audible tones. Each LED indication and audible tone will represent a different
Programming of the ESC involves LED fl ashes and matching audible tones. Each LED indication and audible tone will represent a different
Below is a chart of programmable values that each setting can be changed with audible and LED indications for each feature. A “—” will
Below is a chart of programmable values that each setting can be changed with audible and LED indications for each feature. A “—” will
represent a long beep and fl ash, where a “•” will represent a short beep and fl ash.
represent a long beep and fl ash, where a “•” will represent a short beep and fl ash.
1. Turn on the transmitter.
1. Turn on the transmitter.
2. Press and hold the SET button on the
2. Press and hold the SET button on the
ESC and apply power. The red LED will fl ash
ESC and apply power. The red LED will fl ash
repeatedly for a few seconds. Continue to hold
repeatedly for a few seconds. Continue to hold
the SET button until the green LED starts to
the SET button until the green LED starts to
fl ash in a pattern according to the INDICATION
fl ash in a pattern according to the INDICATION
3. Release the SET button once the given
3. Release the SET button once the given
indication matches the feature to be adjusted.
indication matches the feature to be adjusted.
Example: Releasing the SET button when the
Example: Releasing the SET button when the
green LED and beep is long (—) will enter the
green LED and beep is long (—) will enter the
“Maximum Brake Force” feature.
“Maximum Brake Force” feature.
4. Once the feature to be changed is entered,
4. Once the feature to be changed is entered,
press the SET button to achieve the desired
press the SET button to achieve the desired
setting. The red LED will confi rm the chosen
setting. The red LED will confi rm the chosen
setting after pressing the SET button.
setting after pressing the SET button.
5. Turn the ESC off when completed.
5. Turn the ESC off when completed.
6. If you wish to change another feature,
6. If you wish to change another feature,
NOTE: The power to the ESC must be reset each time a feature is adjusted.
NOTE: The power to the ESC must be reset each time a feature is adjusted.
When the ESC is turned on, the LED and
When the ESC is turned on, the LED and
audible indications do not match that of
audible indications do not match that of
the connected LiPo battery:
the connected LiPo battery:
fully charged and the ESC is recognizing it
fully charged and the ESC is recognizing it
differently. Also, check that the “LiPo” cells
differently. Also, check that the “LiPo” cells
feature setting is correct.
feature setting is correct.
Red LED fl ashes twice, in sets of three:
Red LED fl ashes twice, in sets of three:
has reached low voltage cut-off. Disconnect
has reached low voltage cut-off. Disconnect
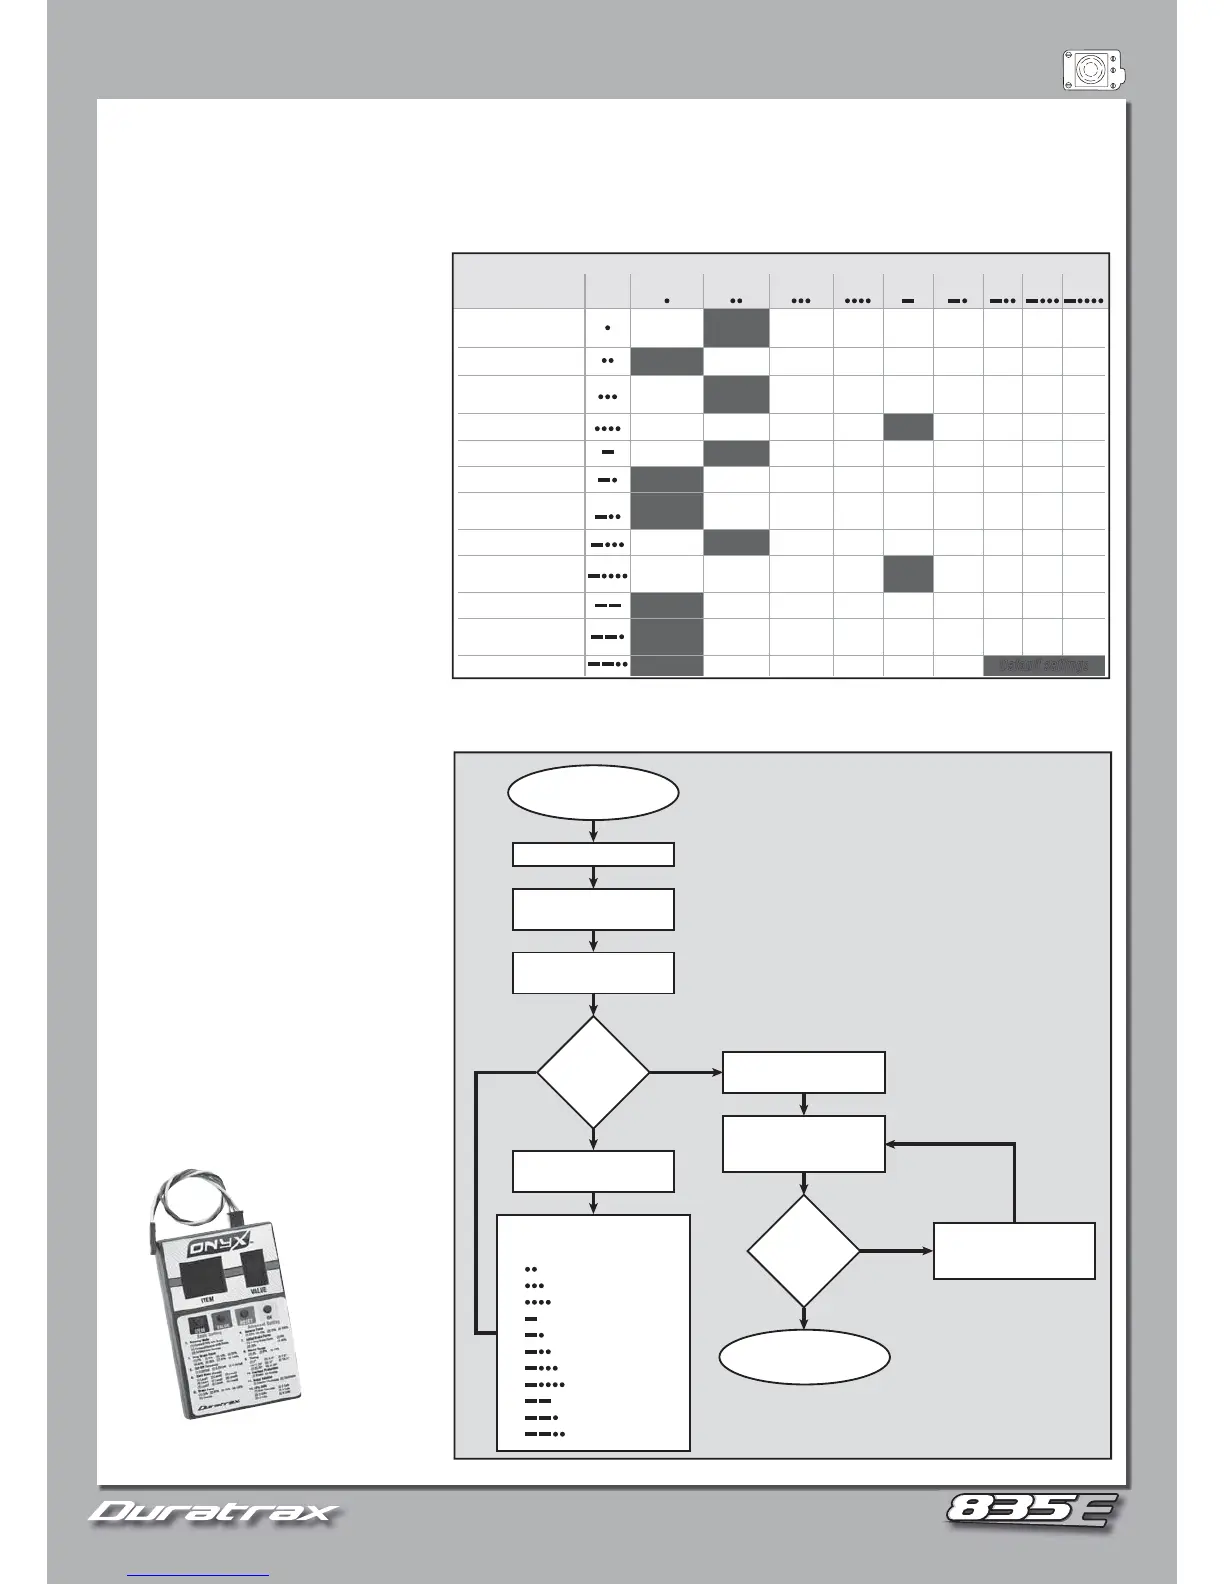
The optional hand-held Programming Card
The optional hand-held Programming Card
simplifi es programming and allows for quick
simplifi es programming and allows for quick
parameter adjustments. DTXM1352
parameter adjustments. DTXM1352
Forward
w/Brake
Fwd/Rev
w/Brake
Forward
& Reverse
0% 5% 10% 40%20% 60% 100%80%
3.2V/Cell3.0V/Cell 3.4V/Cell
Level1 Level2 Level3 Level5Level4 Level6 Level8Level7 Level9
25% 50% 75% Disable100%
25% 50% 75% 100%
=Drag Brake
Force
0% 20% 40%
6% (Narrow) 9% (Normal) 12% (Wide)
Counter
Clockwise
Clockwise
Auto Calculate 2 Cells 3 Cells 4 Cells
0.00° 3.75° 7.50° 15.00°
Default settings
11.25° 18.75° 26.25°22.50°
Enable Disable
Running Mode
FEATURE
INDICATION
GREEN
LED
SETTINGS (RED LED)
Drag Brake Force
Low Voltage
Cut-Off Threshold
Timing (only for
sensorless motors)
Start Mode (Punch)
Max Brake Force
Max Rev Force
Initial Brake Force
Neutral Range
Motor Rotation
Heat Protection
LiPo Cells
23 5468791
Short (•) Long (—)
Turn on Tx,
Hold ESC SET Button
END
Turn ESC
switch off
Turn on ESC
Red LED flashes 10 seconds,
then green LED flashes once
Find “running Mode” lisiting
on chart next to “s”
Change
the SETTING
for this
feature?
Release SET button,
then press SET again
Red LED flashes indicate
SETTING for this feature
See Chart
Press SET the appropriate
number of times to reach
desired setting per chart
Change
the SETTING
for this
feature?
Keep holding
SET button
2
3
4
5
6
7
8
9
10
11
12
Green LED flashes to next
increment for next FEATURE:
Drag Brake Force
Low Voltage Cutoff
Start Mode (Punch)
Max. Brake Force
Max. Reverse Force
Initial Brake Force
Neutral Width
Timing
Thermal Protection
Motor rotation
LiPo Cells
Programming the ESC with
the SET button on the ESC.
NO
YES
YES
NO
 Loading...