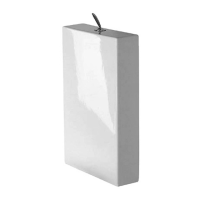
Breiten Streifen umklappen und auf den waagerechten Wannenrand
aufkleben.
Fold the wide strip and stick to the horizontal rim.
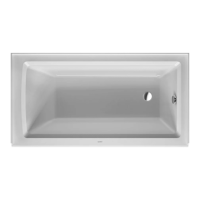
Wannenrand auf die Wannenanker auflegen.
Flügelmutter festschrauben.
Position the bathtub on the wall brackets.
Screw into place.
Siphon an Abfluss anschließen. Connect the siphon to the outlet.
Wanne bis zum Überlauf mit Wasser füllen und die Installation auf
Dichtheit prüfen.
Fill the bathtub to check if the outlet and overflow fittings are water
tight.
Wasser ablassen. Die Wanne kann jetzt eingebaut bzw. gefliest
werden - Revisionsöffnung nicht vergessen!
Drain off the water. The bathtub can now be walled or tiled in - don‘t
forget the inspection door!
Nach dem Verfliesen den breiten Streifen des Wandprofils aus der
Fuge herausziehen.
After tiling, tear this strip from the joint.
Wanne wieder mit Wasser füllen, die entstandene Nut mit Silikon
ausspritzen.
Fill bathtub and apply silicon to the resulting groove.
Das Wasser für 24 Stunden in der Wanne lassen. Leave water in the bathtub for 24 hours.
Wanne entleeren. Vorne und seitlich mit Silikon verfugen. Empty the bathtub and then apply Silicon to the front and side of the
bathtub.