lamp and swing the red
filter
out of
the
light
path.
Withdraw
the card
slightly
. so
as
to expose a 1 inch wide strip
of
the
paper
for
2 seconds. Move the card
by an inch at a time
for
further
4 to 5
test exposures of
4,
8,
12
,
16
and
24
seconds respectively. Each of these
successive exposures increases the
exposure time of the previous strip by the
additional
time. This yields a test
print
consisting of progressively exposed
strips. (The
first
strip receives the longest
exposure.)
From the developed
print
-it
is
then easy
to establish the
optimum
exposure time
for
the full enlargement.
This test
print
thus makes
correct
exposures easy.
6
8
10
12 14
sec.
4.3.0. Cropping
Even an expert
photographer
does
not
always manage to frame the image
exactly during the camera exposure. Only
en
iarging permits really exact framing.
This way you can often obtain several
different
interesting enlargements from
one negative. Mask down the required
image area
either
with the
sliding
'l1asks
of the paper
holder
or
with strips
of
cardboard.
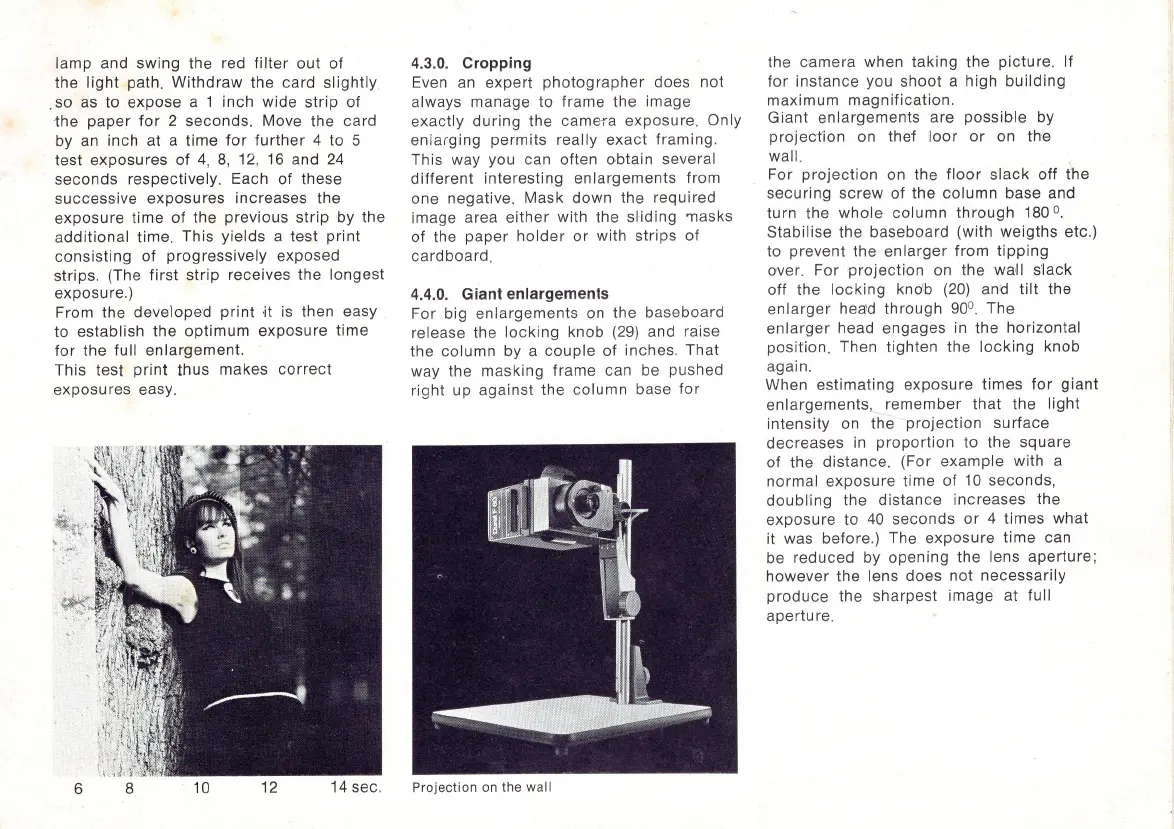
4.4.0. Giant enlargements
For big enlargements on the baseboard
release the
locking
knob (29) and raise
the column by a
couple
of
inches. That
way the masking frame can be pushed
right up against the
column
base
for
Projection
on the wall
the camera when taking the picture. If
for
instance you shoot a high
building
maximum magnification.
Giant
enlargements are
possible
by
projection
on thef
loor
or
on the
wall.
For
projection
on the
floor
slack
off the
securing
screw
of
the
column
base and
turn the
whole
column
through 180 °.
Stabilise the baseboard (with weigths etc.)
to prevent the
enlarger
from
tipping
over. For
projection
on the wall s'lack
off the
locking
knob
(20)
and
tilt
the
enlarger
head through
900.
The
enlarger
head engages in the horizontal
position. Then tighten the
locking
knob
again.
When estimating exposure times
for
giant
enlargements,
remember
that the light
intensity on the
projection
surface
decreases
in
proportion
to the square
of
the distance. (For example with a
normal exposure time
of
10
seconds,
doubling
the distance increases the
exposure to
40
seconds
or
4 times what
it was before.) The exposure time can
be reduced by opening the lens aperture;
however the lens does not necessarily
produce
the sharpest image at full
aperture.