17
EN
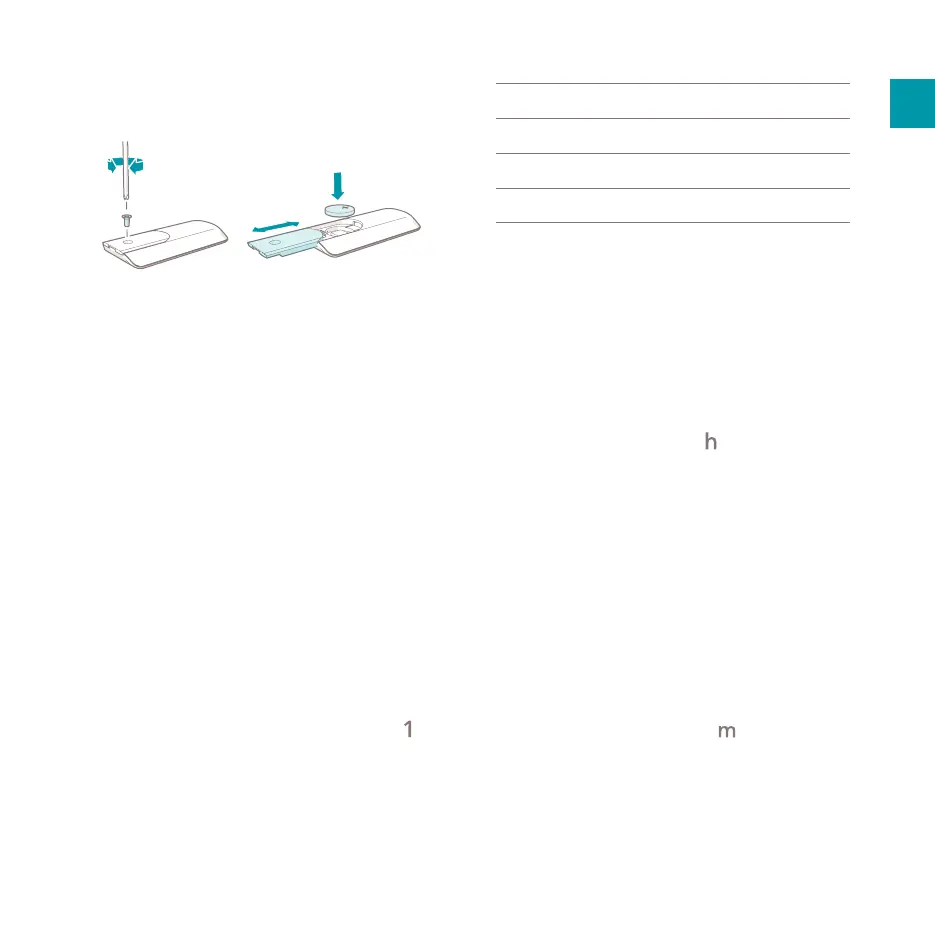
5.2.4. Installing the remote control
1. Turn the remote control i upside down.
2. Unscrew the 3.8 × 8 mm screw F to open
the battery compartment D.
3. Place the battery in the battery compartment
with the plus-side of the battery facing up.
4. Fasten the 3.8 × 8 mm screw F to close the
battery compartment.
5.3. Setting the time and day of
the week
Setting or adjusting the time and day of the week
is done as follows:
1. Simultaneously press and hold the schedule
button P and the timer button A for 5
seconds.
- The product makes a beep sound.
- Number “1”in the day of the week icons
starts ashing.
2. Press the increase button T or decrease
button Y and choose the number
corresponding with the desired day of the
week.
1
Monday
5
Friday
2
Tuesday
6
Saturday
3
Wednesday
7
Sunday
4
Thursday
3. Press the schedule button
P to conrm the
selected number.
- The product makes a beep sound when the
selected number is conrmed.
- The selected number lights up.
- After a few seconds, the product enters the
hour editing setting.
- Number “00” starts ashing on the display
along with the hour icon .
4. Press the increase button T or the
decrease button Y and choose the number
corresponding with the desired hours of the
day - 00 to 23.
5. Press the schedule button P to conrm the
selected number.
- The product makes a beep sound when the
selected number is conrmed.
- After a few seconds, the product enters the
minute editing setting.
- Number “00” starts ashing on the display
along with the minute icon .
6. Press the increase button T or decrease
button Y and choose the number
corresponding with the desired minutes of
the hour – 00 to 59.
7. Press the schedule button P to conrm the
selected number.
 Loading...