Assembly and Setup
Unpacking and Inspecting Your Shipment
Your EC series flood lamp arrived in one or two boxes. Inspect the boxes for damage and notify the shipper of
box damage immediately.
Open each box and check for equipment damage. If parts are damaged, notify the shipper and submit a claim
for the damaged parts. Contact Dymax so that new parts can be shipped to you immediately.
Check that the parts included in your order match those listed below. If parts are missing, contact your local
Dymax representative or Dymax Customer Support to resolve the problem.
Parts Included in an EC Flood Lamp
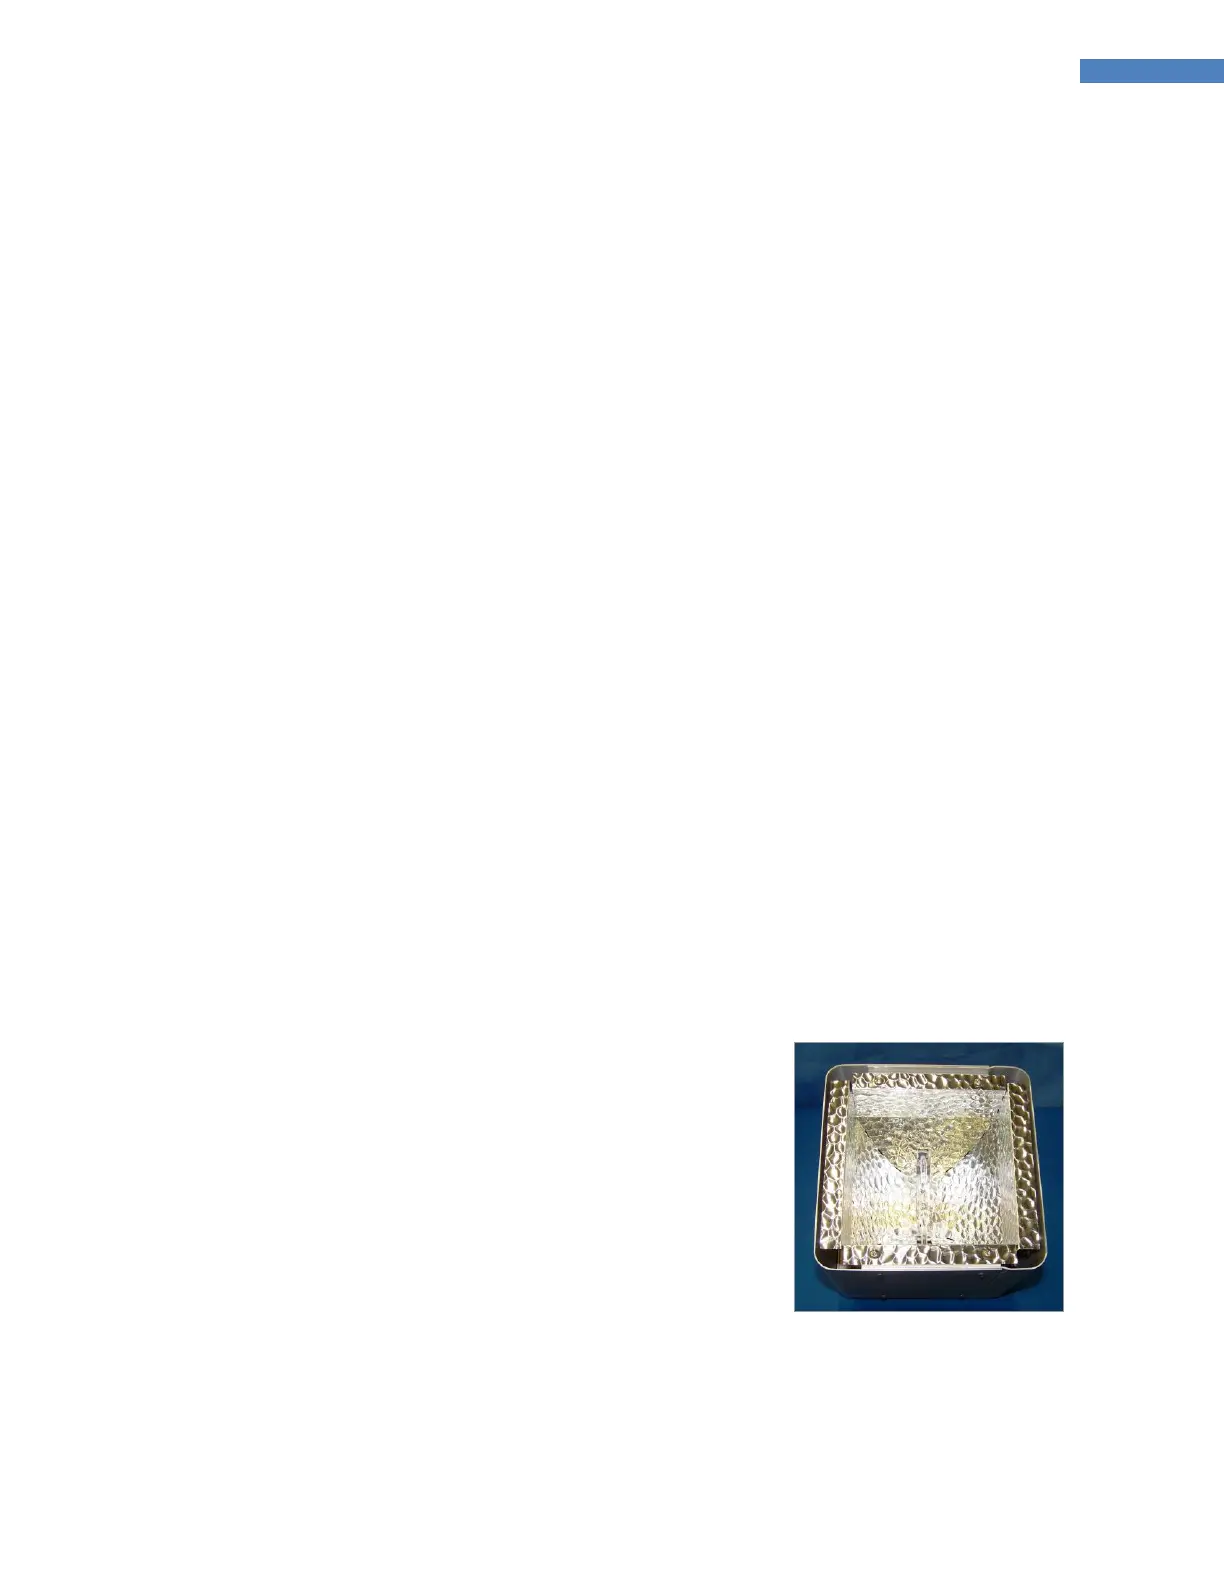
■ Reflector Assembly Housing (1) - Contains the reflector, UV lamp (400 watt, metal halide. Optional visible
or mercury vapor bulbs available), lamp sockets, high-voltage starter, and three circular connectors.
■ Solid-State Power Supply (2)
■ Interconnection Cable (3) – Connects the power supply to the lamp/reflector assembly housing.
■ Power Cord (4) (North American Power Cord shown)
■ Dymax EC-Series UV Flood Lamps User Guide (5)
■ UV Protection Goggles (7)
System Interconnection
1. Place the 400 Watt UV Bulb into the Lamp/Reflector Assembly
Housing (Figure 8). Refer to the Bulb Replacement/Installation
Section of this manual.
2. Position the Power Supply so that there is free air circulation
around the sides. The Lamp/Reflector Assembly Housing should
be mounted to a Dymax Conveyor as described in the
Conveyor's technical manual.
WARNING! Always observe safety requirements when
working with electrical equipment! Electrical hazard is present!
3. Connect the Interconnect Cable to the J3 Receptacle on the
rear of the Lamp/Reflector Assembly Housing (Figure 9).