EasyManuals Logo

Dymo LabelWriter Quick Start

Dymo LabelWriter
6 pages
To Next Page IconTo Next Page
Page #1 background imageLoading...
Page #1 background image
1
English
Follow these steps to install the LabelWriter printer and print your first label.
1. Unpacking your LabelWriter Printer
NOTE
For Windows, do not plug the printer into your computer until asked to do so
during the software installation.
1 Unpack your printer and save the original packing materials.
2 Make sure you have all the items shown in Figure 1.


 
 
 !"
# 
 $

%&&'()
%%
FORHOMEOR
OFFICEUSE
"#""
$&(&*++,-.---
"/* 0-1.0
2&"/* 0+,113
"*.--+,- 4-/5-6$7-5,
"*+, -.-
$

.4#$
.0114-
U
L
U
L
.-0+5
Figure 1
CD-ROM
Power cable
PC serial cable
Power adapter
Roll of labels
Quick Start Guide
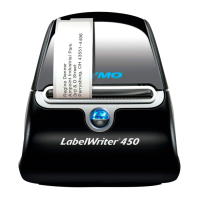
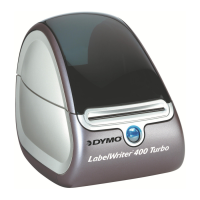
LabelWriter printer
USB cable
(specific models only)
Quick Start

Other manuals for Dymo LabelWriter

Questions and Answers:

Question and Answer IconNeed help?

Do you have a question about the Dymo LabelWriter and is the answer not in the manual?

Dymo LabelWriter Specifications

General IconGeneral
BrandDymo
ModelLabelWriter
CategoryLabel Maker
LanguageEnglish

Related product manuals