EasyManua.ls Logo

Dyna-Glo DGH485CRP-D User Manual

Dyna-Glo DGH485CRP-D
92 pages
To Next Page IconTo Next Page
Page #1 background imageLoading...
Page #1 background image
Français p.
Español p.
061719
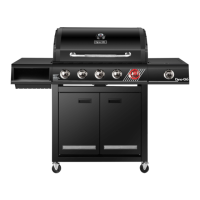
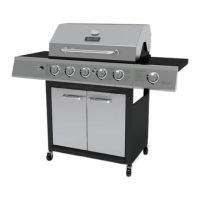
5-BURNER LP GAS GRILL
WITH SIDE BURNER AND
SEARPLUS™ BURNER
Model #DGH485CRP/DGH485CRP-D
Questions, problems, missing parts?
Before returning to your retailer,
call our customer service
department at 1-877-447-4768,
8:00 a.m. – 4:30 p.m., CST,
Monday – Friday or e-mail us at
CustomerService@ghpgroupinc.com
Français p. 31
Español p. 61

Questions and Answers:

Dyna-Glo DGH485CRP-D Specifications

General IconGeneral
Fuel TypePropane
BTU Output48, 000 BTU
Cooking Area485 sq. in.
Burners3
MaterialStainless Steel
Total Cooking Area485 sq. in.

Summary

Safety Information

DANGER

Do not use in an explosive atmosphere. Keep grill area clear and free from combustible materials.

WARNING: FUELS USED IN LIQUEFIED PROPANE GAS APPLIANCES

Exposure to chemicals like benzene can cause cancer and reproductive harm. Visit P65Warnings.ca.gov for info.

WARNING

Do not place grill under overhead combustible construction. Maintain 36-inch clearance from sides and back.

CAUTION

Do not store gasoline. Do not move grill while lit or hot. Lock casters when not moving.

Preparation

Assembly Instructions

Assemble Bottom Panels

Connect base panel (W) to lower cart brace (V) using screws (AA).

Assemble Right Side and Rear Panels

Attach right side panel (U) to lower cart brace (V) and base panel (W) using screws (AA).

Assemble Rear Panel

Attach rear panel (S) to base panel (W) and lower cart brace (V) using screws (AA).

Assemble Left Side and Rear Panels

Attach left side panel (R) to base panel (W) and lower cart brace (V) using screws (AA).

Install Casters

Attach locking (X) and non-locking (Y) casters to the base using wrench (GG).

Install Doors

Attach left door (Z) and right door (A1) to the cabinet using hinges (CC).

Operation Instructions

Checking for Leaks

Perform leak test using soap solution to check all connections for gas leaks before first use.

Perform Leak Test

Prepare soap solution, spray on connections, look for bubbles indicating leaks.

Care and Maintenance

Burner Assembly Care

Troubleshooting

Igniter Not Working

Check electrode, wires, or replace if cracked/broken. Clean electrode for residue.

No Gas Flow

Verify tank valve is open, check fuel level, ensure proper connections, and clear burner inlet.

Replacement Parts List

Related product manuals