
L
Lisa NelsonAug 1, 2025
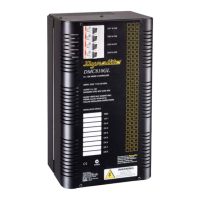
What to do if Dynalite DMC810GL's circuit breakers keep tripping?
- RrjohnsonAug 1, 2025
If your Dynalite Controller's circuit breakers are tripping, it could be due to a short circuit on the load causing instant tripping or the dimmer being overloaded, leading to delayed tripping. First, inspect the load wiring for any short circuits. Then, verify the dimmer loading using a current tester, remembering to account for low power-factor loads and transformer losses. Also, ensure that the breaker terminals are properly tightened.