LOST TRANSMITTER MODE is useful when you are going on a training trip and
you want to be able to locate your transmitter. Remember, to plan ahead so the
location beeper turns on at the appropriate time. It will start beeping 6 hours
after the activation, turn off and back on the transmitter to turn off the lost
transmitter beeper.
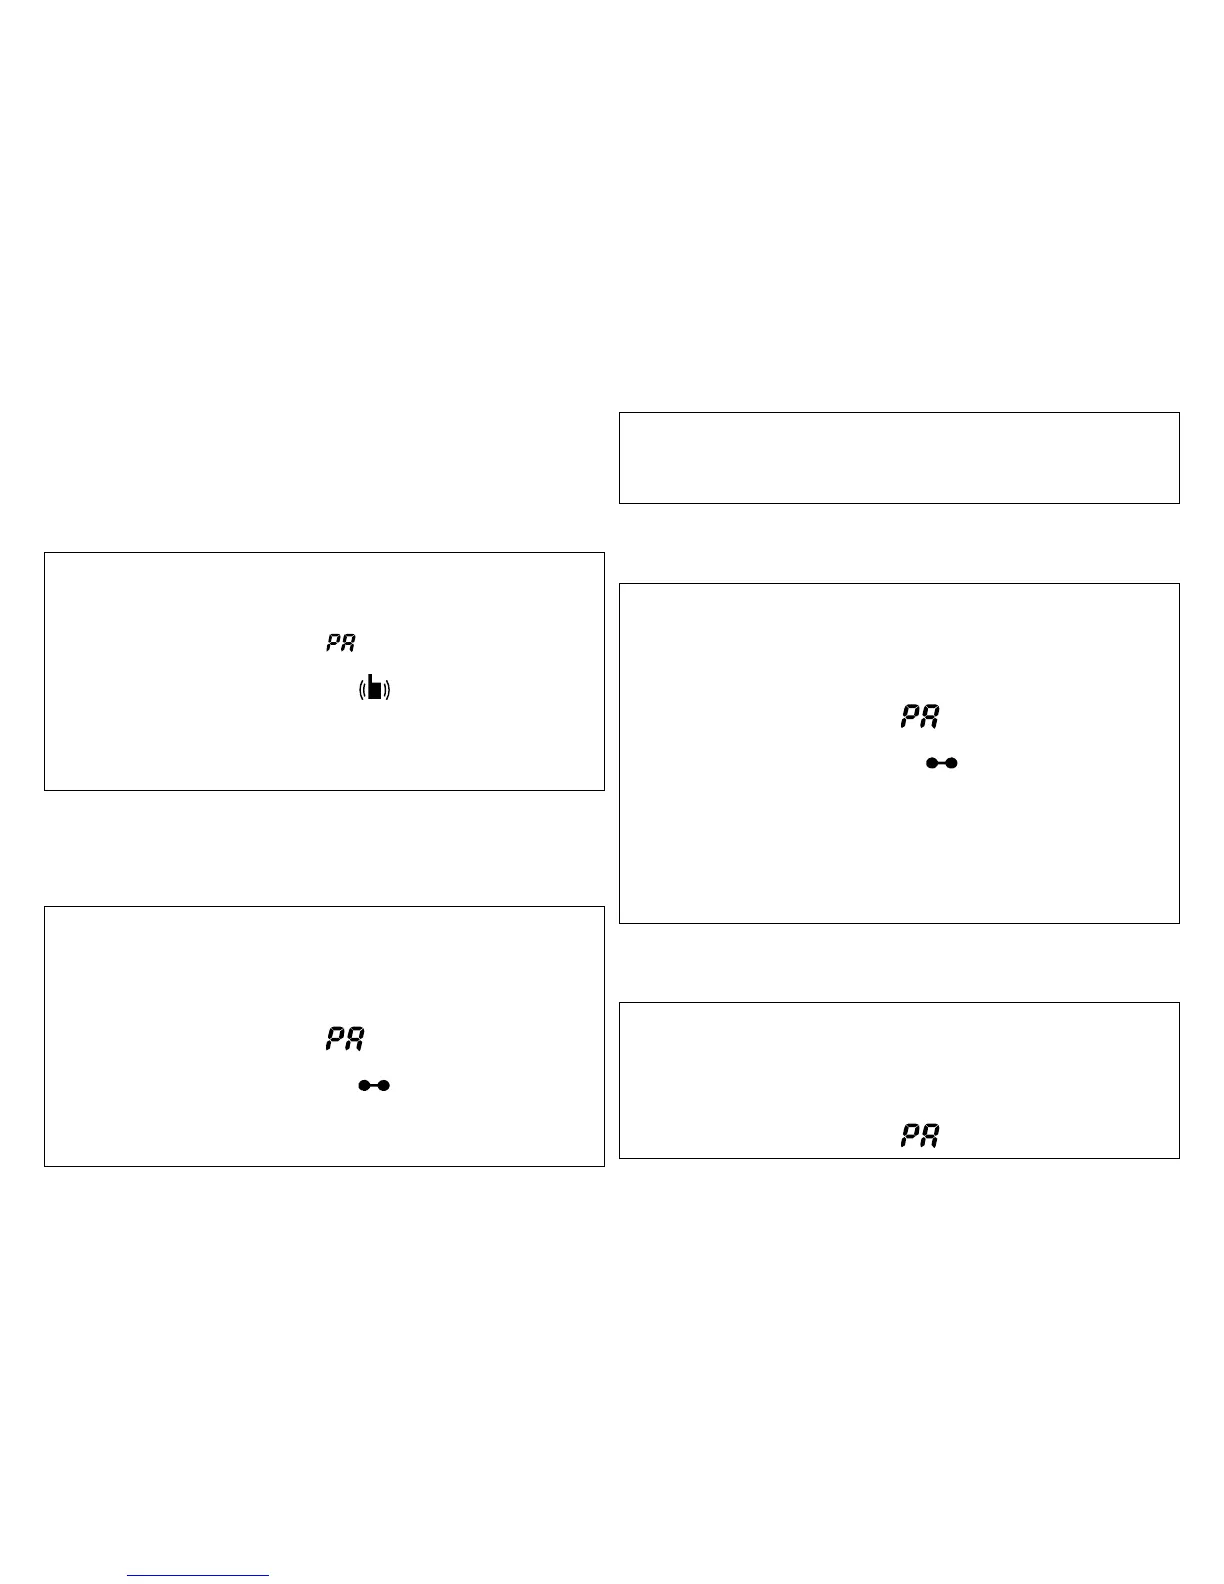
Lost Transmitter Activation:
1. Press P button for more than 1 sec to enter into Programming Mode.
2. Confirm all the icons are blinking and is displayed.
3. Press ON/OFF button three times to select icon at LCD display.
4. Press any of stimulation control button to turn it ON or OFF.
5. Press P button to exit from Programming Mode.
Paring/Syncing Procedure
The Pro Educator can control up to 3 different dogs at the same time.
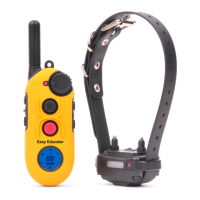
Pairing/Syncing Procedure in the 1D Mode :
1. Confirm that Multi Dog Mode Indicator is 1 Dog Mode.
2. Press P button for more than 1 second to enter into Programming Mode.
3. Confirm all the icons are blinking and is displayed.
4. Press ON/OFF button four times to select icon at LCD display.
5. Turn off the collar receiver. Hold the magnet for 5 seconds until the green
light on the collar receiver flashes quickly.
6. Press any control button from S1 to S4 to perform pairing with a collar
receiver.
7. Press P button to exit from Programming Mode
To add dog 2’s collar receiver, change dog selection mode from 1D to 2D by
pressing ON/OFF button+S1 button.
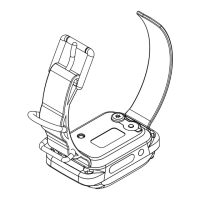
Pairing/Syncing Procedure in the 2D Mode:
1. Confirm that 1 and 2 dog icons are displayed on the LCD.
2. Press P button for more than 1 sec to enter into Programming Mode.
3. Confirm all the icons are blinking and is displayed.
4. Press ON/OFF button four times to select icon at LCD display.
5. Turn off the 2nd collar receiver. Now hold the magnet for 5 seconds until the
green light turns on and is flashing quickly..
6. Press S2 or S4 button to perform pairing with the dog 2 collar receiver.
7. Press P button to exit from Programming Mode.
To add dog 3’s collar receiver, change dog selection mode from 2D to 3D by
pressing ON/OFF button plus S1 button, three short beeps should be heard.
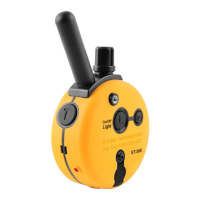
Pairing/Syncing Procedure in the 3D Mode:
1. Confirm that 1, 2 and 3 dog icons are displayed on the LCD display.
2. Press P button for more than 1 sec to enter into Programming Mode.
3. Confirm all the icons are blinking and is displayed.