Before you go further select the dog mode; 1 Dog or 2 Dog or 3 Dog modes
PROGRAMMING CONTROL BUTTONS AND FACTORY DEFAULT
SETTINGS
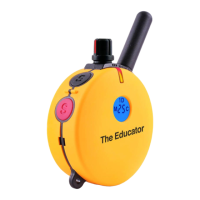
You can assign any 1 of the 9 functions to the S1, S2, S3 and S4 control buttons.
How to Program Control Buttons:
1. Press “P” button for more than 1 second until the LCD is flashing and
is displayed.
2. Press the “S1” button repeatedly until you arrive at the function you desire for
the “S1” button.
3. The default setting is “V” for the “S1”, the sequence is as follows:
( V ▶ T ▶ M ▶ M+ ▶ C ▶ C+ ▶ R ▶ R+ ▶ I )
* Note : The “Lock and Set” feature is accomplished by selecting “M” or “C”
mode and holding the “S1” button for one second before releasing it. Releasing
it too soon will toggle to the next mode. The Dog 1 icon will change to solid
when level is locked. Flashing Dog 1 icon indicates stimulation level will
determined by the volume/stimulation dial.
4. Repeat the same sequence for the S2, S3 and S4 buttons.
**** IMPORTANT NOTICE ****
Sometimes in the multi-dog mode the user needs to recall the settings and/or
stimulation level setting of a particular dog because the display always shows the
last dog stimulated. Simply enter the programming mode and push the
particular control button you want to recall the setting for, the first push will not
change that setting.
5. Press “P” at any time in the programming to return to active use of the
training collar.
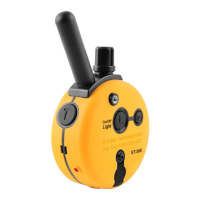
Factory Default Setting
Turn on the collar receiver(s) and test each one to make sure everything is
working, use the test light to test the stimulation or the palm of your hand at
levels no greater than 20, users with dry hands should test it on their forearms.