Tutorials
0202 USB 2.0 Owner’s Manual 17
TUTORIALS
Introduction
This guide contains step-by-step walk-throughs of basic recording operations using
your E-MU 0202 USB 2.0 interface with software applications for your Windows
computer. We encourage you to perform the steps on your computer as you read
so that you become familiar with the process. The first tutorial only takes about
half an hour to complete, by which time you’ll know how to make a multitrack
recording.
NEED MORE HELP?
If you need additional help with the bundled applications, please see:
• Windows: Program Files\Creative Professional\E-MU 0202
USB\Documents\3rdParty.htm.
• OS X: Applications Drive\Library\Documentation\E-MU 0202 USB\
3rdParty.htm
Before you Begin...
• You should have already installed the E-MU software on your computer
WARNING!
Windows Users - After
checking your audio, be
sure to quit Windows Media
Player.
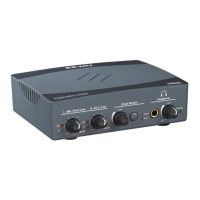
• You should hear the computer sounds coming out of the E-MU 0202 USB 2.0
and your speakers when you play a CD or an MP3 using Windows Media
Player or iTunes. If not, make sure your E-MU 0202 USB 2.0 is properly
connected according to the diagram on page 12
.
• A source of audio should be connected to the inputs (a microphone, musical
instrument, or CD/MP3 player).
Getting Started with Steinberg Cubase LE (Windows)
Steinberg Cubase LE is a 24-bit, multi-track audio/MIDI sequencer with high-
quality effects, automation, virtual instruments (VSTi), and many other profes-
sional features.
The following step-by-step tutorials are designed to get you recording as quickly as
possible.
1 - Setting up Cubase LE
Follow these instructions carefully to ensure that Cubase LE runs smoothly the first
time. Cubase LE will remember these settings, so you’ll only have to do this once.
1. Open Cubase LE from the Start
menu. An ASIO multimedia driver
test dialog box will pop up to ask if
you want to run the ASIO test.
Choose No, because you won’t be
using the driver anyway.
2. Select New Project from the File
menu.
3. Select Empty and click OK.
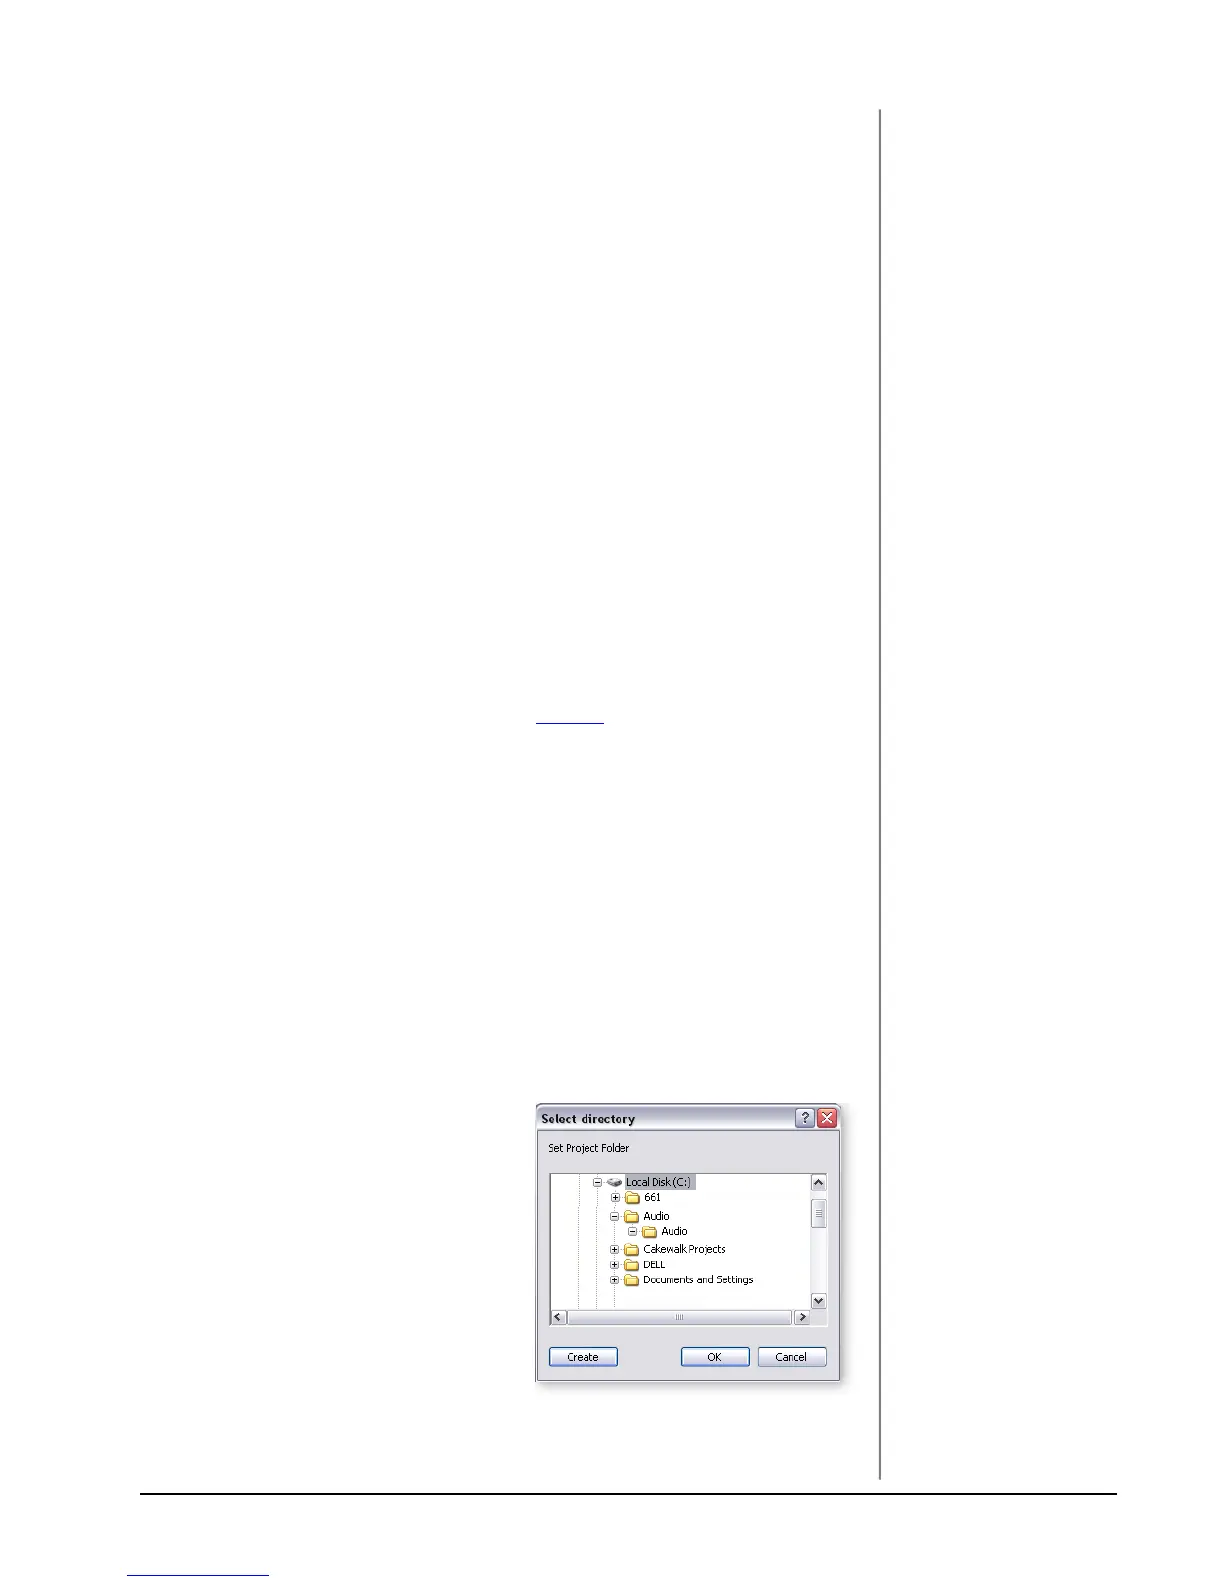
4. A Select Directory pop-up dialog
box will appear. Choose a location
on your hard disk where you want to
store your audio files, then click OK.
5. The Cubase LE Project window appears.
TIP . . .
If you have two or more
hard disks, it’s better to
store audio files on a disk
that isn’t running your
OS.